 by
by Absolutely! Let’s create a detailed tutorial for a beautiful, easy-to-make crochet baby outfit with unique design details that even beginners can enjoy. This will be a one-piece baby romper/dress hybrid that’s modern, stylish, and soft enough for little ones. While it looks intricate, it uses basic stitches and clever shaping to keep things simple and fun.
🌟 NEW! Crochet Baby Clothes with Unique Details
“You’ll Love Crocheting This Easy-to-Make Beauty!”
👶 What You’re Making:
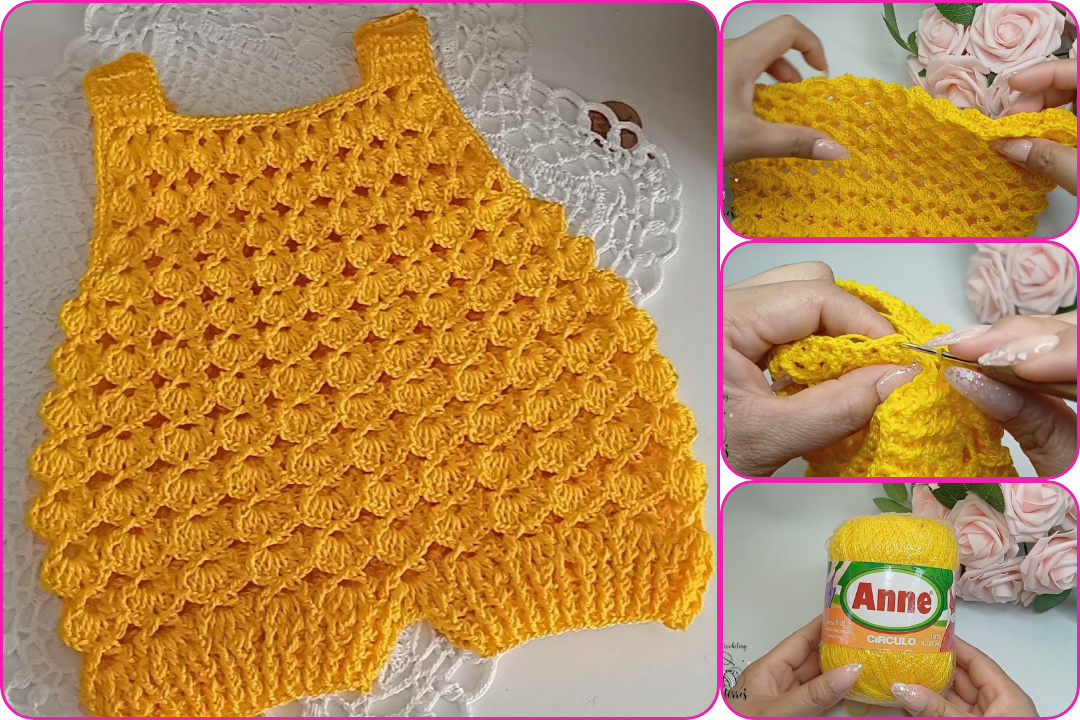
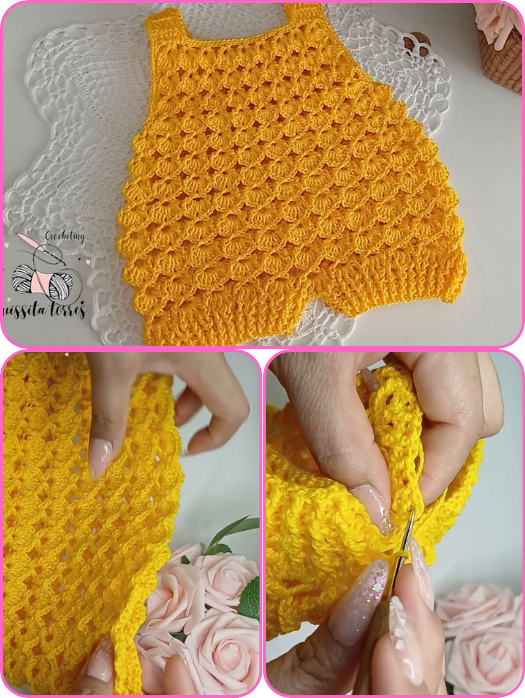
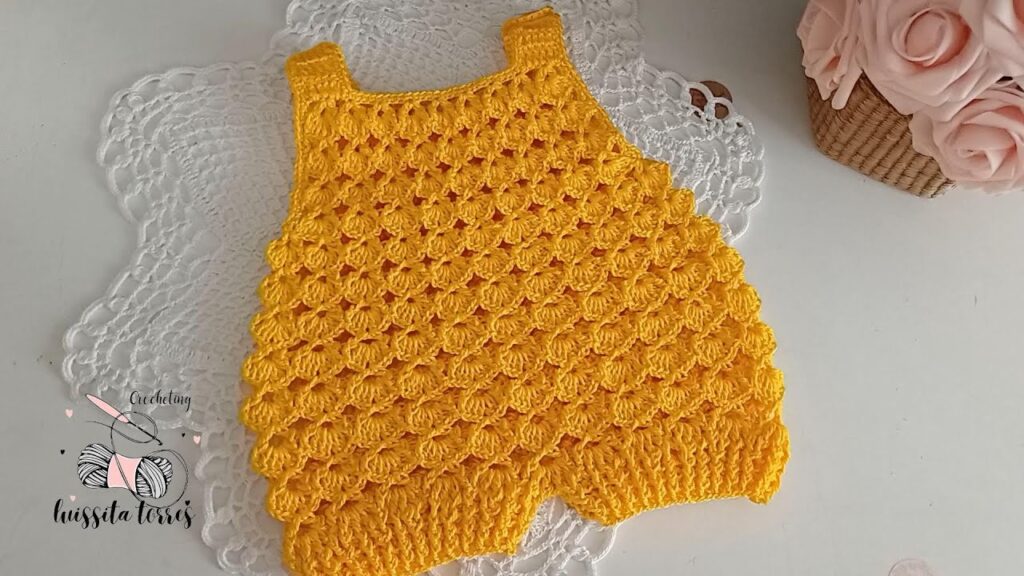
A crochet baby romper-dress (or “dressy onesie”) that looks like a flared dress from the front, but has a built-in bottom for comfort and practicality. Features include:
- A delicate shell-stitch skirt
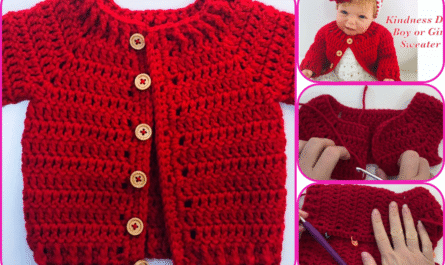
- A solid bodice with button closure
- Sweet cap sleeves
- Optional bow or lace trim
📐 Size:
Pattern written for 0–6 months. Tips for resizing to 6–12 months or 1 year included.
🧵 Materials:
- Yarn: Soft DK (light worsted) weight yarn – approx. 250g
Cotton blends or baby-safe acrylics work best. - Hook: 4.0 mm (G-6) or size needed for your gauge
- Stitch markers
- Tapestry needle
- 3 small buttons (for back closure)
- Optional ribbon, lace, or bow appliqué
🧶 Stitch Guide (US Terms):
- ch – chain
- sl st – slip stitch
- sc – single crochet
- hdc – half double crochet
- dc – double crochet
- shell – (2 dc, ch 1, 2 dc in same stitch)
- inc – 2 stitches in one stitch
💡 Construction Overview:
- Start with a top-down yoke
- Separate for bodice and sleeves
- Work flared shell-stitch skirt
- Add bottom diaper cover/romper section
- Finish with edging and buttons
✨ Step-by-Step Tutorial:
🟪 1. Make the Yoke:
Ch 52 (adjustable based on size)
Row 1:
Dc in 4th ch from hook and across (total 50 dc).
Ch 2, turn.
Row 2 (raglan increases):
Use stitch markers to divide into sections:
8 dc (front) – 1 (marker) – 6 (sleeve) – 1 (marker) – 20 (back) – 1 (marker) – 6 (sleeve) – 1 (marker) – 8 (front)
Work 2 dc in each raglan marker st.
Repeat raglan increase rows until yoke fits baby’s chest and arms (usually 6–8 rows).
🟪 2. Separate for Sleeves:
- Dc across front
- Skip sleeve stitches
- Ch 6–8 for underarm
- Dc across back
- Skip other sleeve
- Ch 6–8 for other underarm
- Join with sl st
🟪 3. Create the Skirt (Shell Stitch)
Round 1:
Dc in each dc and chain around, join with sl st
Round 2:
Shell pattern:
Skip 2, work (2 dc, ch 1, 2 dc) in next stitch (shell), skip 2, repeat around
Round 3 and beyond:
Continue shell stitch in ch-1 spaces.
Repeat until desired skirt length (6–8 inches)
💡 Optional: Add a stripe or contrast color in the last few rows.
🟪 4. Bottom/Diaper Cover Section
From inside bottom edge of skirt:
Round 1:
Attach yarn, sc evenly around bottom edge under skirt.
Round 2–4:
Hdc or dc in rounds to create a short romper section.
Leg Openings:
- Divide stitches in half
- Work short rounds for each leg hole (4–6 rows)
- Finish with sc or shell edging
🟪 5. Sleeves (Cap Style)
Attach yarn to armhole edge.
Round 1:
Sc around, sl st to join
Round 2–3:
Dc or shell stitch for a fluttery look
Fasten off, weave in ends
🟪 6. Back Closure and Finishing
- Leave top 3–4 rows of back unjoined
- Create 3 button loops on one side (ch 5, sl st)
- Sew on buttons
- Add ribbon bow or lace trim to waist if desired
- Steam lightly (if using natural fiber yarn) to soften edges
📏 Size Modifications:
| Size | Starting Ch | Yoke Rows | Skirt Length | Bottom Rows |
|---|---|---|---|---|
| 0–6 months | 52 | 6–7 | 6–7″ | 3–4 rounds |
| 6–12 months | 58–60 | 7–8 | 7–8″ | 4–5 rounds |
| 1 year | 64–66 | 8–9 | 8–9″ | 5–6 rounds |
🧁 Style Options:
- Use sparkly yarn for a festive look
- Add tiny heart or flower appliqués
- Make it sleeveless for summer, or add long sleeves for cooler months
🎥 Want a Video Walkthrough?
I can recommend detailed YouTube videos with visual step-by-step help — just let me know your preference (romper, dress, or full set with cardigan).
Watch video: