 by
by Sure! Here’s a detailed guide on how to make a crocheted tote bag with a herringbone pattern. This tutorial assumes you have some basic crochet knowledge (like how to do chains, single crochet, etc.), but I’ll also include explanations where helpful.
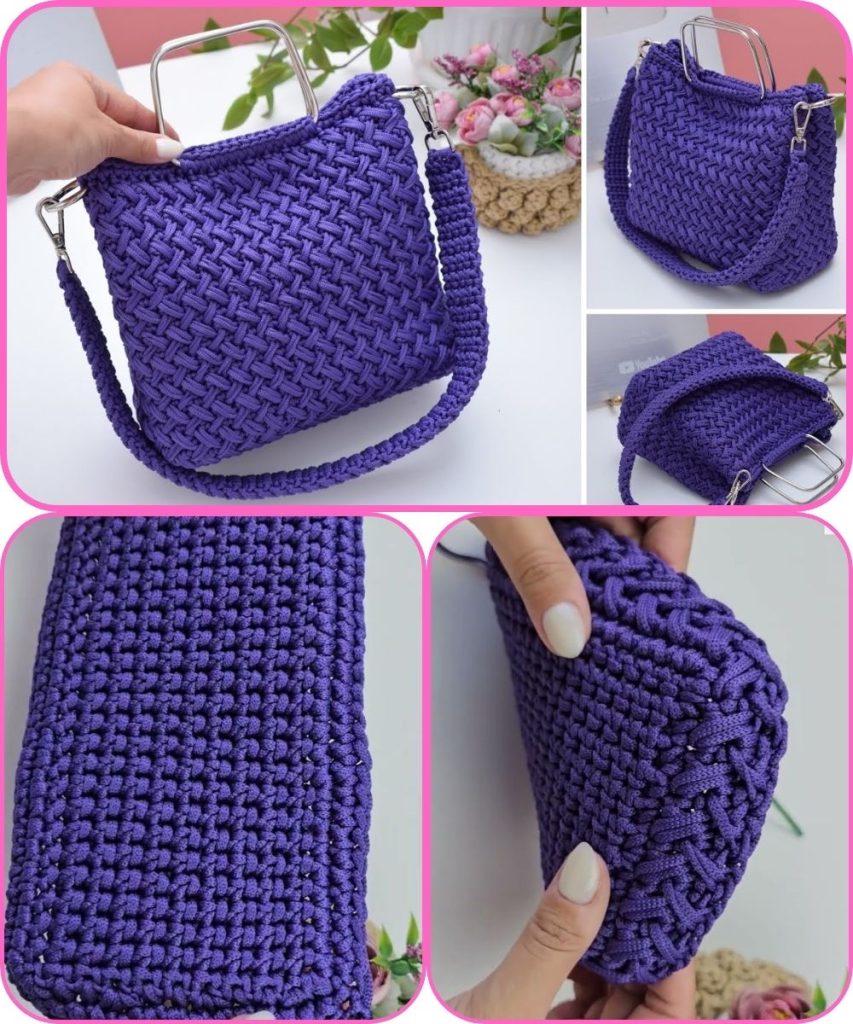
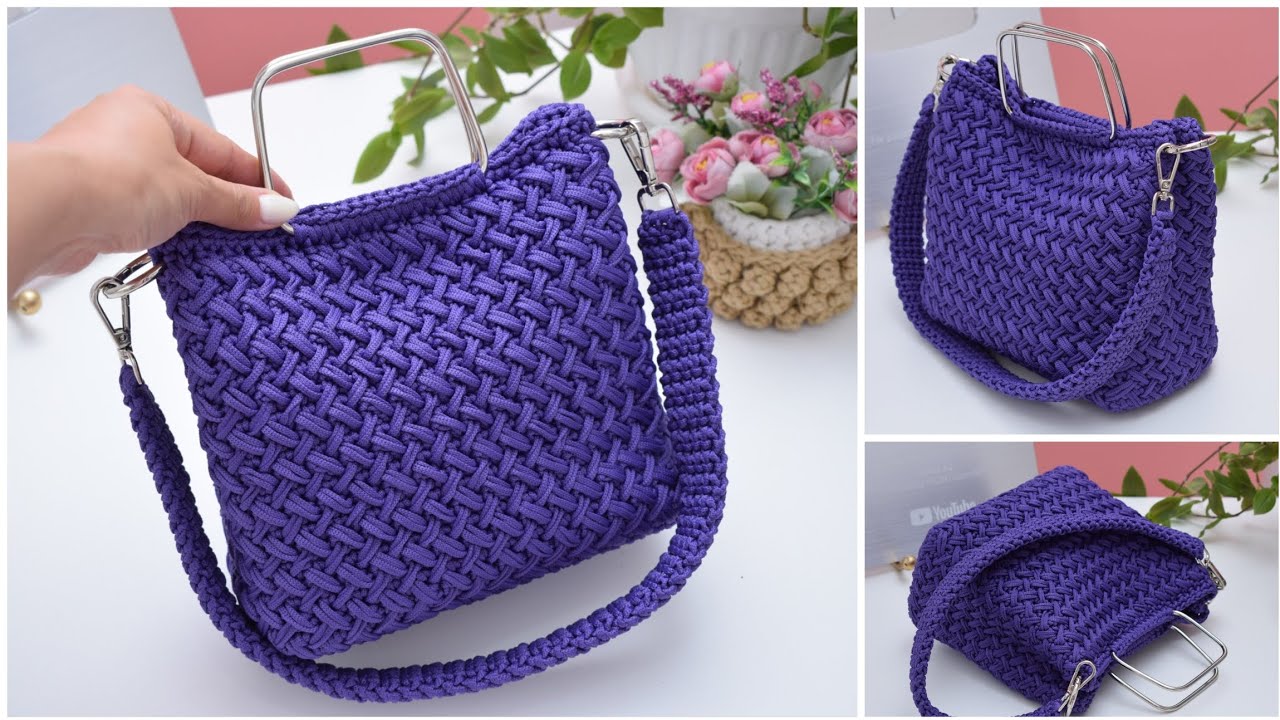
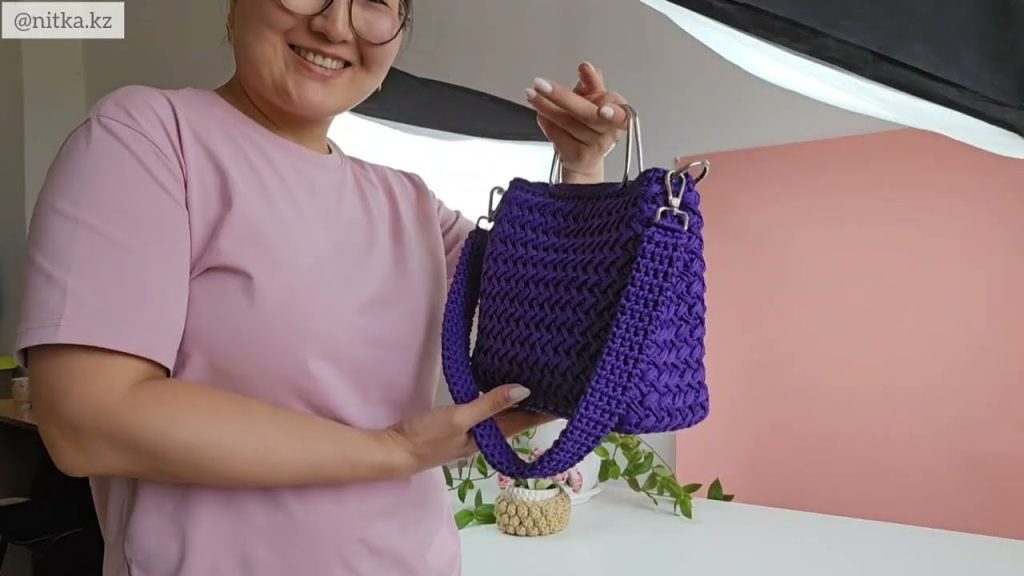
🧶 How to Make a Crocheted Tote Bag with a Herringbone Pattern
✨ Overview
- Skill Level: Intermediate
- Crochet Techniques Used:
- Chain stitch (ch)
- Herringbone Half Double Crochet (hhdc)
- Slip stitch (sl st)
- Single crochet (sc)
- Working in the round
- Bag Style: Rectangular base, built-up body with handles
- Dimensions (Approx): 13″ wide x 12″ tall x 4″ deep (can be adjusted)
🧵 Materials
- Yarn: 2–3 skeins of Worsted weight cotton yarn (e.g., Lily Sugar’n Cream or Paintbox Cotton Aran)
- Hook: 5.0 mm (H-8) crochet hook
- Tapestry needle for weaving in ends
- Stitch markers (optional but helpful)
- Scissors
📐 Abbreviations (US Terms)
- ch – chain
- sc – single crochet
- sl st – slip stitch
- hhdc – herringbone half double crochet
- st(s) – stitch(es)
- rnd – round
- rep – repeat
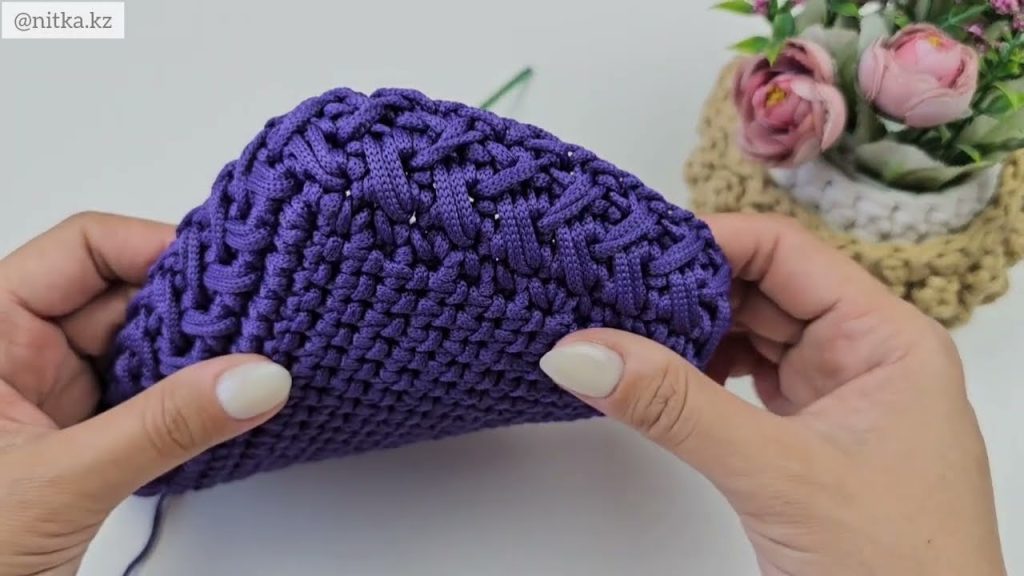
🧶 Special Stitch: Herringbone Half Double Crochet (hhdc)
Here’s how to do it:
- Yarn over (yo), insert hook into the stitch.
- Yarn over and pull through the stitch AND the first loop on your hook (2 loops remain).
- Yarn over and pull through remaining 2 loops.
This creates a slanted “herringbone” effect in the stitches. It looks great for tote bags!
🧺 Instructions
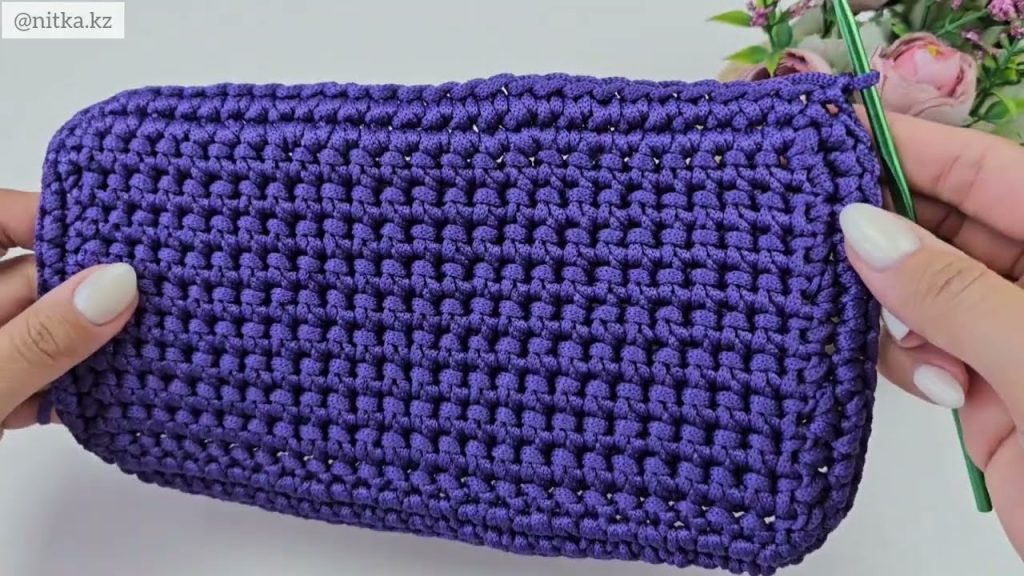
STEP 1: Create the Base (Working in Rows)
Ch 31 (This will be the width of your bag – adjust as needed.)
Row 1: Sc in 2nd ch from hook and in each across. (30 sts)
Rows 2–12: Ch 1, turn. Sc in each st across.
👉 You now have a flat rectangular base. You can make it longer for a deeper tote.
STEP 2: Start the Body (Working in the Round)
Don’t fasten off.
Rnd 1: Ch 1, sc evenly around the entire rectangle (work 2–3 sc into each corner to turn). Join with sl st to the first sc.
Mark this as the beginning of the round.
Rnd 2: Ch 1. Hhdc in each stitch around. Join with sl st to the first hhdc.
Rnd 3–20 (or desired height): Repeat Rnd 2.
👉 You should now have a nice textured tube forming with the herringbone pattern. Adjust number of rows for height.
STEP 3: Optional – Add a Decorative Band
To add visual interest, switch colors or do 2–3 rounds in plain single crochet between hhdc rounds.
STEP 4: Make the Handles
You can make either short or shoulder-length handles.
Measure and mark placement for handles – leave about 4–5″ gap in the middle of the bag for the hand opening.
Example (for two handles):
Rnd 21:
- Ch 1, hhdc in next 5 sts (side),
- Ch 35 (this is the handle),
- Skip next 10 sts, hhdc in next 10 sts (front),
- Ch 35, skip 10 sts (2nd handle),
- Hhdc in last 5 sts, sl st to join.
Rnd 22:
- Hhdc in each stitch and each chain across (you’ll be crocheting into the ch sts of handles too).
- Join with sl st.
You can do 1–2 more rounds to make the handles sturdier.
STEP 5: Finish Off
- Sl st around the top edge if you want a clean edge.
- Fasten off and weave in all ends with tapestry needle.
✅ Optional Add-ons
- Lining: Sew in a fabric lining to prevent stretching.
- Pockets: Crochet or sew small pockets inside.
- Closure: Add a magnetic snap or button for secure closure.
- Strap Variations: Try leather straps instead of crocheting them.
🧼 Care Instructions
Use cotton yarn for durability and machine-washable properties. Hand wash in cold water and lay flat to dry for best longevity.
📸 Final Tips
- Use a tight tension to avoid a floppy bag.
- Reinforce handles by stitching a few extra rows.
- Block the bag after finishing to help shape it nicely.
Watch video: