 by
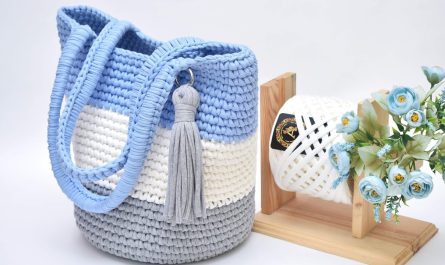
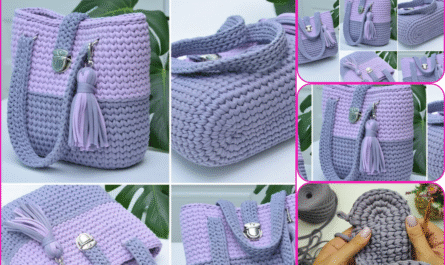
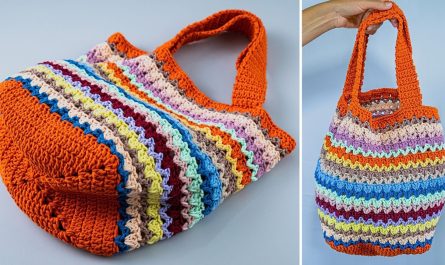
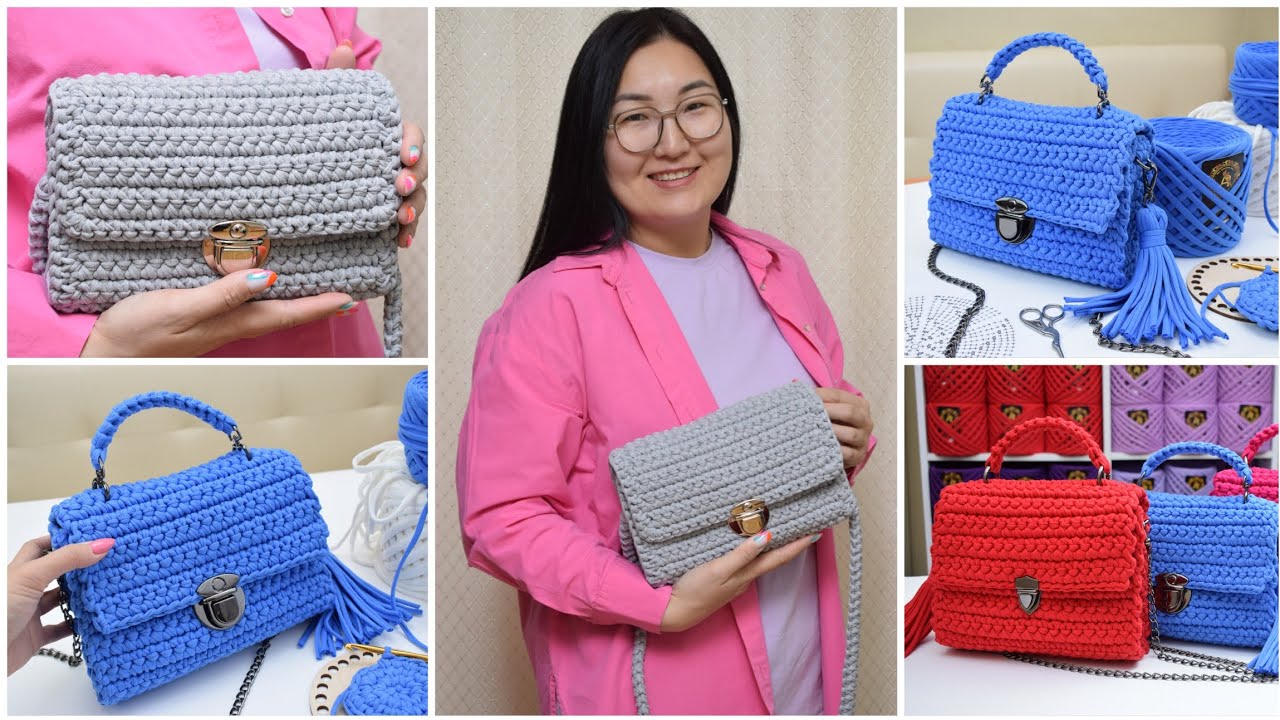
by Sure! Making a crocheted crossbody handbag from just one skein of T-shirt yarn is a fun and beginner-friendly project. Below is a detailed step-by-step guide, including materials, pattern, and assembly tips.
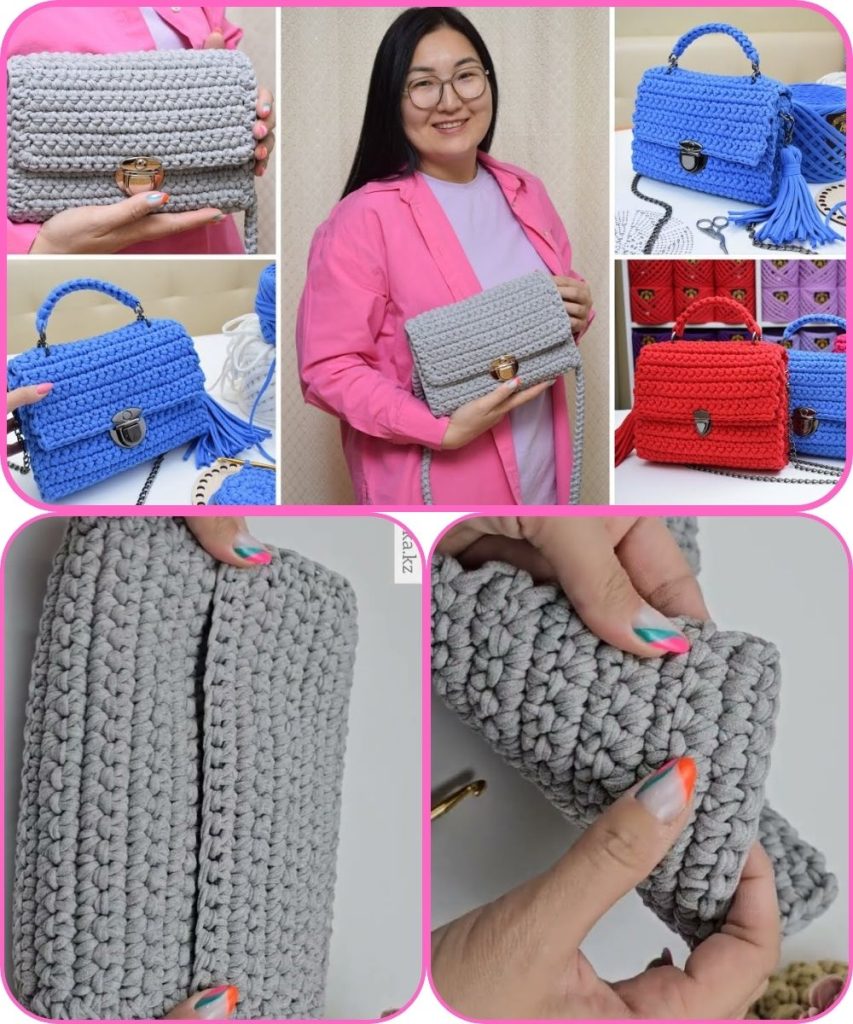
🧶 How to Make a Crossbody Handbag Crocheted from 1 Skein of T-Shirt Yarn
🔹 Materials Needed:
- 1 skein of T-shirt yarn (approx. 100-120 yards)
- Crochet hook: 8 mm (L) or size appropriate for your yarn
- Scissors
- Yarn needle (for weaving in ends)
- Magnetic clasp or button (optional)
- Crossbody strap hardware (optional — you can crochet a strap instead)
🔹 Skill Level:
Beginner to Intermediate
You should be familiar with:
- Slip knot
- Chain stitch (ch)
- Single crochet (sc)
- Slip stitch (sl st)
- Working in the round
- Basic sewing/finishing
🔹 STEP-BY-STEP INSTRUCTIONS
🧺 Part 1: Make the Body of the Bag
1. Start with a Magic Circle (or Chain 3 and Join)
- Make a magic circle (or ch 3 and join with sl st)
- Round 1: Ch 1, work 6 sc into the ring. Sl st to join. (6 sts)
2. Increase Rounds (to make a circle base)
- Round 2: Ch 1, 2 sc in each st around. Sl st to join. (12 sts)
- Round 3: Ch 1, (1 sc, 2 sc in next st) repeat around. Sl st to join. (18 sts)
- Round 4: Ch 1, (2 sc, 2 sc in next st) repeat around. (24 sts)
- Keep increasing evenly like this until the base is approx. 6-8 inches in diameter, depending on your desired bag size and yarn amount.
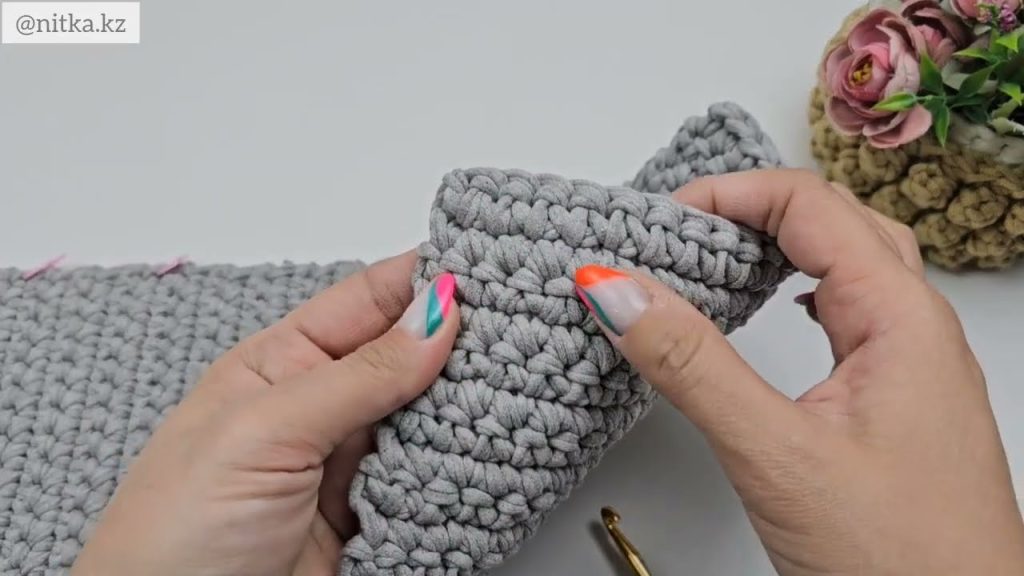
3. Build Up the Sides
- Once the base is the right size, stop increasing and start working 1 sc in each stitch around.
- Continue in rounds (no increases) to build the height of the bag. This creates the cylindrical sides.
- Work until the bag is 6–8 inches tall, or until you’re happy with the size.
- Fasten off and weave in the ends.
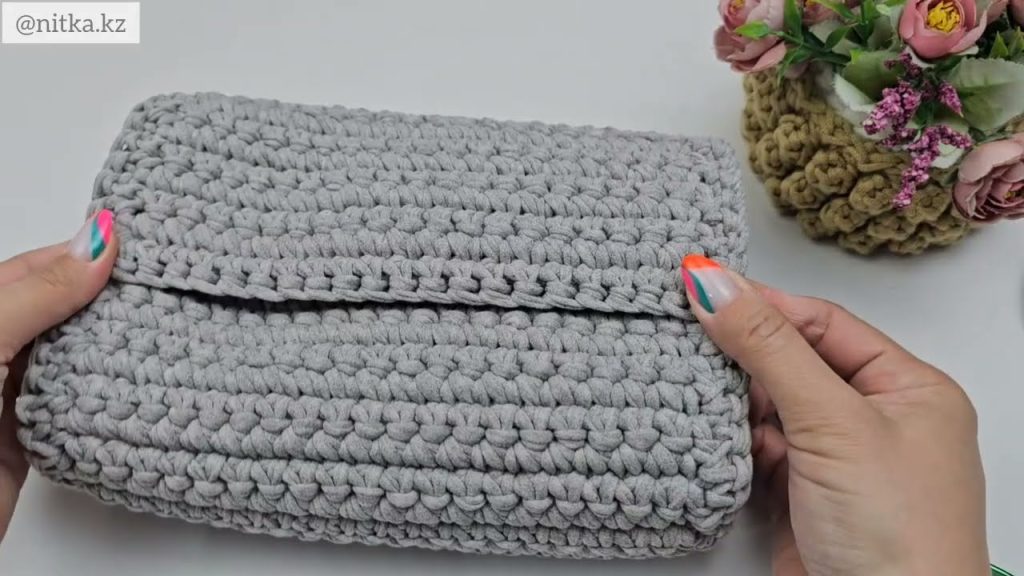
👝 Part 2: Flap (Optional but recommended for closure)
You can crochet the flap directly onto the bag or make it separately and sew it on.
Option A: Built-in Flap
- On the last round of the bag body, mark 12-14 stitches centered at the back (this will be your flap base).
- Join yarn and sc across those stitches only.
- Turn and continue working rows:
- Row 1: Sc across
- Row 2–5 (or more): Continue in rows to form a rectangular flap
- Optionally, taper the flap:
- Next Rows: Decrease 1 stitch at each end (sc2tog at start and end)
- Repeat until a triangle shape or rounded edge is formed
- Fasten off and weave in ends.
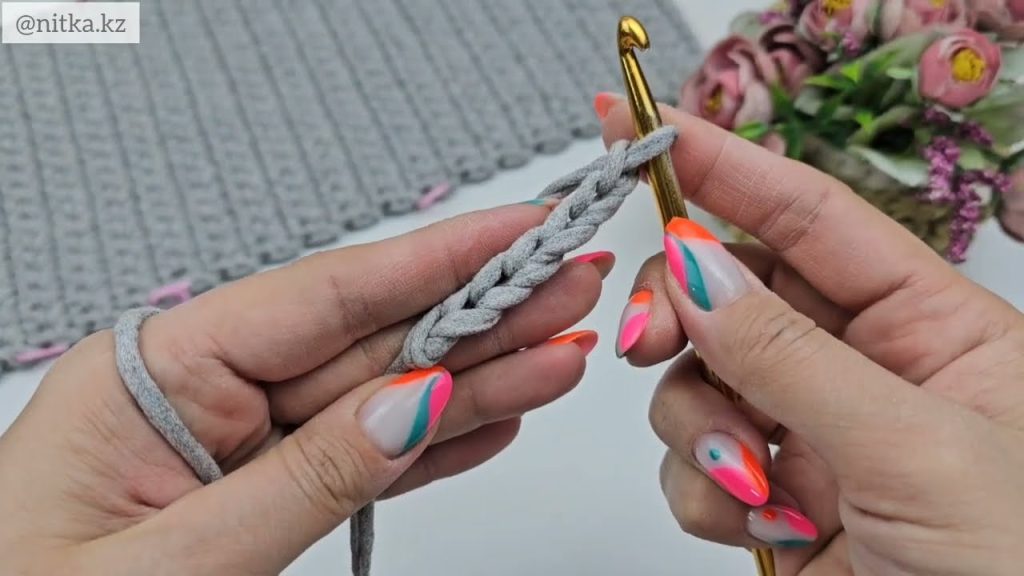
🧵 Part 3: Crossbody Strap
You can either crochet a strap or use a leather/chain strap and attach with metal rings.
Option A: Crochet Strap
- Chain to your desired strap length (approx. 45–50 inches for crossbody)
- Turn, sc in each ch
- Optionally make it wider by adding 2–3 rows
- Fasten off and sew each end securely to the top sides of the bag
Option B: Attach Pre-made Strap
- Sew or attach D-rings to each side of the bag opening
- Clip a leather, fabric, or chain strap to the rings
🔒 Part 4: Closure (Optional)
- Magnetic snap: Sew the parts inside the flap and body
- Button: Crochet a loop on the flap and sew a button on the body
- No closure: Leave open if you prefer easy access
🎨 Customization Ideas
- Add a lining with fabric for structure
- Decorate with tassels, wooden buttons, or beads
- Color block if using two colors of T-shirt yarn
- Use textured stitches (e.g., half-double crochet, bobble stitch) for extra interest
📏 Approximate Dimensions
Depending on tension and yarn thickness:
- Width: 7–9 inches
- Height: 6–8 inches
- Strap length: 45–50 inches (adjust to preference)
✅ Tips for Success
- T-shirt yarn varies in thickness — adjust your hook size as needed
- Don’t crochet too tightly — it makes the yarn hard to work with
- Use stitch markers to keep track of your rounds
- If you run out of yarn, crochet a shorter strap or use pre-made one
Watch tutorial: