 by
by Sure! Here’s a detailed guide on how to make a simple crochet balaclava, snood, or scarf, ideal for beginners and easy to adapt depending on your style or warmth preferences.
🧶 MATERIALS NEEDED:
- Yarn: Medium weight yarn (Category 4) – acrylic or wool-blend for warmth
- Crochet hook: Size 5.0 mm (H-8) or appropriate for your yarn
- Scissors
- Yarn needle: For weaving in ends
- Measuring tape
- Stitch markers (optional)
1. 🔁 BASIC STITCHES TO KNOW:
- Chain (ch)
- Slip stitch (sl st)
- Single crochet (sc)
- Half double crochet (hdc) – optional
- Double crochet (dc) – optional
🧣 OPTION 1: Simple Scarf
📝 Pattern:
- Foundation chain: Chain 25 (or however wide you want your scarf).
- Row 1: Single crochet in the second chain from hook and across. (24 stitches)
- Row 2: Ch 1, turn, sc in each stitch across.
- Repeat Row 2 until the scarf measures your desired length (typical scarves are 60–70 inches long).
- Finish off and weave in ends.
Optional:
- Add fringe to both ends.
- Use double crochet for a looser/faster pattern.
🧣 OPTION 2: Easy Snood (tube-shaped scarf)
📝 Pattern:
- Chain enough to go around your head/neck loosely – around 60–70 chains.
- Join the chain with a slip stitch to form a circle (be sure it’s not twisted).
- Round 1: Ch 1, sc in each chain around. Join with sl st.
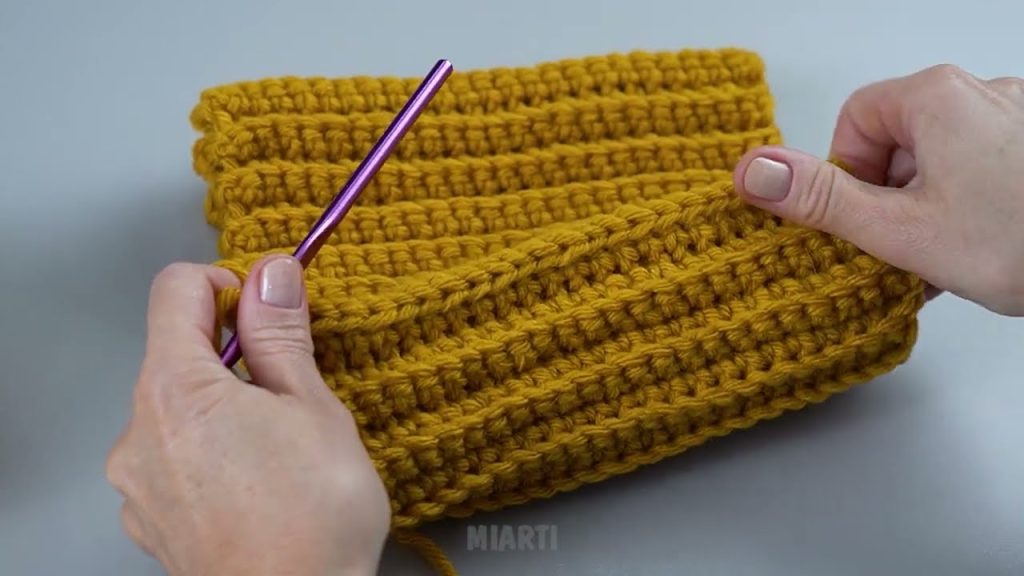
- Round 2–20+: Ch 1, sc in each st around, join with sl st.
➡️ Continue rounds until the snood is as tall as you like (usually 12–16 inches).
- Finish off and weave in ends.
Optional:
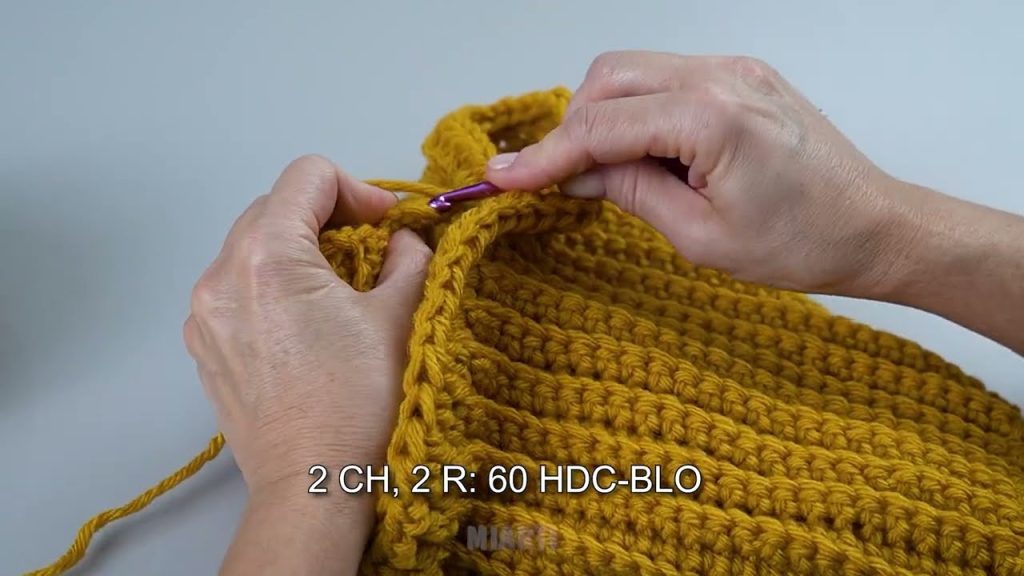
- Use half double crochet for more stretch.
- Add a drawstring or ribbing edge for coziness.
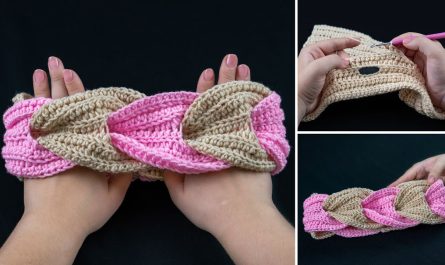
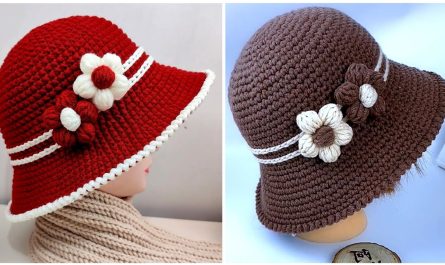
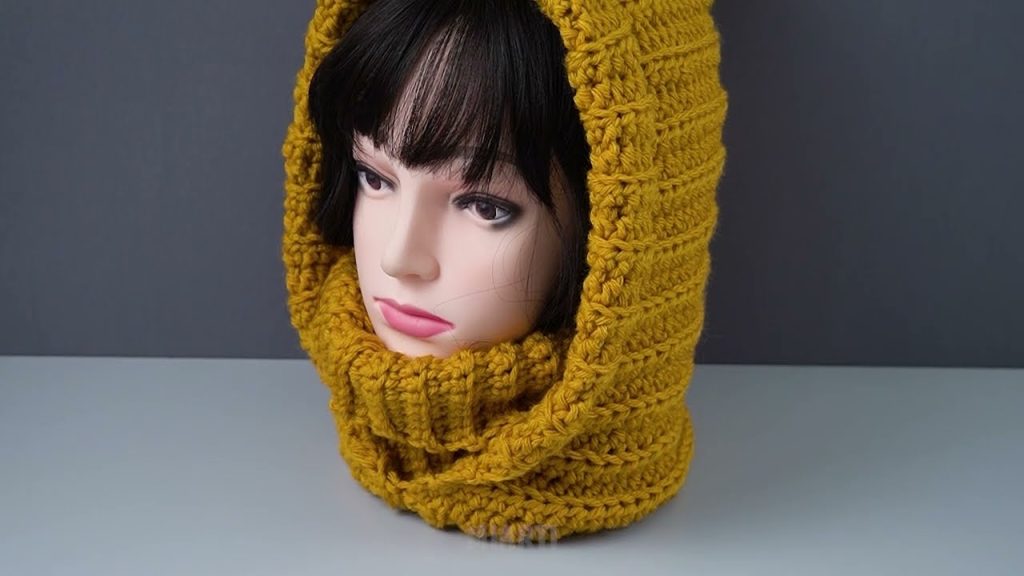
🧣 OPTION 3: Basic Crochet Balaclava (with optional face hole)
This is just a snood with a face hole!
📏 Measurements:
- Neck to top of head: Measure from the base of your neck, over your head, to your eyebrows.
- Width around head: Measure comfortably around.
🧵 Method:
You can build it in two parts:
Part A: The Neck + Face Portion (bottom to top)
- Chain 70–80 (enough to go around the neck and face loosely)
- Join to form a loop.
- Rounds 1–8: Sc (or hdc) in the round to create the neck and lower face section.
- Now, begin the face opening:
Create face hole:
- Next row (flat panel):
- Work back and forth instead of in the round.
- For 5–6 inches, crochet rows (not joined in a circle) – this leaves a gap for the face.
- After reaching desired height for the face hole, join again in the round.
Part B: Top of the Head
- Continue working in rounds, decreasing every few rows:
- Example: every 3rd round, sc2tog (single crochet two together) every 6th stitch.
- Repeat until the top closes. Use the yarn needle to sew up a small hole if needed.
🪡 Finishing Touches:
- Add a ribbed border (ch 6, sc back, sl st to edge, repeat) around the face hole or bottom.
- Add ties, pom-poms, or buttons if desired.
- Weave in all ends.
🎨 CUSTOMIZATION IDEAS
- Use variegated yarn or color block stripes.
- Add a drawstring or hood trim with faux fur yarn.
- Try a ribbed texture with front/back post stitches.
📹 WANT VIDEO HELP?
I can help you find YouTube tutorials if you’d prefer a visual guide—just let me know which one: scarf, snood, or balaclava.
Watch tutorial: