 by
by Sure! Below is a detailed, beginner-friendly guide on how to crochet a baby hat, followed by a short section on how to make a knitted baby hat (in case you meant “knitted” literally).
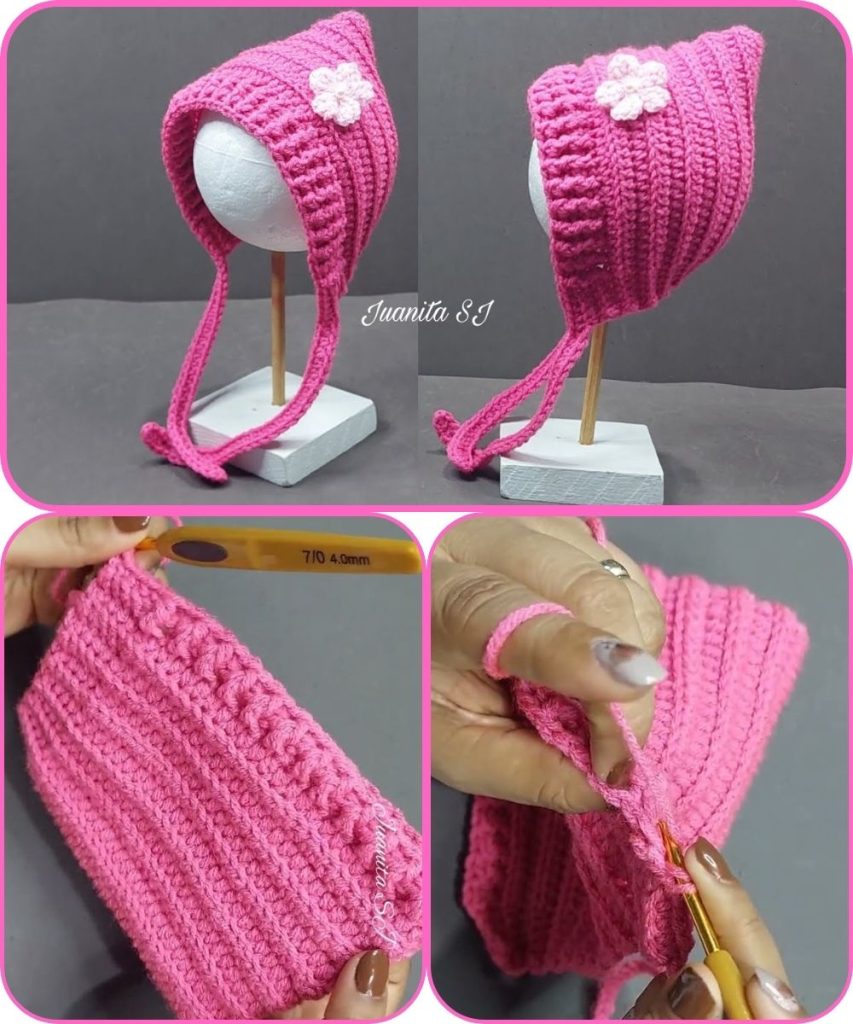
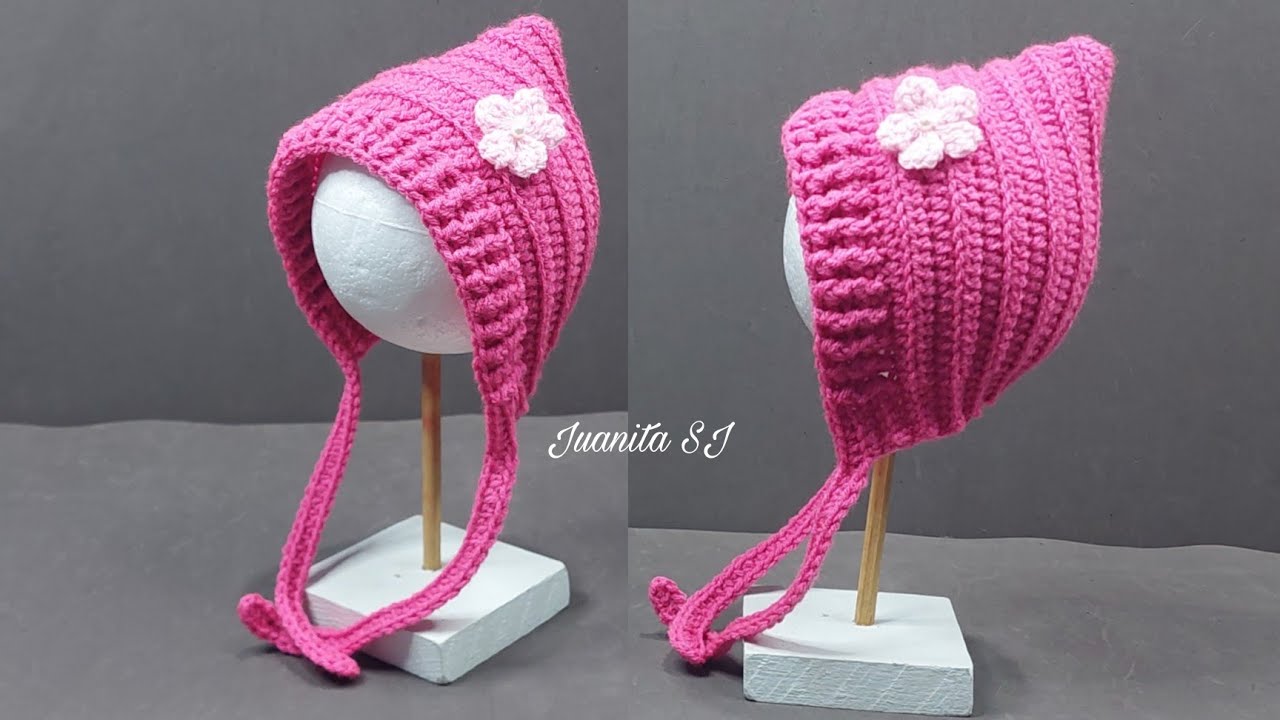
🧶 How to Crochet a Baby Hat (Step-by-Step)
🧵 Materials Needed:
- Yarn: Soft baby yarn (lightweight #3 or medium #4 acrylic/cotton blend is best for beginners)
- Crochet hook: Size H/8 (5.0 mm) or as recommended on the yarn label
- Tapestry needle: For weaving in ends
- Scissors
- Measuring tape
👶 Size Guide (Approximate):
| Age | Head Circumference | Hat Height |
|---|---|---|
| Newborn | 13–14 in (33–36 cm) | 5 in (12.5 cm) |
| 3–6 months | 14–17 in (36–43 cm) | 5.5 in (14 cm) |
| 6–12 months | 16–19 in (41–48 cm) | 6 in (15 cm) |

🪡 Step-by-Step Instructions
Step 1: Start with a Magic Ring (or Chain 4 and Join)
- Make a magic ring and chain 2 (counts as the first half-double crochet—HDC).
- Work 9 HDC into the ring. Pull the tail to tighten.
- Join with a slip stitch to the top of the starting chain (10 stitches total).
Step 2: Round 2 – Increase
- Chain 2. Work 2 HDC in each stitch around.
- Join with a slip stitch. (20 stitches total)
Step 3: Round 3 – Continue Increasing
- Chain 2.
- 1 HDC in the first stitch, 2 HDC in the next stitch — repeat around.
- Join with a slip stitch. (30 stitches total)

Step 4: Round 4 – Increase Again
- Chain 2.
- 1 HDC in the first 2 stitches, 2 HDC in the next — repeat around.
- Join. (40 stitches total)
👉 Continue increasing (1 more single stitch between increases each round) until the crown circle measures about 4.5–5 inches (11–13 cm) across for a 3–6 month size.
Step 5: Rounds 5–10 – Build the Body
- Chain 2.
- Work 1 HDC in each stitch around (no increases).
- Join with a slip stitch at the end of each round.
- Continue until the hat reaches the height listed in the size guide.
Step 6: Finishing Edge
- For a simple edge: work 1 single crochet (SC) around the rim for one round.
- For a ribbed look: alternate front post double crochet (FPDC) and back post double crochet (BPDC) stitches for 2 rounds.
Step 7: Weave in Ends
- Cut the yarn, leaving a 6-inch tail.
- Use your tapestry needle to weave in loose ends securely.
Optional Additions:
- Add a pom-pom or crocheted flower on top.
- Embroider initials or a small heart for decoration.
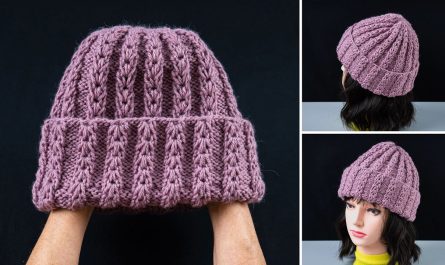
🧶 How to Knit a Baby Hat (Simple Pattern)
If you prefer knitting, here’s a quick guide for a basic stockinette hat.
Materials:
- Yarn: Soft baby yarn (same as above)
- Needles: US size 8 (5 mm) circular needles or double-pointed needles (DPNs)
- Stitch marker, yarn needle, scissors
Steps:
- Cast On:
- For a 3–6 month hat: cast on 64 stitches using the long-tail cast-on method.
- Join to knit in the round, being careful not to twist stitches. Place a stitch marker.
- Brim:
- Knit 1, purl 1 (K1, P1) ribbing for 1.5 inches (4 cm).
- Body:
- Knit every round (stockinette stitch) for 3.5–4 inches (9–10 cm).
- Shape the Crown:
- Round 1: (K6, K2tog) repeat around.
- Round 2: Knit.
- Round 3: (K5, K2tog) repeat.
- Continue decreasing every other round until ~8 stitches remain.
- Finish:
- Cut yarn, thread through remaining stitches, and pull tight.
- Weave in ends with a yarn needle.
- Add decorations if desired (pom-pom, bow, or little ears).
🌟 Tips for Success
- Use soft, washable yarns for baby projects (avoid wool unless it’s labeled “baby soft” or “superwash”).
- Check gauge—babies’ heads vary, so measure if possible.
- Keep tension even; loose stitches make the hat softer and stretchier.
- Wash and block the hat before gifting to remove any residue and shape it nicely.
Would you like me to include illustrations or step-by-step diagrams (crochet round progression or stitch visuals)? I can generate them for you.
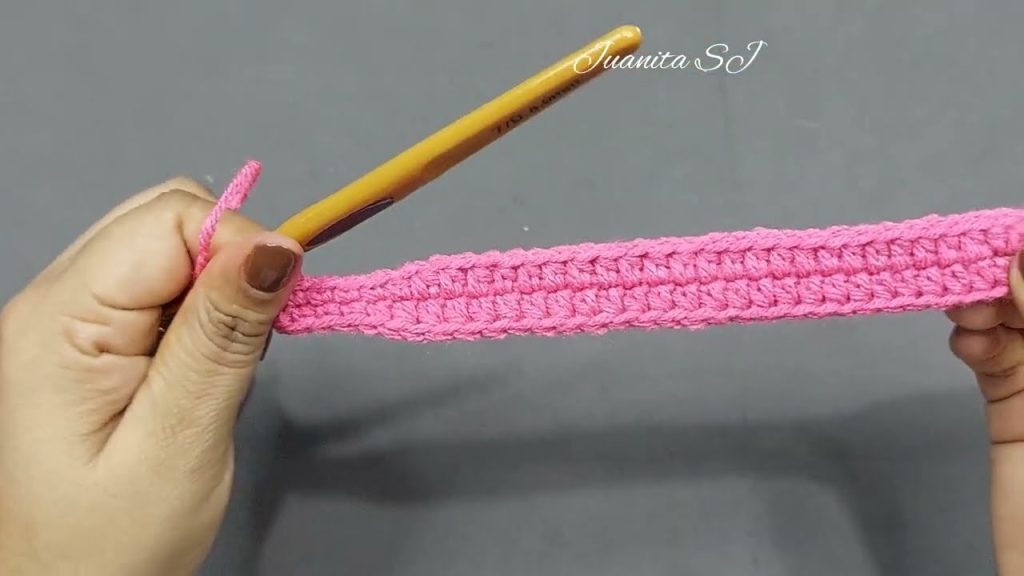
Watch tutorial: