 by
by Absolutely! Here’s a detailed step-by-step guide for making a beautiful trapezoid crochet shopper bag from 2 skeins of T-shirt yarn — simple, stylish, and sturdy enough for everyday use.
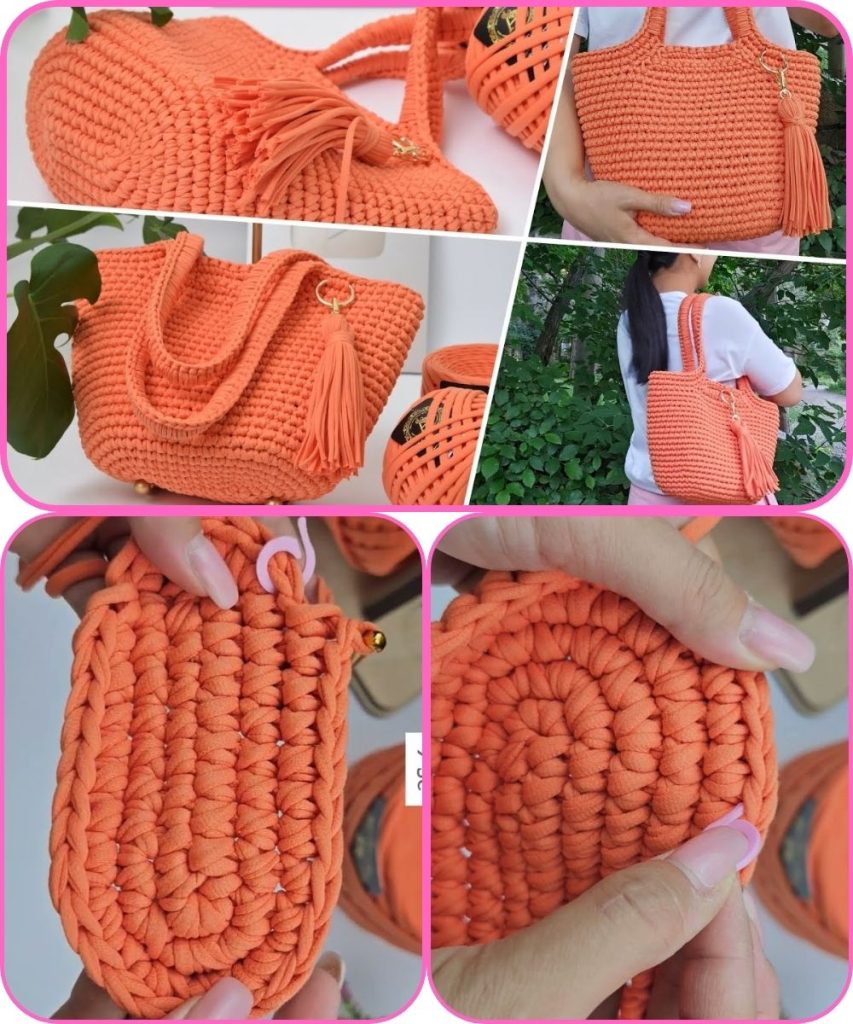
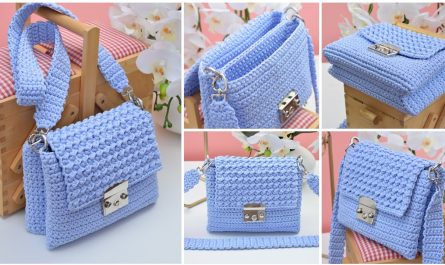
🧶 Crochet Trapezoid Shopper Bag from 2 Skeins of T-Shirt Yarn
🌸 Overview
This crochet bag has a light trapezoid shape — wider at the top and narrower at the base — giving it a chic shopper look. It’s worked mostly in simple stitches (ideal for beginners to intermediates) and can be completed in one weekend.
🪡 Materials
- T-shirt yarn: 2 skeins (approximately 600–800 g total)
- Cotton or cotton-blend works best.
- Choose soft, even-textured yarn for a smooth finish.
- Crochet hook: 8 mm (L–11) or size suitable for your yarn
- Scissors
- Large yarn needle
- Stitch markers (optional)
- Handles: You can crochet them or use leather/wooden handles.
- Optional lining fabric (if you want a neat inner finish)
🧩 Size (approximate)
- Base width: 25–30 cm
- Top width: 40–45 cm
- Height: 30–32 cm
You can easily adjust by adding or removing rows.
🧵 Pattern Instructions
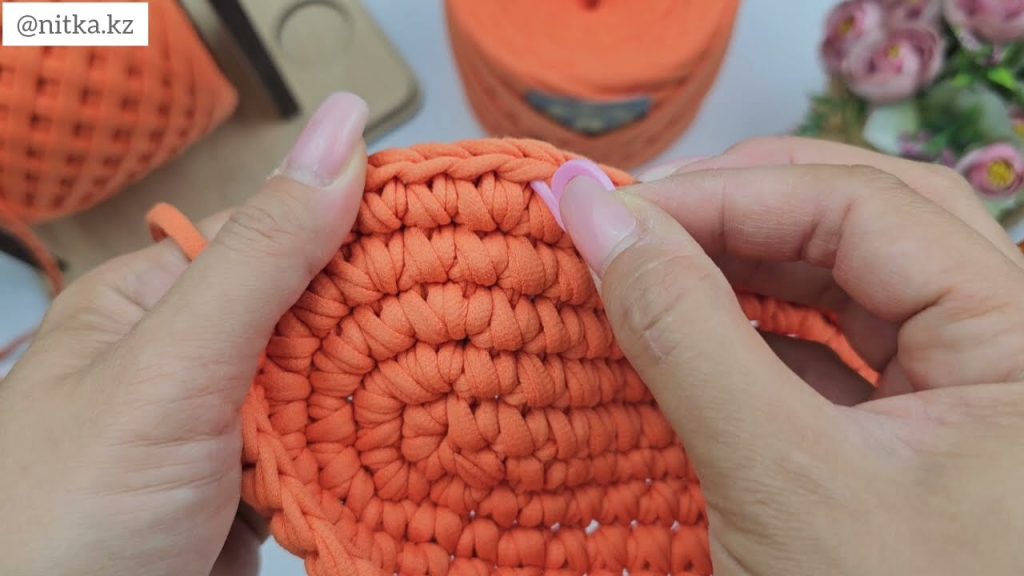
Step 1: Make the Base (Oval)
- Foundation chain:
Chain 22 (for a medium bag base; adjust for larger or smaller size). - Round 1:
- 1 single crochet (sc) in the 2nd chain from hook.
- 1 sc in each chain across (20 sc).
- In the last chain, make 3 sc (to round the corner).
- Work along the opposite side of the foundation chain with 1 sc in each chain.
- In the last chain, make 2 sc (to round the second corner).
- Join with a slip stitch (sl st).
- Total: 45 sc.
- Round 2–3:
- Continue working in the round, increasing at both ends (3 sc at each curve) until the base is the desired size — about 8–10 cm wide.
- Slip stitch to join.
- Don’t cut the yarn.
👉 Tip: Make sure your base lies flat; adjust increases if it curls or waves.
Step 2: Form the Body (Trapezoid Shape)
- Round 1:
- Work 1 half double crochet (hdc) in the back loop only around the base.
- Join with a slip stitch — this creates a nice edge.
- Round 2–8:
- Work in hdc stitches in each round, joining with a sl st.
- No increases. This forms the straight bottom portion of the bag.
- Start shaping the trapezoid:
- From Round 9 onward, increase slightly every 5 stitches by adding an extra hdc (so the bag widens toward the top).
- Continue for 6–8 rounds until the top is about 40–45 cm wide.

Step 3: Add Texture (Optional)
If you want a light patterned texture, try alternating stitches:
- Round 14: 1 hdc, 1 slip stitch repeat — gives a subtle ribbed design.
- Round 15: hdc in each stitch to smooth out the pattern.
Repeat this combination 2–3 times for a woven-like texture.
Step 4: Make the Handles
You can crochet handles directly into the bag or attach pre-made ones.
Option A: Built-In Handles
- Mark the center of both sides.
- Leave about 10 stitches unworked for each handle gap.
- Continue crocheting around, chaining 10 where the gap is.
- Next round: hdc into each chain to form a solid handle base.
- Work 1–2 more rounds to reinforce the handle area.
Option B: Attached Handles
- Sew leather or bamboo handles using yarn and a large needle after finishing the body.
Step 5: Finishing
- Fasten off and weave in all yarn ends with the needle.
- (Optional) Steam-block lightly to shape it neatly.
- (Optional) Add lining:
- Cut fabric to fit inside.
- Sew it by hand or machine, then stitch into the bag with a tapestry needle.
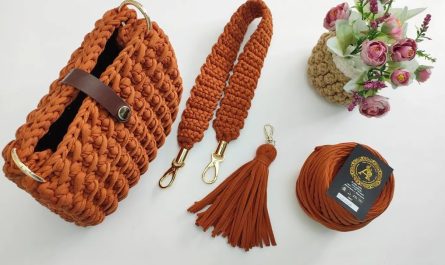
🪶 Optional Embellishments
- Crochet a flower, tassel, or charm for decoration.
- Add a button or magnetic snap for closure.
- Mix yarn colors — e.g., natural base + pastel top.
🧺 Care Tips
- Hand-wash gently with cold water.
- Air dry flat.
- Avoid hanging it with heavy items when wet (to prevent stretching).
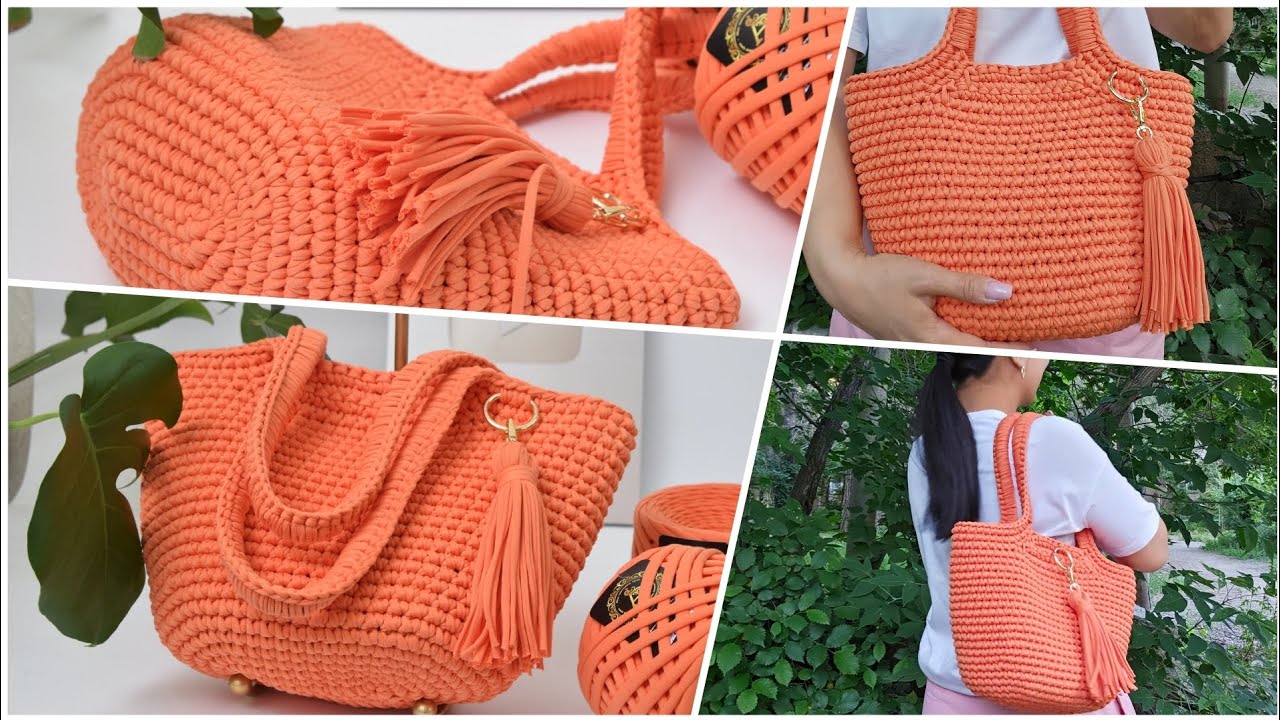
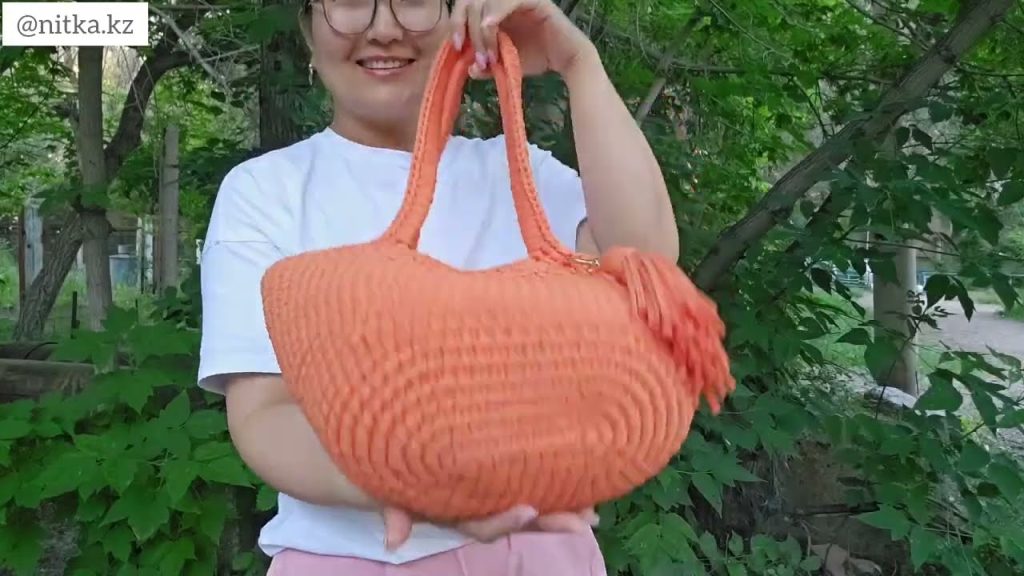
🌼 Result
You’ll have a beautiful, lightweight trapezoid shopper bag that’s:
- Durable
- Modern and minimalist
- Perfect for shopping, the beach, or casual outings
Watch tutorial: