 by
by Sure! Here’s a detailed, step-by-step guide on how to crochet a collar of any size — adjustable for both adults and children. You can use this method to make detachable collars for dresses, shirts, sweaters, or even as stylish neck accessories.
🧶 How to Crochet a Collar (for Any Size)
✨ Overview
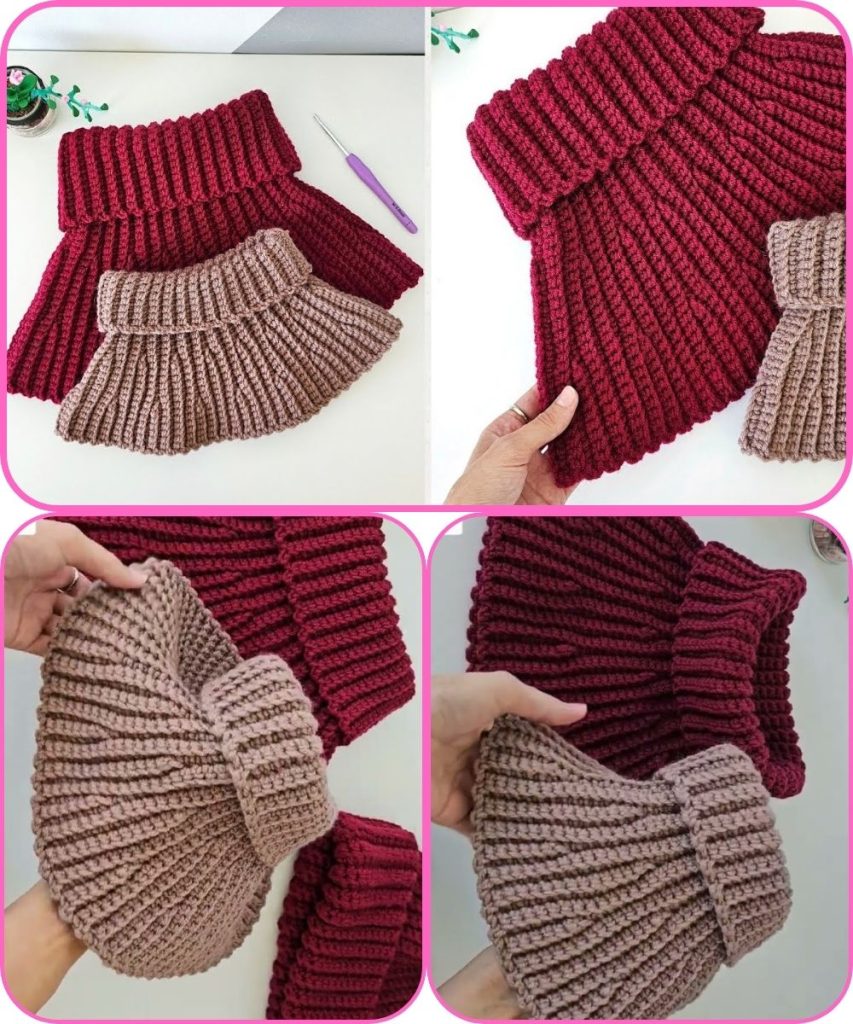
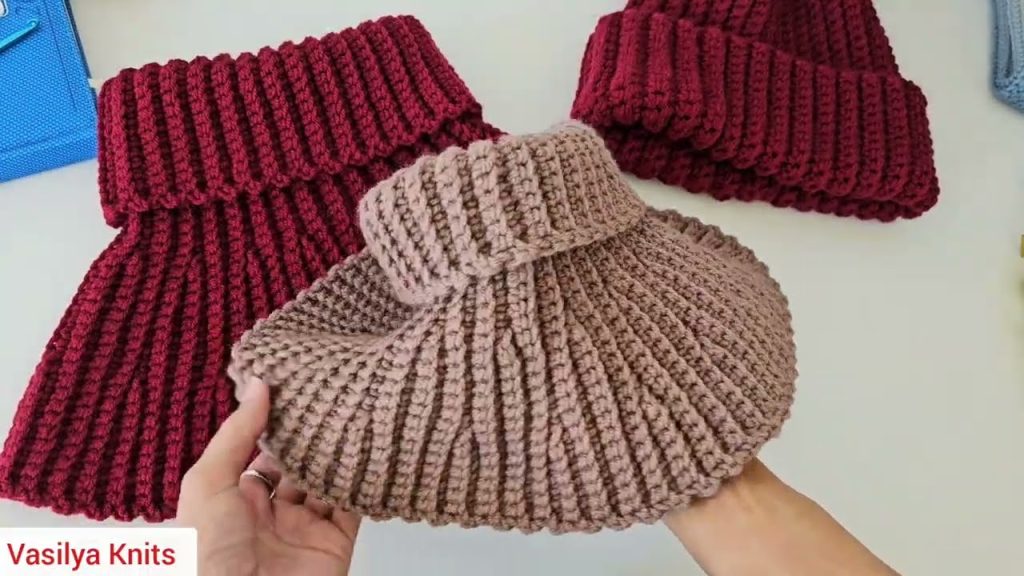
Crocheted collars can be made in various designs — from delicate lace to simple ribbed styles. The method below teaches you a basic customizable crochet collar pattern that you can size up or down for adults or children.
🧰 Materials Needed
- Yarn: Choose a yarn weight suitable for your desired look.
- For delicate collars: Fingering or sport-weight cotton.
- For thicker collars: DK or worsted-weight yarn.
- Crochet hook: Match your hook size to your yarn (check the yarn label for suggestions).
- Scissors
- Yarn needle (for weaving in ends)
- Measuring tape
- Optional: Button(s), ribbon, or snap fasteners for closure.
📏 Step 1: Measure the Neck
- Use a measuring tape to measure around the base of the neck where you want the collar to sit.
- Children: Around 9–12 inches (23–30 cm)
- Adults: Around 14–16 inches (35–40 cm)
- Add ½ inch (1–1.5 cm) extra for comfort and overlap if you plan to add a button closure.
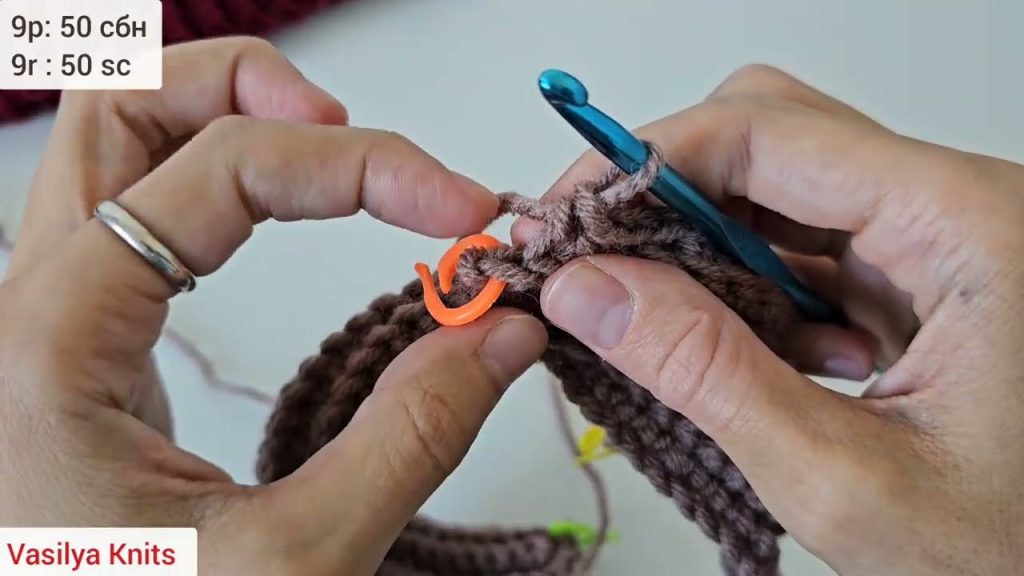
🪡 Step 2: Make a Foundation Chain
- Create a slip knot and chain a number of stitches equal to your neck measurement in inches × your stitch gauge.
- Example: If your gauge is 4 stitches per inch, and your neck measures 14 inches, then:
- 4 × 14 = 56 chains.
- Example: If your gauge is 4 stitches per inch, and your neck measures 14 inches, then:
- This chain forms the base of your collar.
- If you want a rounded Peter Pan–style collar, make a shorter chain (about ¾ of neck circumference), as you’ll crochet increases later to curve it.
🧵 Step 3: Crochet the Base Row
- Work 1 row of single crochet (sc) or half double crochet (hdc) across the foundation chain.
- This forms a sturdy base edge.
- Chain 1 and turn your work.
🌀 Step 4: Shape the Collar
You can shape the collar in two main ways — flat (for simple collars) or curved (for Peter Pan or scalloped collars).
Option A: Flat Collar (Simple or Ribbed Look)
- Continue working even rows of single crochet, half double crochet, or your chosen stitch (like shell or lace stitch).
- Stop when the collar is your desired width (usually 2–3 inches for adults, 1.5–2 inches for children).
- Add edging (see Step 5).
Option B: Curved Collar (Rounded Peter Pan Style)
- On every row, increase 1–2 stitches at each end for 3–5 rows to create a gentle curve.
- Once the collar reaches the desired width, work evenly (no increases) for 2 more rows.
- This makes the collar flare slightly and sit nicely around the neckline.
🌸 Step 5: Add Edging or Decorative Stitch
To make your collar pretty and polished, add an edge:
- Scalloped Edge:
(Skip 1 st, 5 dc in next st, skip 1 st, sl st in next) — repeat across. - Picot Edge:
(Sc in next 2 sts, ch 3, sl st in same st) — repeat around edge. - Lace Edge:
Try fan stitches, shells, or open mesh patterns for a delicate look.
🧷 Step 6: Finishing & Closure
- Fasten off and weave in all loose ends with a yarn needle.
- Add your preferred closure:
- Button: Sew one button on one end and make a chain loop on the other.
- Ribbon ties: Thread small ribbons through the corners.
- Snap fastener or hook-and-eye: For a hidden closure.
🧶 Optional: Adjusting for Different Sizes
| Size | Approx. Neck Circumference | Foundation Chain (Using 4 sts/inch Gauge) | Suggested Width |
|---|---|---|---|
| Toddler | 10 in / 25 cm | 40 ch | 1.5 in |
| Child | 12 in / 30 cm | 48 ch | 2 in |
| Teen/Adult Small | 14 in / 35 cm | 56 ch | 2.5 in |
| Adult Medium | 15 in / 38 cm | 60 ch | 3 in |
| Adult Large | 16 in / 40 cm | 64 ch | 3 in |
Adjust as needed depending on your yarn and stitch pattern.
💡 Tips for Success
- Block your finished collar gently with steam or water to make it lay flat.
- Experiment with stitch patterns — shells, mesh, puff stitches, or lace work beautifully.
- Try two-tone yarns or contrasting edgings for a stylish effect.
- You can crochet the collar directly onto a garment neckline or make it detachable.
Watch tutorial: