 by
by Absolutely! Here’s a detailed, easy-to-follow guide on how to make a stylish crochet headband that can be customized for any size — from babies to adults.
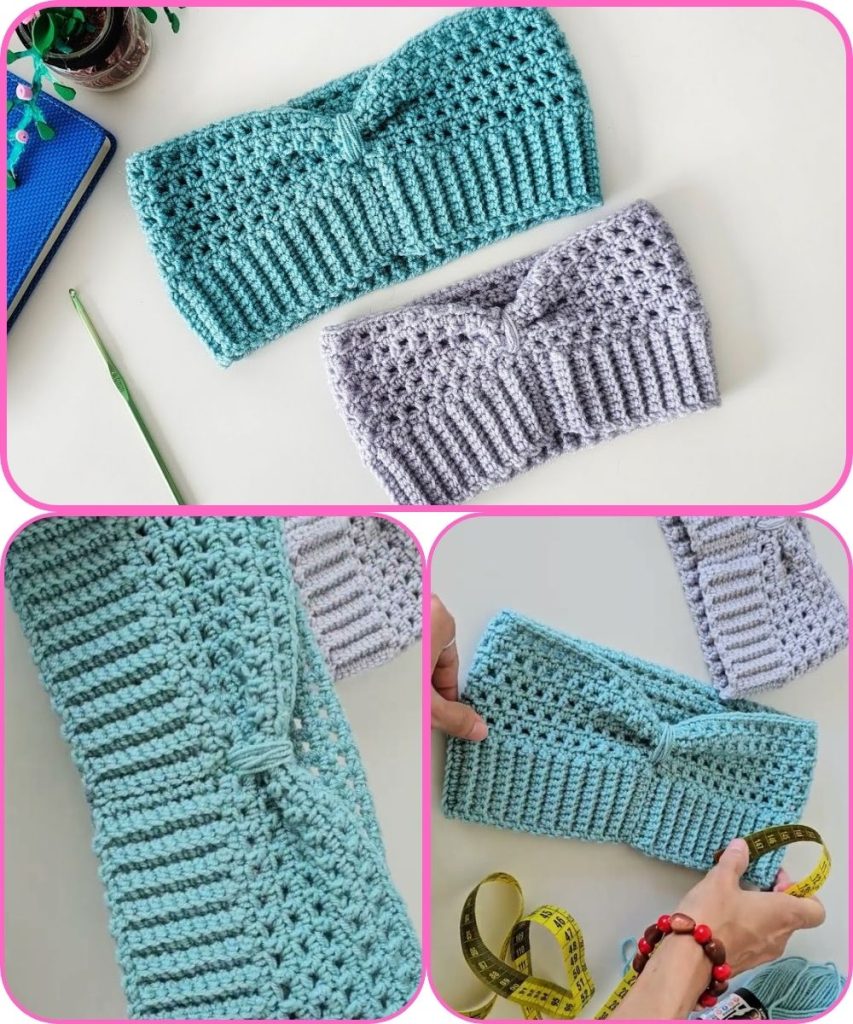
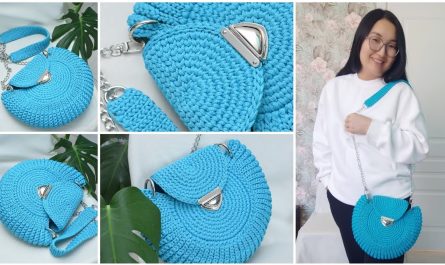
🧶 How to Make a Stylish Crochet Headband (Custom Size)
✨ Overview
This crochet headband is soft, stretchy, and can be made in various styles — simple, twisted, or with decorative stitches. It’s a great beginner-friendly project that only takes a little yarn and time.
🧵 Materials You’ll Need
- Yarn: Medium-weight (Category 4) yarn, such as acrylic or cotton
Tip: Choose a soft yarn for comfort. - Crochet hook: Size H/5 mm (or suitable for your yarn weight)
- Scissors
- Tapestry needle (for weaving in ends)
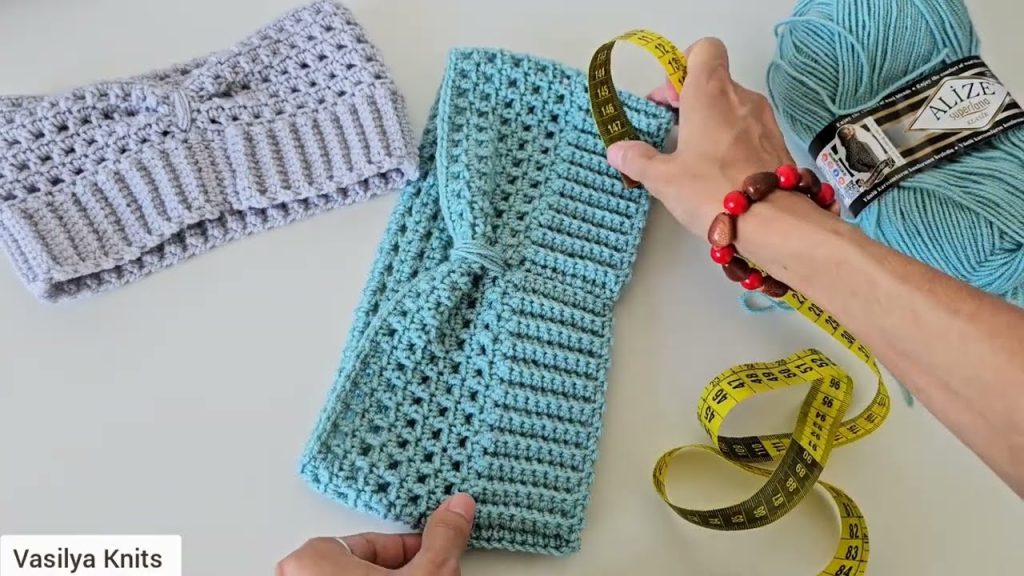
- Measuring tape
📏 Step 1: Measure for the Perfect Fit
You’ll need to know the head circumference of the person you’re making it for.
Here’s a handy size guide:
| Size | Head Circumference | Headband Length (approx. 2″ less for stretch) |
|---|---|---|
| Baby | 14–16 in (35–40 cm) | 12–14 in (30–35 cm) |
| Child | 17–19 in (43–48 cm) | 15–17 in (38–43 cm) |
| Teen/Adult | 20–22 in (50–56 cm) | 18–20 in (46–51 cm) |
Subtract about 2 inches (5 cm) from the actual head circumference to allow stretch.
🔗 Step 2: Choose a Stitch Pattern
Here are three stylish options:
- Basic Single Crochet (SC) Band:
- Classic and stretchy; good for beginners.
- Half Double Crochet (HDC) Ribbed Band:
- Looks like knit ribbing and feels cozy.
- Twisted Headband:
- Fashionable and easy to make; perfect for gifts.
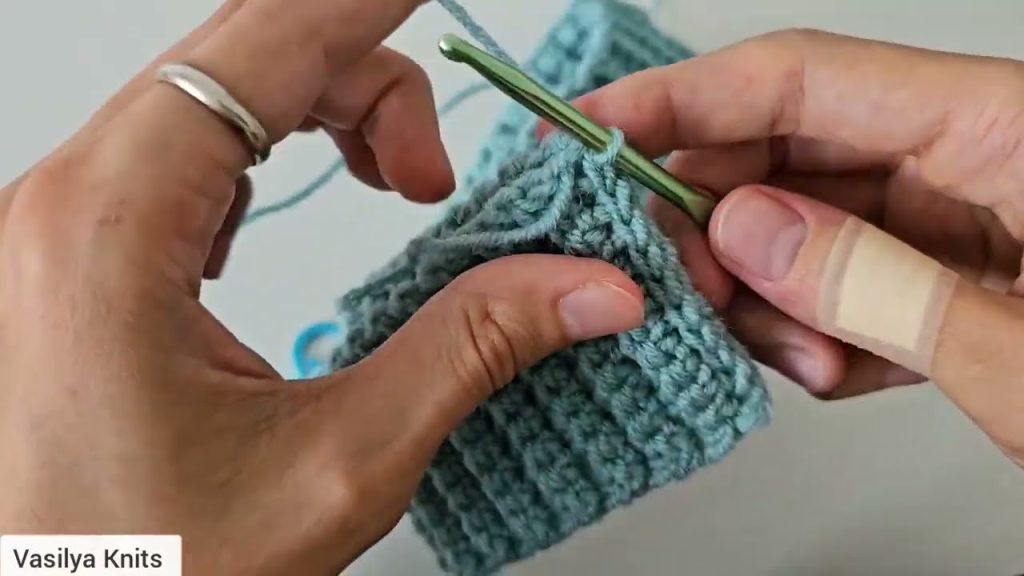
🪡 Step 3: Crochet the Band
Option 1: Basic Single Crochet Band
- Foundation chain: Chain the width you want (usually 3–5 inches / 7–12 cm).
- Row 1: SC in the 2nd chain from hook and across. Chain 1, turn.
- Row 2: SC in each stitch across. Chain 1, turn.
- Repeat Row 2 until your band reaches the desired length (from the size chart above).
- Join ends: Fold the strip and slip stitch or whip stitch the short ends together.
- Finish: Weave in all ends with your tapestry needle.
Option 2: Ribbed Half Double Crochet Band
- Foundation chain: Chain 10–15 (for desired width).
- Row 1: HDC in 2nd chain from hook and across. Chain 1, turn.
- Row 2: HDC in the back loop only (BLO) across. Chain 1, turn.
- Repeat Row 2 until the piece is your desired length.
- Join ends: Sew or slip stitch short ends together.
- Finish: Weave in ends neatly.
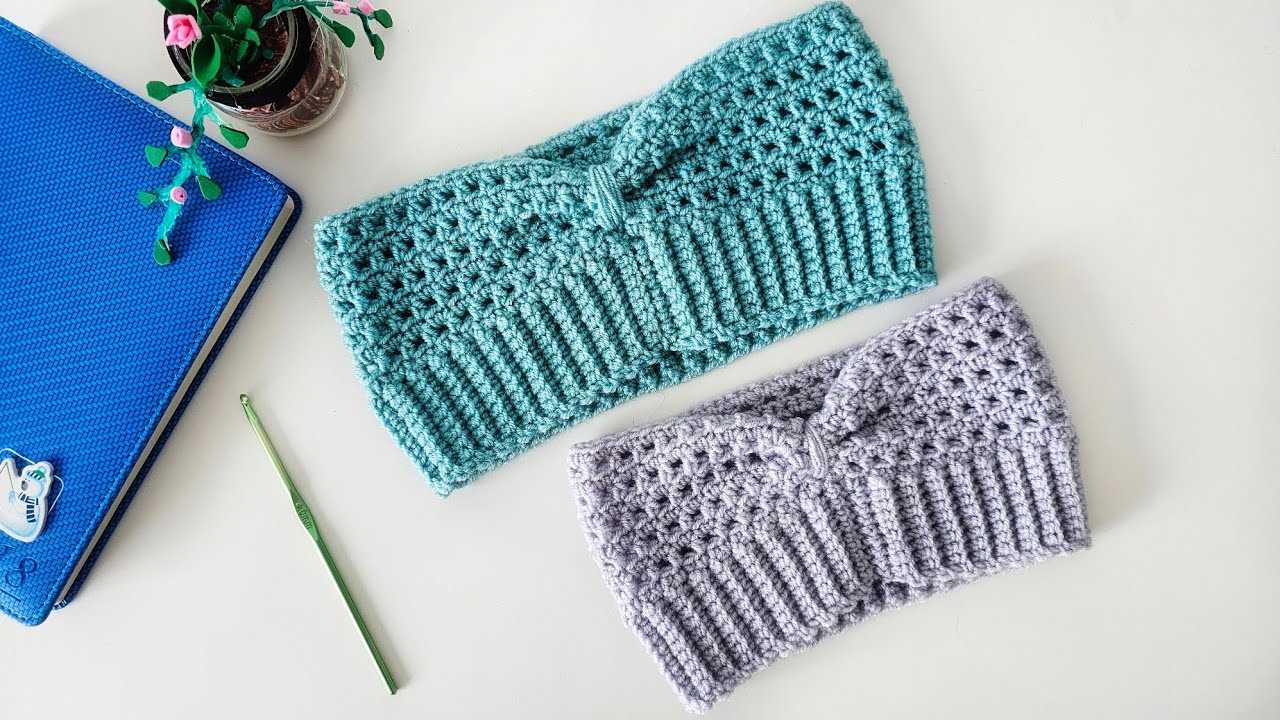
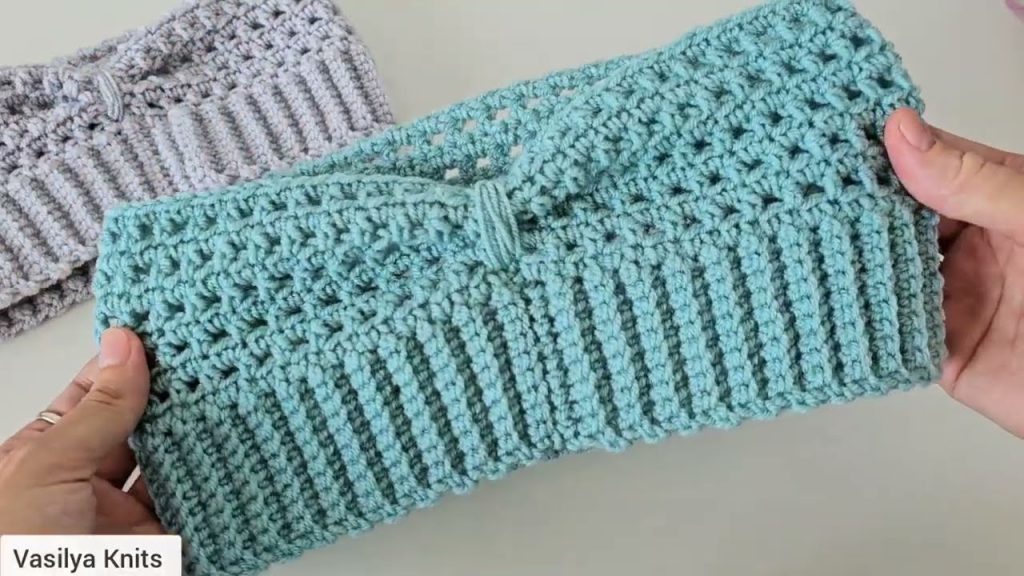
Option 3: Twisted Headband (Stylish Look)
- Follow either the SC or HDC ribbed version to make a rectangle.
- Lay the rectangle flat.
- Fold each short end into a “C” shape and nest them together (like interlocking fingers).
- Sew through all four layers.
- Turn inside out — voilà! You’ve got a twisted knot-style headband.
🌸 Step 4: Add Stylish Touches
You can personalize your headband with:
- Buttons or bows
- Crochet flowers
- Beads or embroidery
- Contrasting yarn edging (use slip stitches or single crochets around edges)
🧼 Step 5: Finishing & Care
- Weave in all yarn ends securely.
- If needed, gently block the headband to even out stitches.
- Wash gently in cool water and air dry to keep its shape.
💡 Tips for Customization
- To make it wider, chain more stitches at the beginning.
- To make it thinner, chain fewer.
- For a stretchier band, use ribbing (HDC in back loop only).
- Add a color change halfway for a trendy two-tone look.
Watch tutorial: