 by
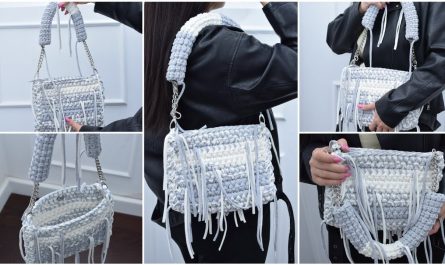
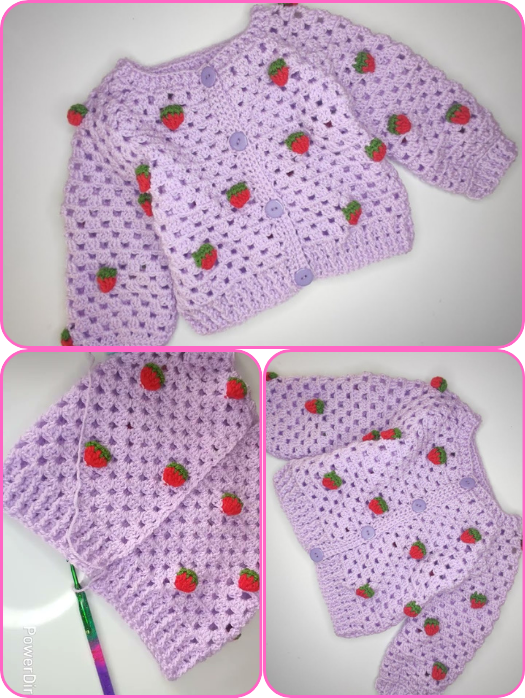
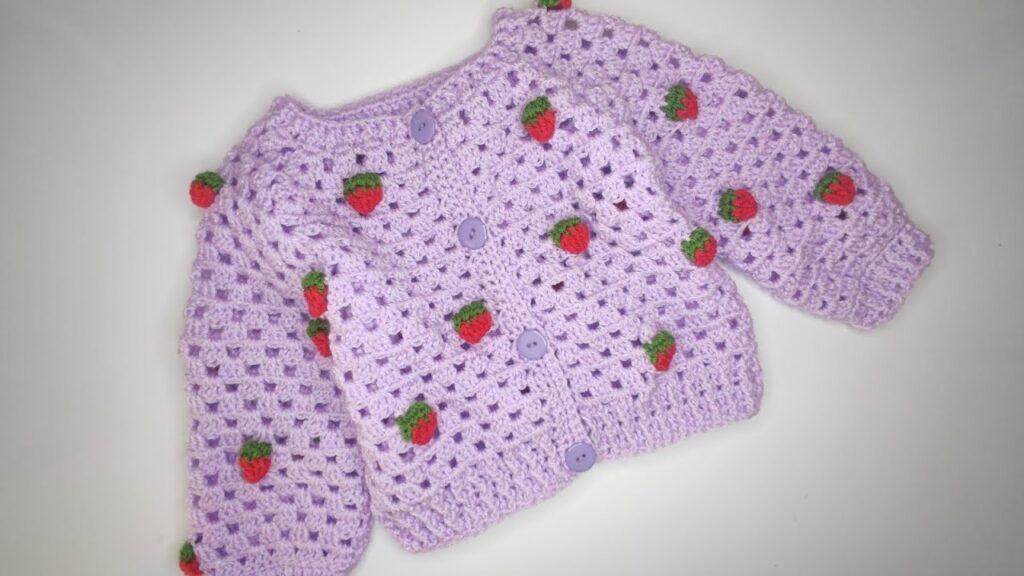
by Crocheting a “Strawberry” Baby Cardigan is a fun and charming project! This type of cardigan often features strawberry-inspired colors (like red, green, and white), maybe even some cute strawberry motifs or bobble-like textures resembling the fruit.
Here’s a detailed step-by-step guide to help you crochet a strawberry-themed cardigan — perfect for a baby or toddler!
🍓 How to Crochet a “Strawberry” Baby Cardigan
Skill Level: Intermediate
Sizes: 0–6 months (you can scale up with a larger hook or more stitches)
🧶 Materials Needed:
- Yarn:
- Red (main body) – approx. 200g
- Green (for collar and sleeve trim) – 50g
- White (optional – for seeds or strawberries) – 25g
- Yarn weight: DK (Category 3 or Light worsted)
- Hook: 4.0 mm (G) or as needed for gauge
- Buttons (3–5 small ones)
- Yarn needle
- Scissors
- Stitch markers
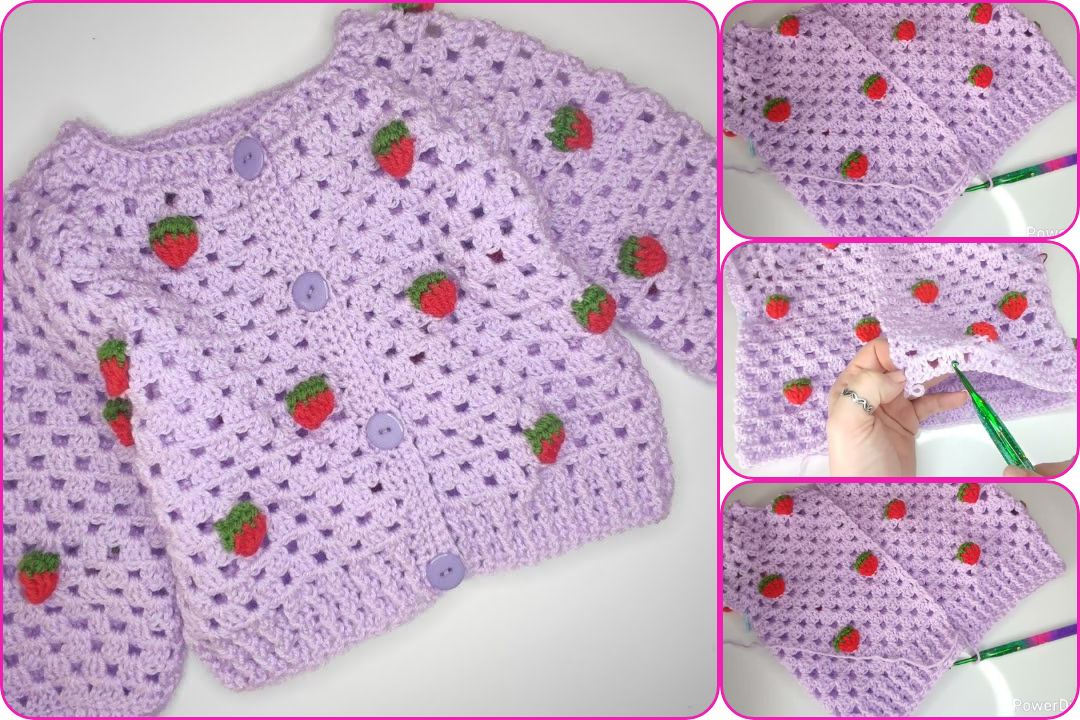
✨ Design Elements:
- Red body to resemble strawberries 🍓
- Green collar and sleeve cuffs to resemble strawberry leaves 🌿
- Optional white embroidered seeds or bobble stitch for texture
🧵 Step-by-Step Instructions
✅ Step 1: Make the Yoke (Top/Neck Area)
Foundation Chain:
- Chain 52 (for 0–6 months)
- Row 1: DC in the 4th chain from hook and across (49 DC)
Creating Raglan Increases:
- Rows 2–6: Use stitch markers to mark where you will increase:
- Front left, sleeve, back, sleeve, front right
- Increase by working (DC, ch 1, DC) into each marked point every row
Tip: End each row with a ch 2, turn.
You’ll now have a T-shape forming with a wider base.
✅ Step 2: Shape the Armholes
After the yoke reaches ~4 inches deep:
- Row 7:
- DC across front panel
- Skip sleeve stitches (put on a holder or chain across — usually 6–8 stitches)
- DC across back
- Skip next sleeve
- DC across second front panel
You’ve now formed the body of the cardigan.
✅ Step 3: Work the Body
Red Section (Main Strawberry Color):
- Continue working in rows using DC or alternate with bobble stitch rows to give a bumpy strawberry texture.
Optional Seed Texture Row:
- Every 3–4 rows, add white stitches:
- (SC in 3 sts, white puff or bobble in next) across the row.
Work for about 6–7 inches from underarm (or desired length)
Finish with a green scalloped edge to resemble strawberry leaves.
Leafy Trim (Green Edge):
- (SC in 1st st, skip 1, 5 DC in next, skip 1, SC) repeat across bottom
✅ Step 4: Make the Sleeves
Go back to the sleeves:
- Attach red yarn to sleeve hole
- Work in rounds with DC
- Taper slightly by doing DC2TOG every 3 rounds
- Make sleeve ~4–5 inches long
Finish with green cuffs in the same leafy scalloped pattern.
✅ Step 5: Create the Button Band
- Add SC rows on each front panel edge to create a button flap.
- One side: evenly space buttonholes (chain 2, skip 2 sts)
- Other side: sew small buttons
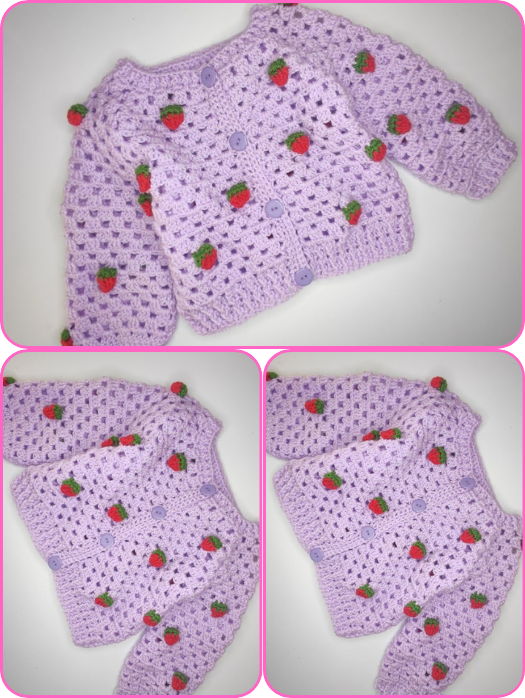
Add small strawberry buttons for extra cuteness 🍓
✅ Step 6: Add Details
- Embroider small white “seeds” with yarn needle
- Crochet mini strawberries (optional):
- Make small red teardrop shapes with green tops
- Sew on neckline or hem
🧼 Finishing and Care
- Weave in all ends neatly
- Steam block the cardigan if needed (avoid ironing acrylic directly)
- Hand wash in cold water or gentle machine cycle
- Lay flat to dry
🍓 Optional Strawberry Motif (Appliqué Pattern)
Make a tiny strawberry to sew on the chest or pockets:
Red Berry:
- Magic ring, 6 SC inside
- Inc around (12)
- (SC, inc) around (18)
- 2 rounds SC
- Dec around, stuff lightly
- Fasten off
Green Leaf Top:
- Attach green, (ch 3, slip stitch in next stitch) around top
Watch video: