 by
by Here is a clear, beginner-friendly, detailed guide you can use for a project, blog post, or assignment.
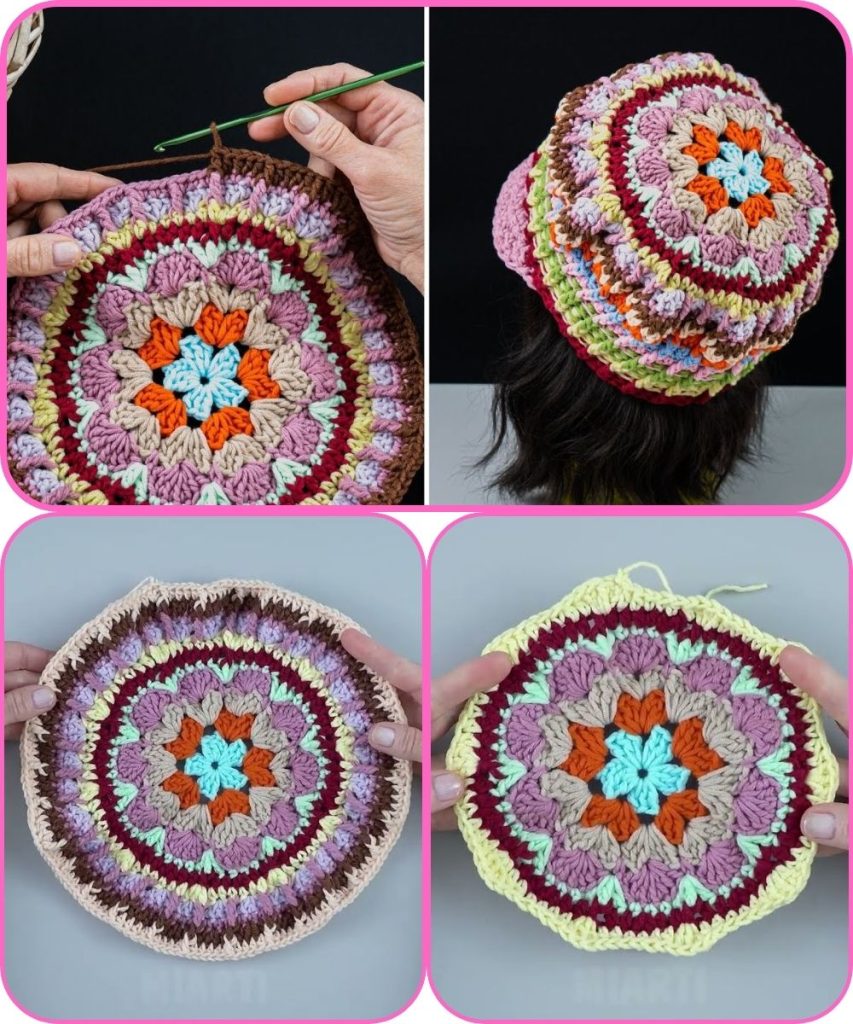
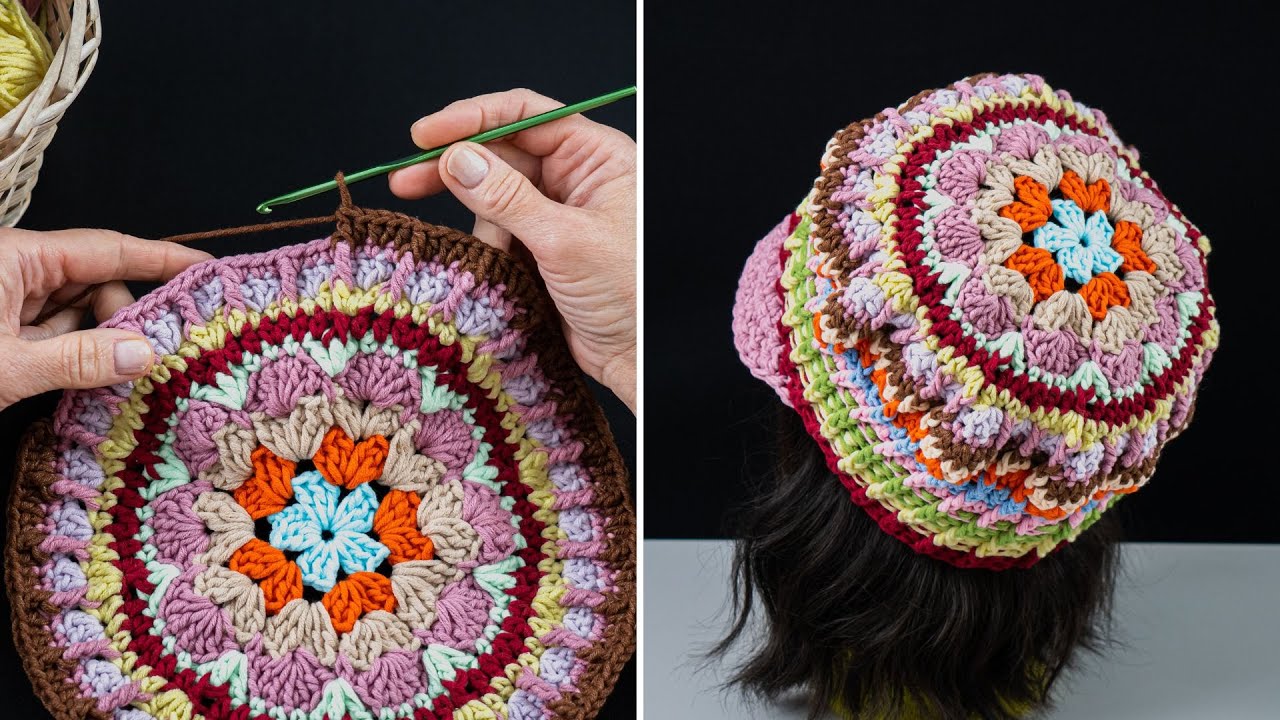
How to Make an Easy Multicolor Crochet Granny Squares Hat
A multicolor crochet granny squares hat is a fun and creative project that is perfect for beginners. It uses simple crochet stitches and small square motifs that are joined together to form a cozy and stylish hat. You can customize the colors, size, and design to make it unique.
Materials Needed
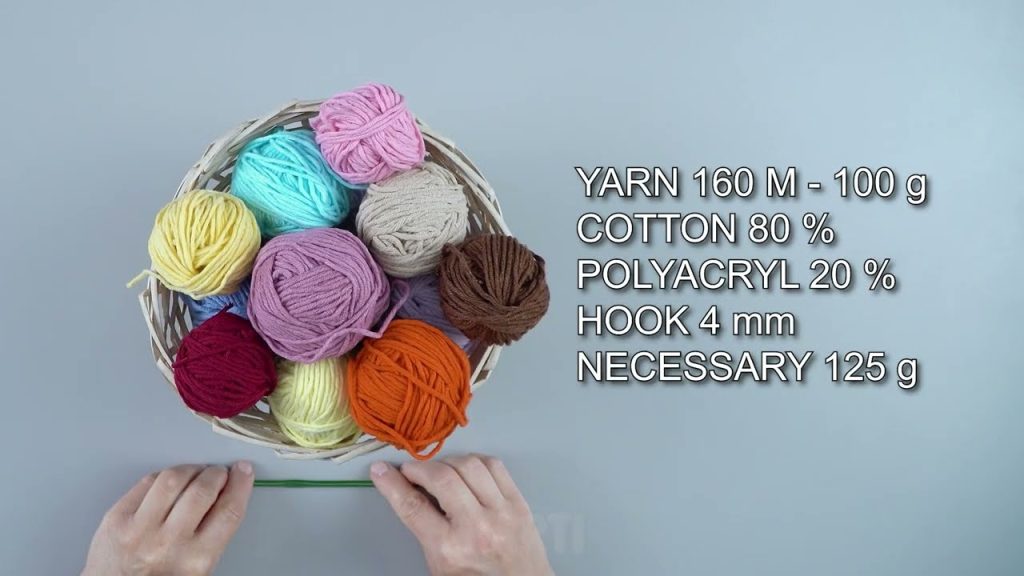
- Medium-weight yarn (worsted weight) in 2–4 different colors
- Crochet hook (usually 5.0 mm / H-8)
- Yarn needle
- Scissors
- Measuring tape
Basic Crochet Skills Required
- Slip knot
- Chain stitch (ch)
- Slip stitch (sl st)
- Double crochet (dc)
- Changing yarn colors
- Weaving in ends
Step 1: Making a Basic Granny Square
- Start with a Magic Ring or chain 4 and join with a slip stitch to form a ring.
- Chain 3 (this counts as your first double crochet).
- Work 2 double crochets into the ring.
- Chain 2 to form a corner.
- Repeat the pattern:
3 double crochets, chain 2 — four times total. - Join with a slip stitch to the top of the starting chain.
- Fasten off or change to a new color.
Each granny square should have four sides and four corners.
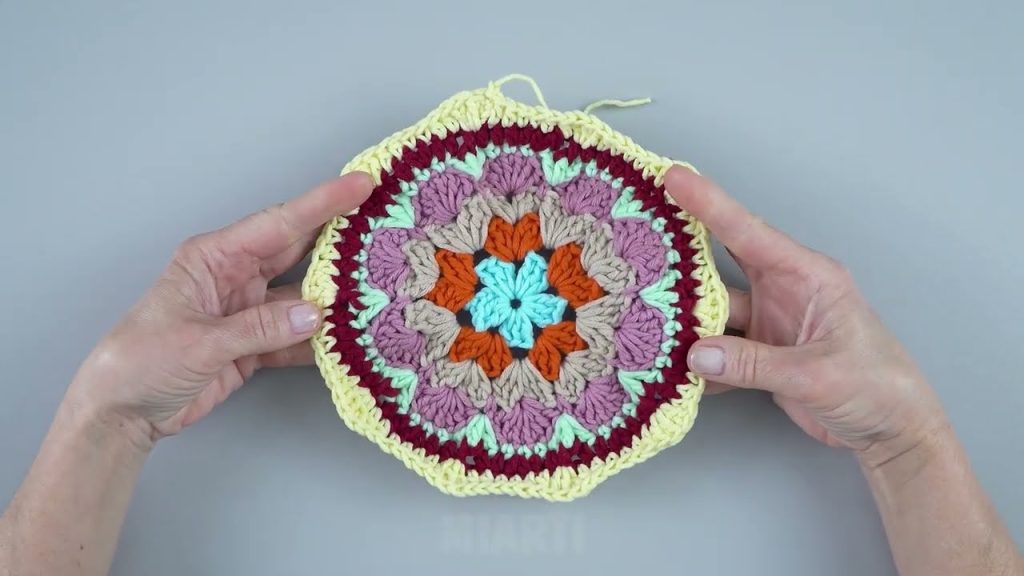
Step 2: Adding Multiple Colors
- Attach a new yarn color at any corner.
- Chain 3, then work 2 double crochets in the same corner space.
- Chain 2, then 3 double crochets again in the same space.
- Continue around the square, working 3 double crochets in each side space and 3 dc, ch 2, 3 dc in each corner.
- Join with a slip stitch and fasten off.
You can add 2–4 rounds per square depending on the size you want.
Step 3: Making Enough Granny Squares
- Make 5–6 granny squares for a standard hat:
- 4 squares for the sides
- 1 square for the top
- Lay them flat to check that they are all the same size.
Step 4: Joining the Granny Squares
- Arrange the squares in the shape of a hat:
- One square in the center (top)
- Four squares around it (sides)
- Use a yarn needle or slip stitch method to join the squares together.
- Stitch neatly along the edges.
Step 5: Shaping the Hat
- After joining, fold the sides downward to form the hat shape.
- Join the side squares together vertically.
- Try the hat on (or measure) to ensure it fits comfortably.
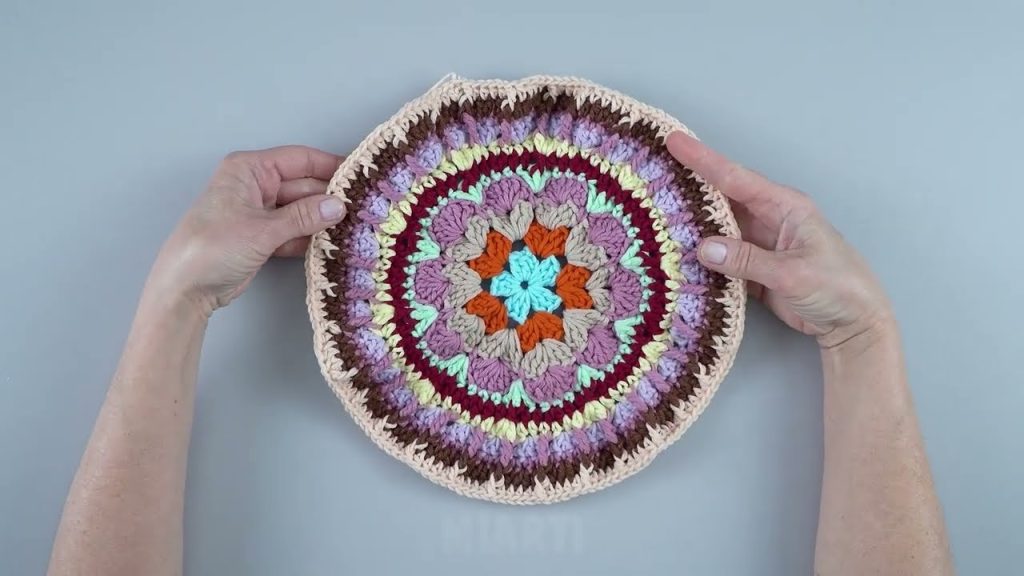
Step 6: Adding the Hat Border
- Attach yarn at the bottom edge.
- Crochet single crochet stitches evenly around the hat.
- Add 2–4 rounds for a neat finish.
- You can change colors for a decorative border.
Step 7: Finishing Touches
- Weave in all loose yarn ends with a yarn needle.
- Trim excess yarn.
- Optional: Add a pom-pom, flower, or decorative button (for decoration only).
Tips for Beginners
- Keep your stitches loose and even.
- Count stitches to maintain square shape.
- Use contrasting colors to highlight the granny square design.
- Practice one square before making the full set.
Conclusion
Making an easy multicolor crochet granny squares hat is a great way to learn crochet basics while creating something stylish and practical. With simple stitches, colorful yarn, and a little patience, you can create a beautiful handmade hat perfect for any season.
If you want, I can also:
- Simplify this for kids/beginners
- Turn it into a school project
- Add pictures descriptions
- Write it as a blog post or step-by-step worksheet
Watch tutorial: