 by
by Sure! Let’s create a detailed step-by-step guide for making a beautiful crochet handbag using T-shirt yarn — including design ideas, materials, and a complete pattern example.
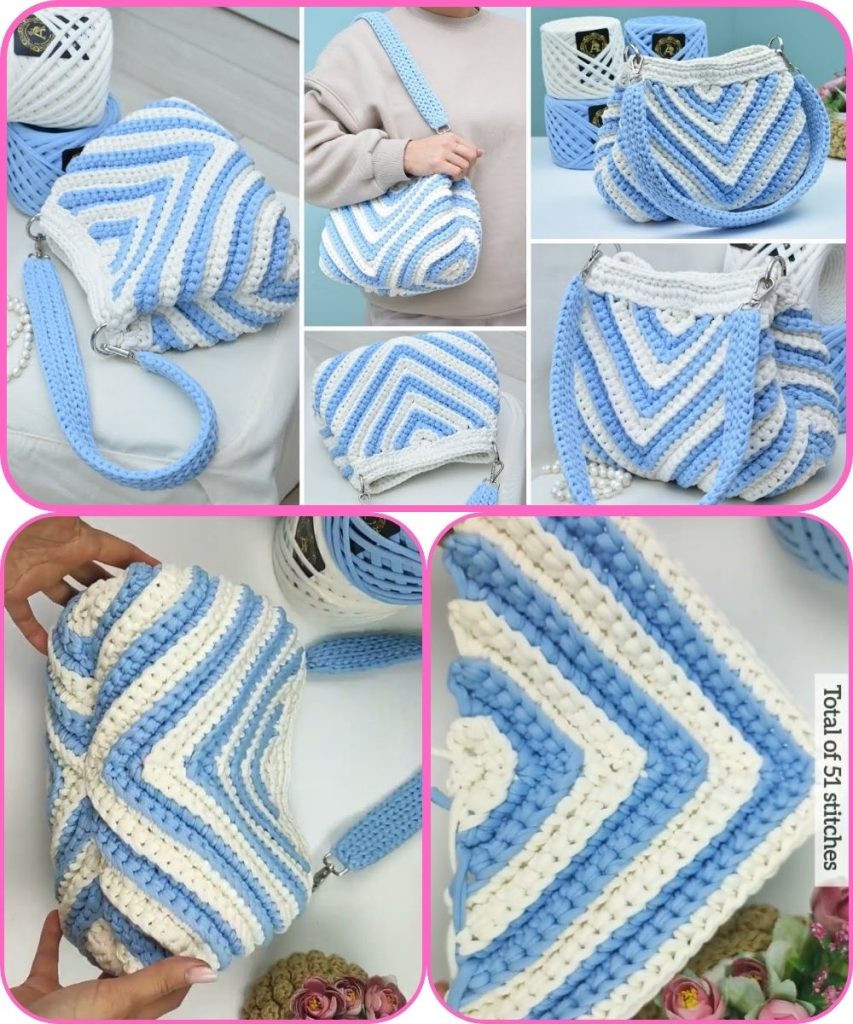
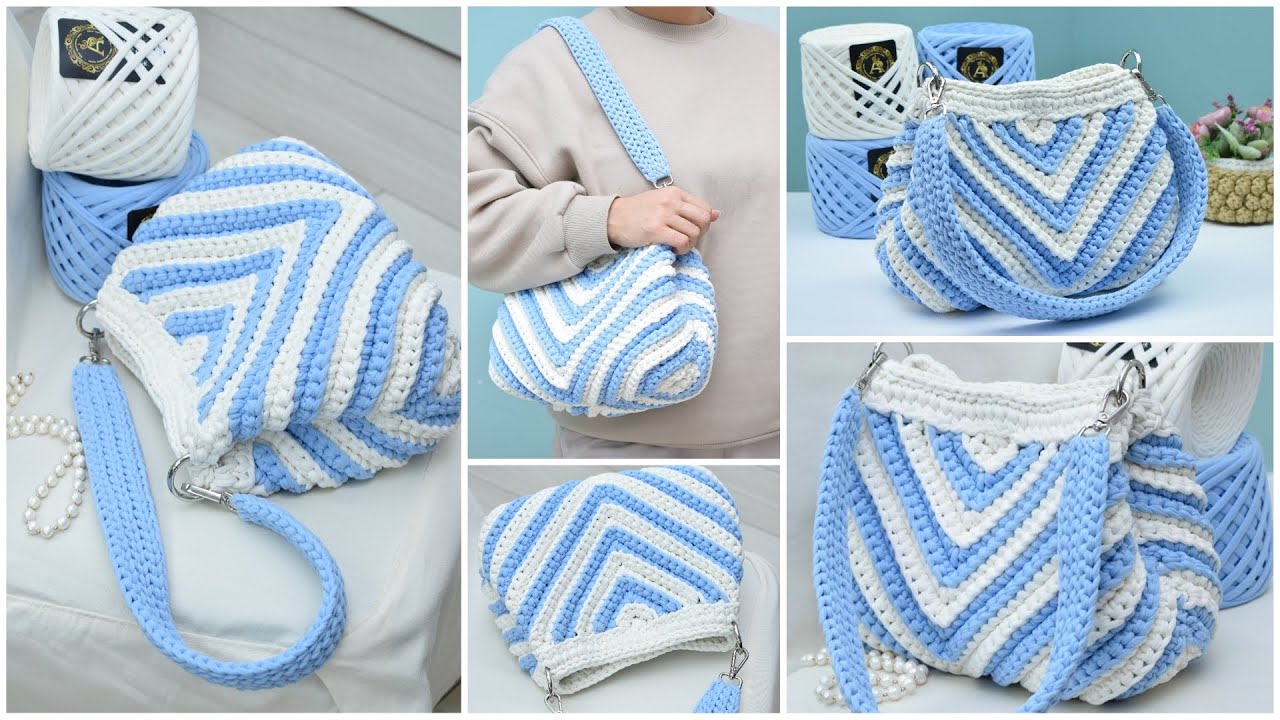
🧶 Project: Beautiful Crochet Handbag (Made with T-Shirt Yarn)
Skill Level
Beginner to Intermediate
Finished Size
Approximately 12″ (30 cm) wide × 9″ (23 cm) high × 3″ (8 cm) deep
(You can easily adjust size by adding or removing stitches.)
🌸 MATERIALS NEEDED
- T-shirt yarn: 2–3 skeins (approx. 400–500g depending on bag size)
Color idea: Choose one solid base color (like beige, olive, or black) and one contrasting accent (like gold, white, or coral). - Crochet hook: 8 mm or 9 mm
- Scissors
- Yarn needle (for weaving in ends)
- Stitch markers (optional but useful)
- Bag handles (optional — wooden rings, leather straps, or crochet straps)
- Magnetic clasp or zipper (optional for closure)
🧩 STITCHES USED
- ch = chain
- sl st = slip stitch
- sc = single crochet
- hdc = half double crochet
- dc = double crochet
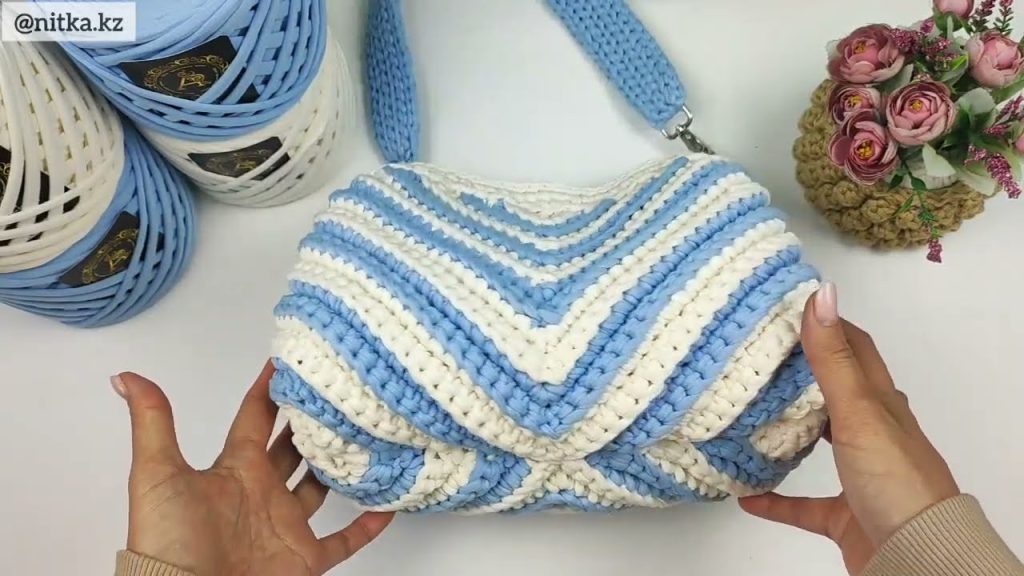
💡 DESIGN IDEA
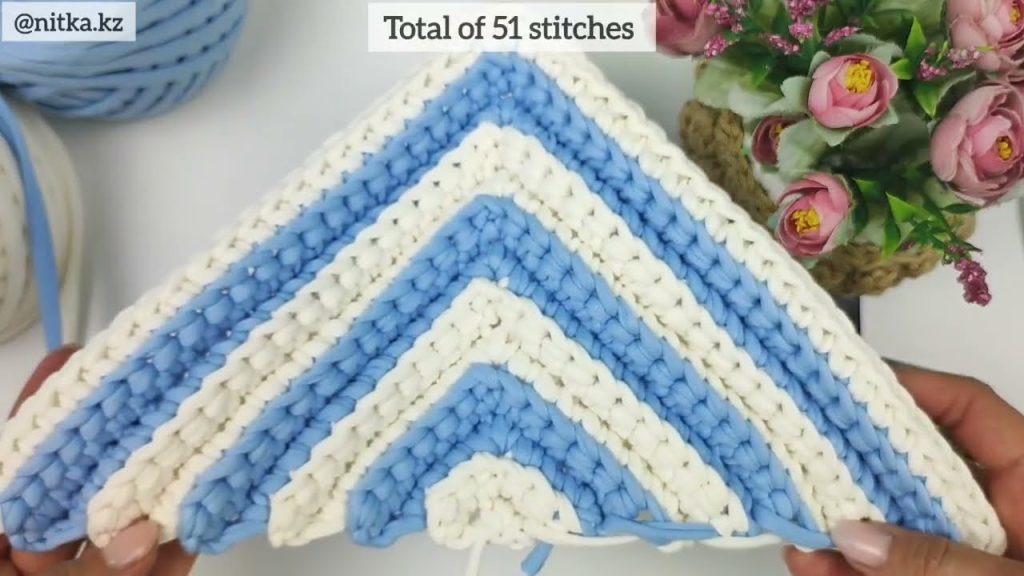
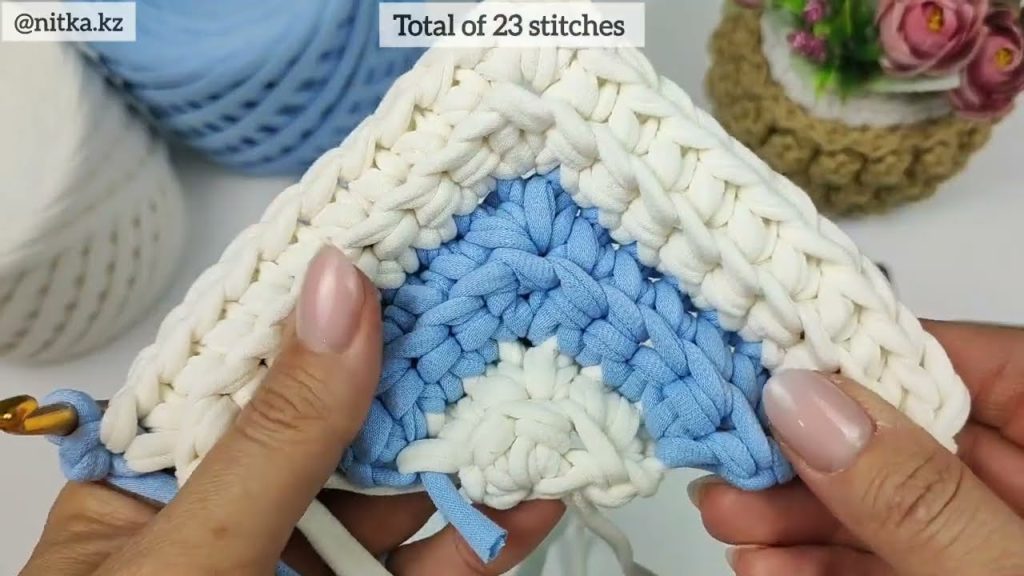
We’ll make a structured rectangular bag with a beautiful textured stitch pattern — the lemon peel stitch, which alternates single and double crochets to create a subtle woven texture.
🪡 STEP-BY-STEP PATTERN
1. Base (Bottom of the Bag)
- Chain 25 (or more for wider bag).
- Round 1:
- Work 1 sc in 2nd ch from hook and in each ch across (24 sc).
- When you reach the end, work 3 sc into the last ch to turn the corner.
- Continue along the opposite side of the chain, working 1 sc in each ch.
- At the other end, add 2 sc in the same stitch as the first sc (this will form an oval).
- Join with sl st to first sc.
- Round 2:
- Ch 1. Work 1 sc in each stitch around, increasing by 2 sc on each short end to keep the base flat.
- Join with sl st to first sc.
- Repeat this round until the base reaches your desired width (about 3” / 8 cm deep).
2. Body of the Bag
- Round 1:
- Ch 1, then work 1 sc + 1 dc alternately around (lemon peel stitch).
- Join with sl st to first sc.
- Round 2 and Onward:
- Ch 1. For every sc of the previous round, work a dc; for every dc of the previous round, work an sc.
- Continue repeating this alternating pattern around the bag.
- Keep working until your bag reaches about 9 inches (23 cm) high.
3. Top Edge
- Last Round:
- Work 1 round of sc all around the top edge to give a clean finish.
- You can optionally add a crab stitch (reverse single crochet) for a decorative border.
4. Handles
Option A: Crochet Handles
- Attach yarn to one side, ch 30 (or your desired handle length).
- Skip 4–5 stitches, then sl st to next stitch.
- Repeat on the other side.
- Reinforce handles by working 1 sc row over the chain.
Option B: Wooden or Leather Handles
- Use a yarn needle to sew or crochet the handle attachments securely to the bag.
5. Lining (Optional but Recommended)
To make the bag sturdier and prevent stretching:
- Cut a piece of fabric (cotton or canvas) matching your bag size.
- Fold and sew it into a pouch shape.
- Insert it into the bag and hand-sew it along the top edge.
✨ OPTIONAL EMBELLISHMENTS
- Add a tassel or pom-pom made from T-shirt yarn.
- Attach a crochet flower or patch to the front.
- Mix colors: Try color-blocking — bottom half one color, top half another.
- Add a decorative chain strap for a modern look.
💕 TIPS FOR BEST RESULTS
- Keep your tension even — T-shirt yarn can vary in stretch.
- Don’t pull too tight; allow stitches to stay soft for flexibility.
- You can steam-block the bag gently to shape it neatly.
🌼 VARIATIONS
| Style | Stitch Pattern | Handle Type | Look |
|---|---|---|---|
| Boho Tote | Granny squares | Crochet rope | Colorful & casual |
| Modern Box Bag | Waistcoat stitch | Leather strap | Minimalist & firm |
| Beach Bag | Mesh stitch | Crochet handles | Light & airy |
Watch tutorial: