 by
by Absolutely! Here’s a detailed, beginner-friendly guide titled “How to Make One of the Most Beautiful Bags in My Collection – A Crochet Pattern for Beginners.”
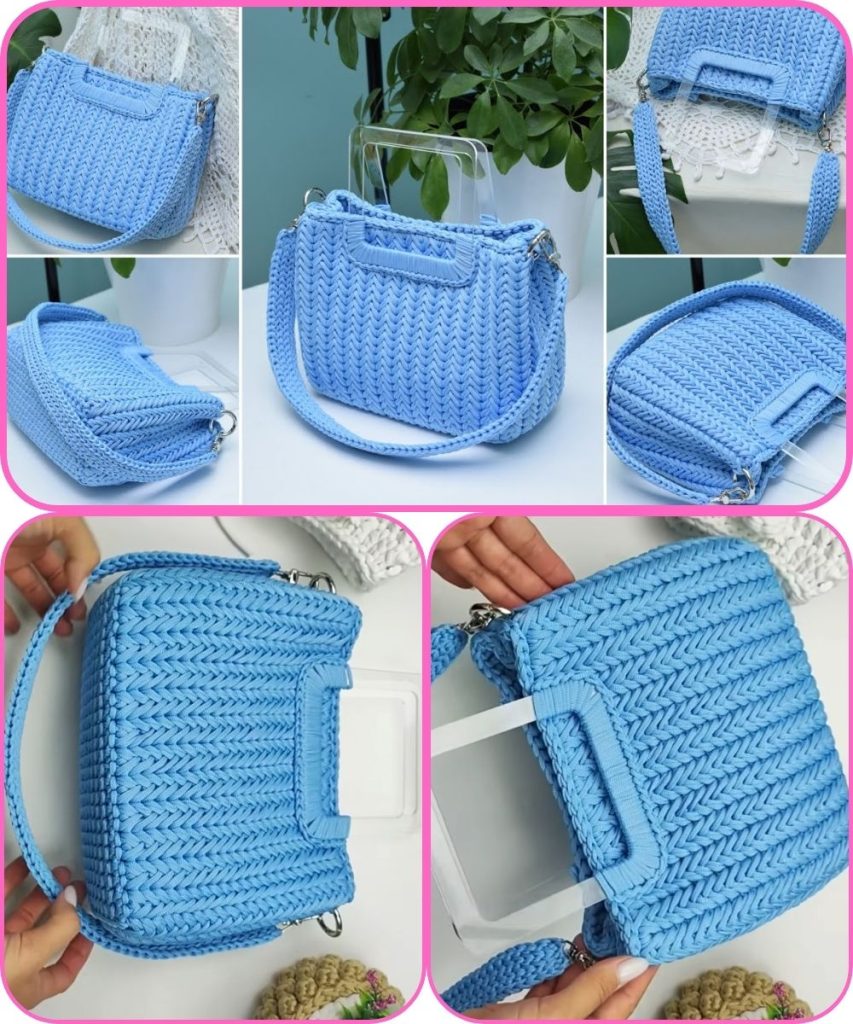
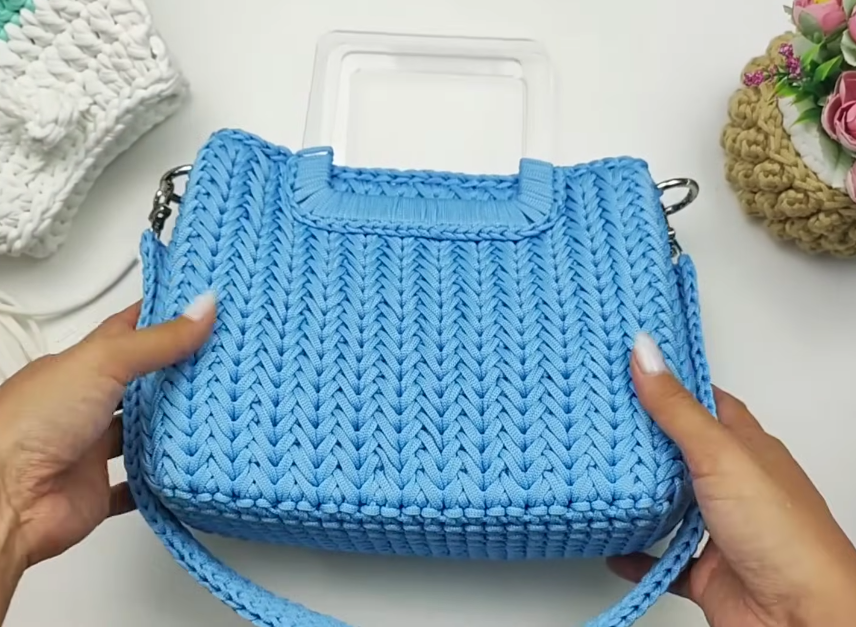
🧶 How to Make One of the Most Beautiful Bags in My Collection
Crochet Pattern for Beginners
If you’ve ever wanted to crochet your own stylish, handmade bag, this pattern is the perfect place to start. It’s simple enough for beginners yet turns out so elegant that it will look like a designer piece from your collection.
✨ Materials You’ll Need
| Item | Details |
|---|---|
| Yarn | 3 skeins of medium-weight cotton yarn (size 4) – choose your favorite color |
| Crochet Hook | 4.0 mm (G-6) |
| Tapestry Needle | For weaving in ends |
| Scissors | For trimming yarn |
| Stitch Markers (optional) | Helpful for keeping track of rounds |
| Lining Fabric (optional) | For a more finished look |
| Magnetic Snap or Button | For closure |
💡 Stitches Used
- Chain (ch)
- Slip Stitch (sl st)
- Single Crochet (sc)
- Half Double Crochet (hdc)
- Double Crochet (dc)
(If you’re new, practice these stitches first — there are many free YouTube tutorials.)
🪡 Step-by-Step Instructions
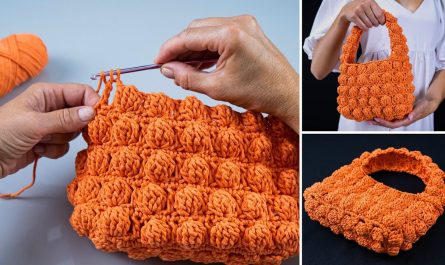
1. Make the Base (Bottom of the Bag)
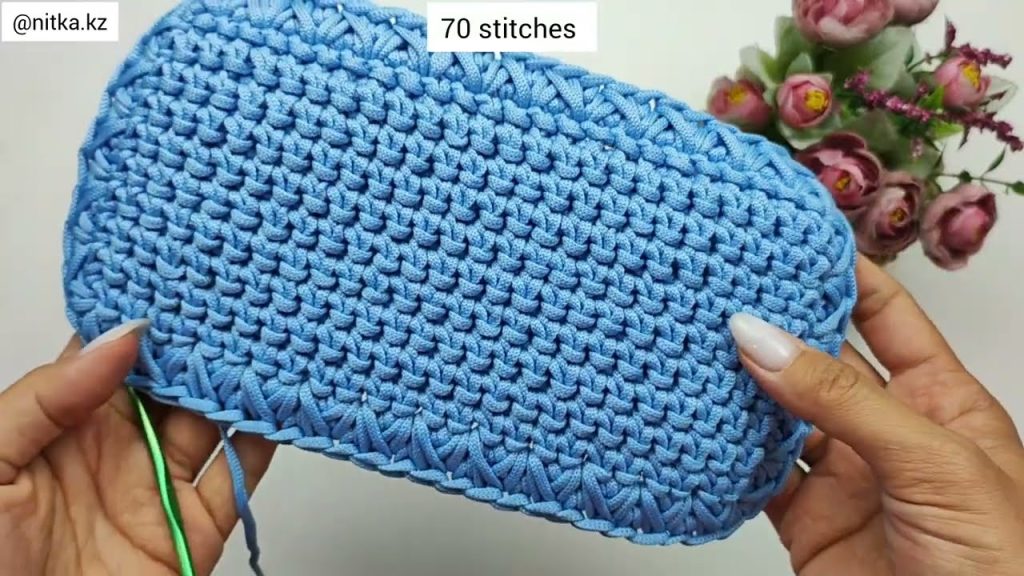
- Start with a foundation chain of 36 stitches.
- In the second chain from the hook, make 1 sc.
- Continue with 1 sc in each chain across (35 sc total).
- When you reach the end, make 3 sc in the last stitch to round the corner.
- Continue crocheting along the other side of the foundation chain (this forms an oval).
- Slip stitch to join to the first sc.
🪄 You should now have a rounded rectangle – this is your bag’s base.
2. Build the Body of the Bag
- Round 2–3:
- Chain 1, and work 1 sc in each stitch around.
- Slip stitch to join at the end of each round.
- Round 4–20 (or until desired height):
- Chain 2, and work 1 hdc in each stitch around.
- Continue until your bag reaches about 10–12 inches tall.
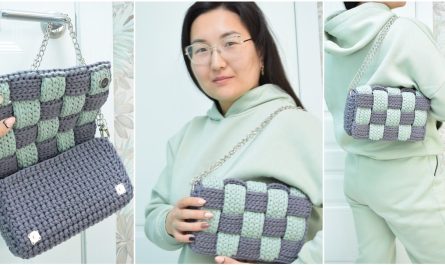
💭 Tip: Switch yarn colors halfway up for a chic color-block effect!
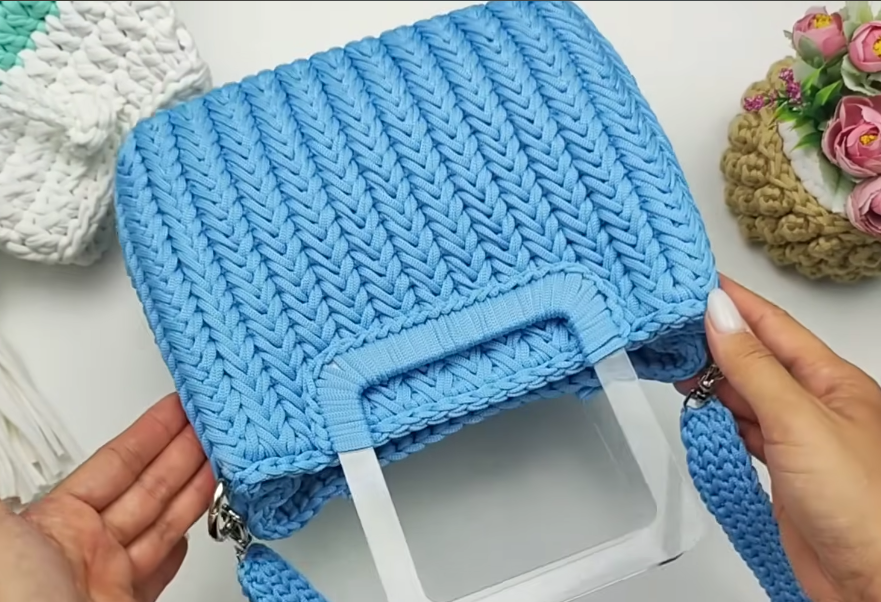
3. Create the Handles
- Decide where you want your handles. Mark the front and back with stitch markers.
- Round 21:
- Chain 1, and sc until you reach the first marker.
- Chain 30 (this becomes the handle opening).
- Skip 10 stitches and continue sc across until the second marker.
- Chain 30 again for the second handle, skip 10 stitches, and finish the round.
- Round 22:
- Work sc in each stitch and in each chain space to reinforce the handle area.
👜 You can make the handles longer or shorter depending on your preference.
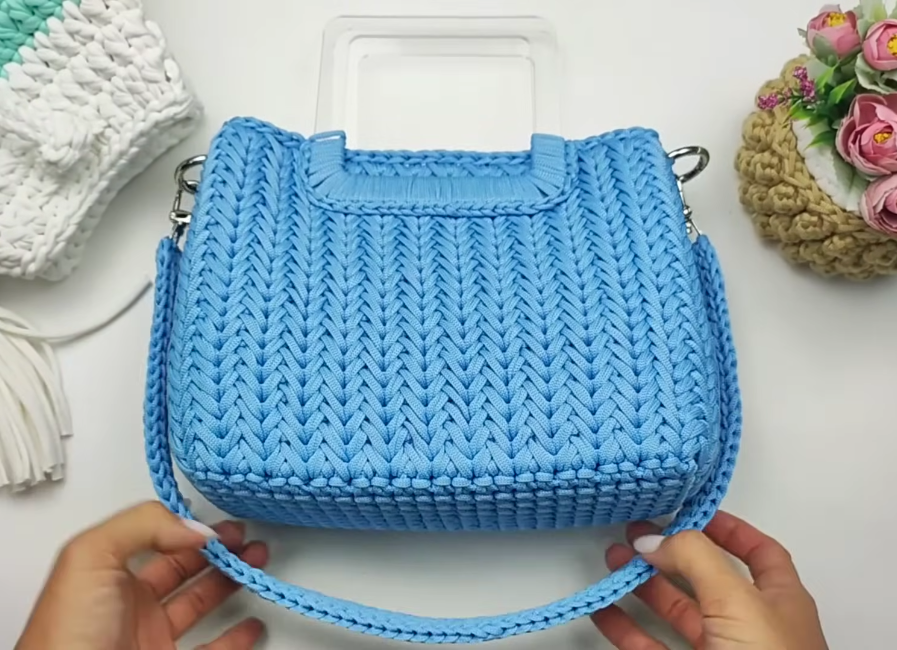
4. Finishing Touches
- Fasten off your yarn and weave in all ends with your tapestry needle.
- (Optional) Sew in a fabric lining for durability.
- Add a magnetic snap or button closure.
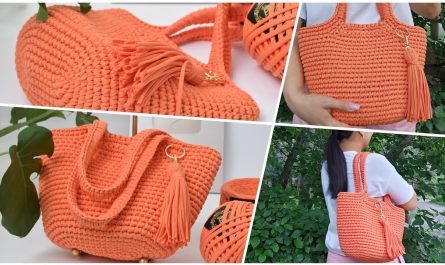
- You can also crochet a small tassel or charm to attach for decoration.
🌸 Customization Ideas
- Use raffia yarn or cord yarn for a summer beach bag look.
- Add wooden handles instead of crocheted ones.
- Use metal rings to connect the straps for a modern vibe.
- Try a two-tone color pattern (e.g., cream and blush pink).
🧺 Care Instructions
- Hand wash gently in cool water.
- Lay flat to dry (avoid hanging to prevent stretching).
- Reshape while damp for best results.
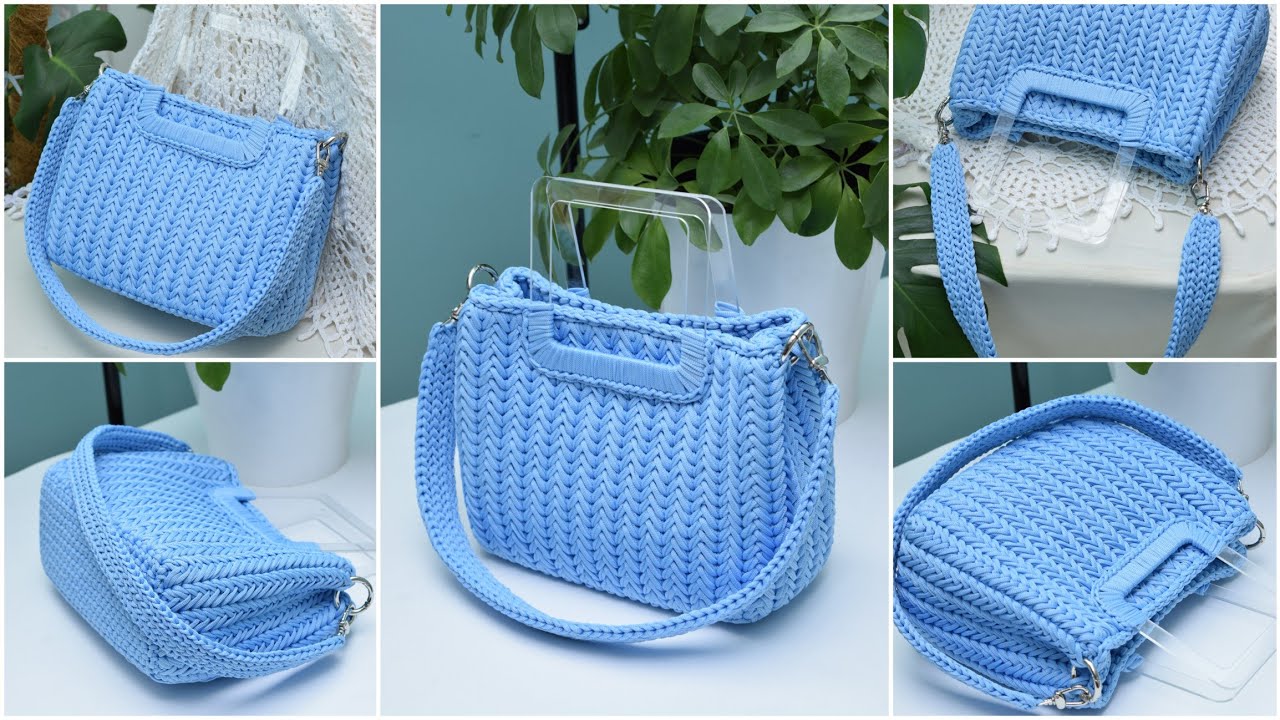
💖 Final Thoughts
This bag looks elegant, modern, and handmade — yet it’s made entirely with beginner stitches! Whether you use it as a tote, market bag, or fashion accessory, it will quickly become one of the most beautiful pieces in your crochet collection.
Would you like me to add photos or step-by-step diagrams (for each part like the base and handles)? I can generate them for you to make the pattern easier to follow.
Watch tutorial: