 by
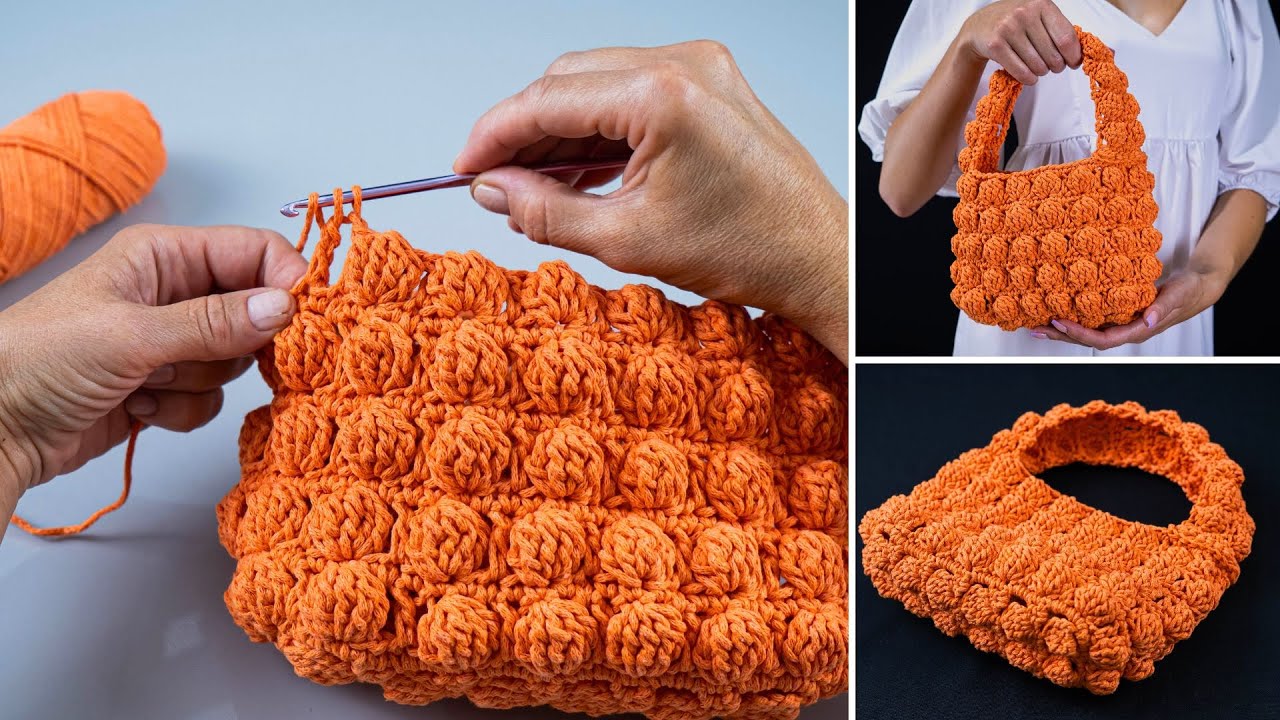
by Here is a clear, detailed, and beginner-friendly guide on How to Make a Crochet Handbag – Even a Beginner Can Handle It!
This tutorial uses simple stitches and easy construction so anyone new to crochet can follow along with confidence.
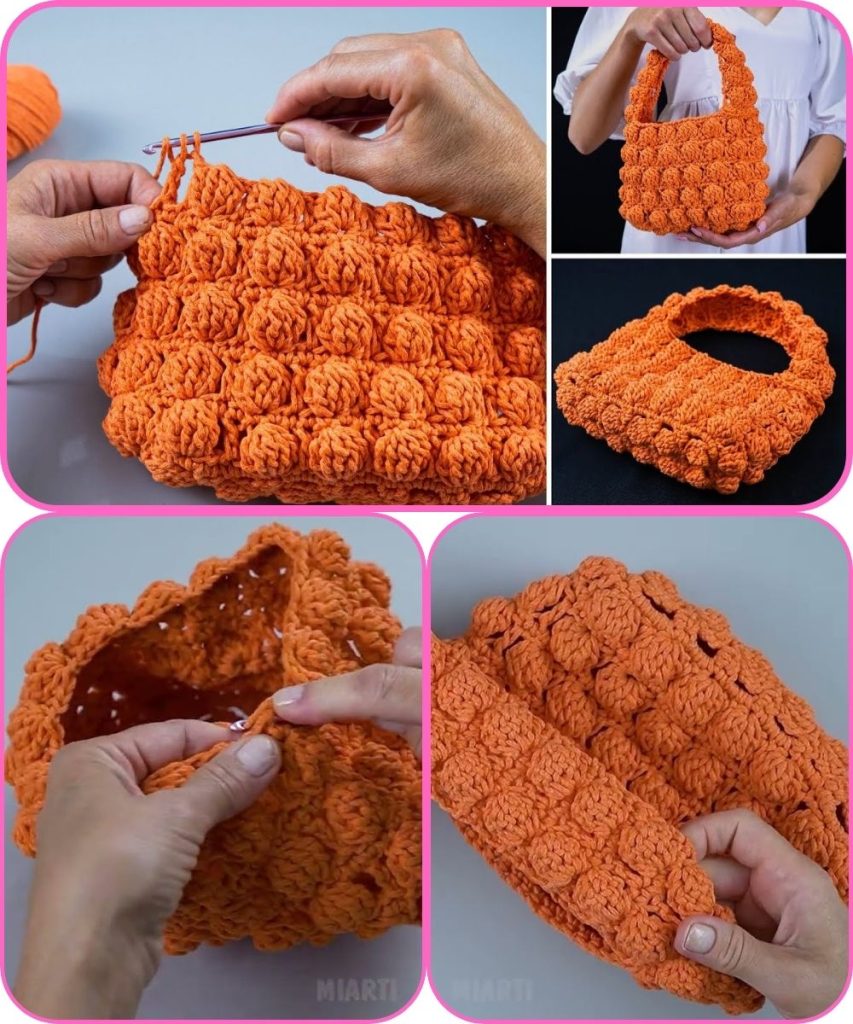
How to Make a Crochet Handbag – Even a Beginner Can Handle It!
Crocheting a handbag is a wonderful beginner project because it is practical, forgiving, and quick to complete. You don’t need advanced skills—just basic stitches and a little patience. By following this step-by-step guide, you’ll be able to create a stylish handmade handbag that you can use every day.
Materials Needed
Gather these basic supplies before starting:
- Yarn: Medium-weight cotton yarn (best for durability and shape)
- Crochet Hook: 4.5 mm or 5 mm
- Scissors
- Yarn Needle: For weaving in ends
- Stitch Marker (optional)
- Handbag Handles (optional): Wooden, leather, or crocheted
Basic Crochet Stitches Used
This beginner handbag uses only simple stitches:
- Chain (ch) – to begin the project
- Single Crochet (sc) – strong and easy
- Slip Stitch (sl st) – to join rounds
(Optional: Half-double crochet for added texture)
Step-by-Step Crochet Handbag Tutorial
Step 1: Create the Foundation Chain
- Chain 31 stitches (adjust for wider or narrower handbags).
- Single crochet in the second chain from the hook.
- Continue single crocheting across the chain.
This creates the base row of your handbag.
Step 2: Form the Handbag Base
- In the last chain stitch, work 3 single crochets.
- Crochet along the opposite side of the foundation chain.
- In the final stitch, work 2 single crochets.
- Join with a slip stitch.
You now have a strong oval base, perfect for a handbag.
Step 3: Crochet the Body of the Handbag
- Chain 1.
- Single crochet in each stitch around.
- Join with a slip stitch at the end of each round.
- Repeat this round for 15–20 rounds, depending on your desired bag height.
👉 Tip: Keep stitches tight so the bag holds its shape.
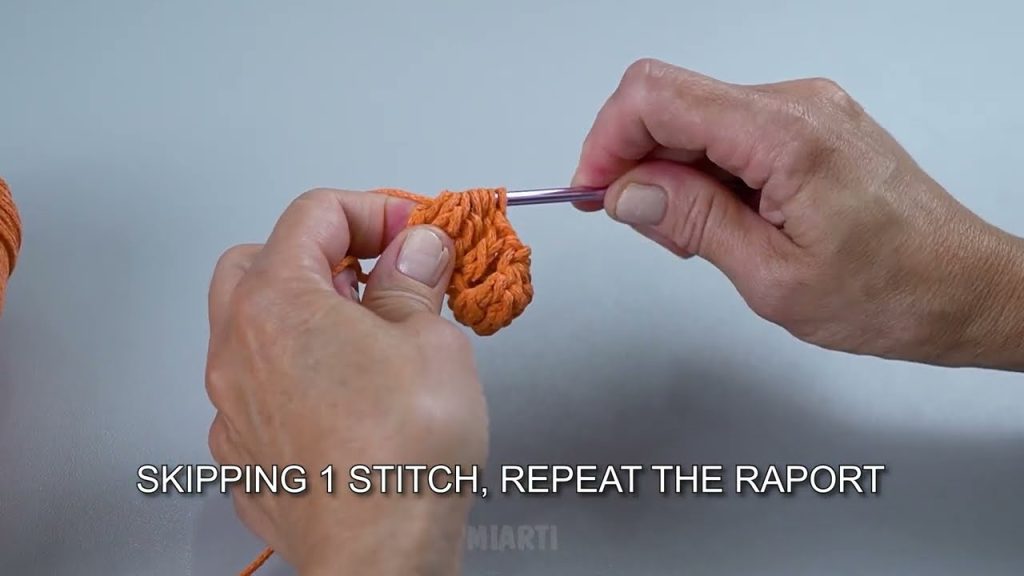
Step 4: Add Simple Texture (Optional)
To make the handbag more stylish:
- Crochet single crochet in the back loop only, or
- Alternate rows of single crochet and half-double crochet
This adds texture without making it difficult.
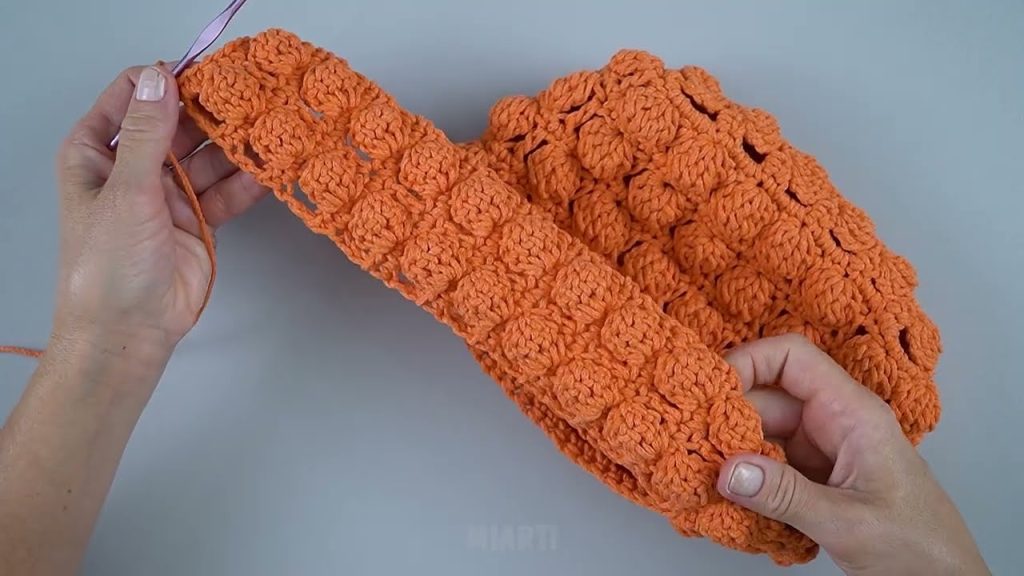
Step 5: Create the Handles
Crochet Handles:
- Single crochet to the side of the handbag.
- Chain 25–40 stitches (depending on handle length).
- Skip the same number of stitches.
- Single crochet to the opposite side.
- Repeat for the second handle.
- On the next round, single crochet around, working into the chain spaces.
Alternative Handles:
- Sew on wooden or leather handles
- Attach metal rings for a modern look
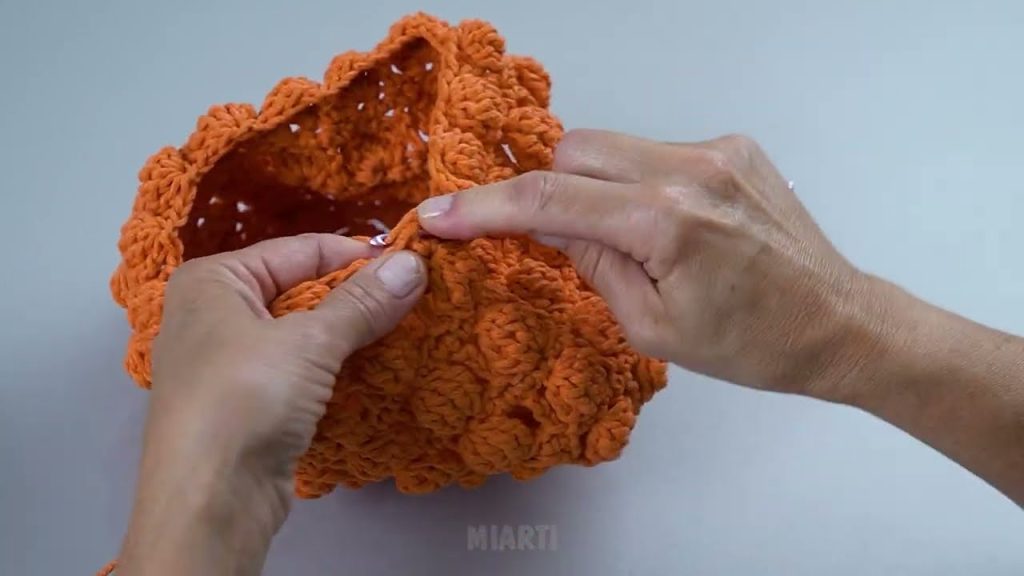
Step 6: Finish the Handbag
- Fasten off the yarn.
- Weave in all loose ends with a yarn needle.
- Optional finishing touches:
- Add a fabric lining
- Sew on a button or magnetic snap
- Add tassels or charms
Beginner Tips for Success
✔ Use cotton yarn to prevent stretching
✔ Count stitches to stay on track
✔ Don’t worry about small mistakes
✔ Practice even tension
Why This Handbag Is Perfect for Beginners
- Uses basic stitches only
- Simple shape with no complex pattern
- Easy to customize in size and color
- Practical and rewarding project
Final Thoughts
A crochet handbag is a perfect project for beginners who want to make something useful and beautiful. With easy stitches and simple steps, even someone new to crochet can successfully complete this handbag. Once you finish, you’ll feel confident to try more advanced patterns and designs.
If you’d like, I can:
- Simplify this further for absolute beginners
- Rewrite it in short notes
- Create a printable PDF
- Add size variations or decorative ideas
Watch tutorial: