 by
by Absolutely! Let’s go through a complete, step-by-step guide on how to crochet a hat — perfect for beginners but detailed enough for anyone who wants to make a neat, well-shaped hat.
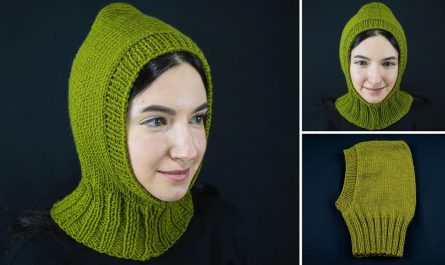
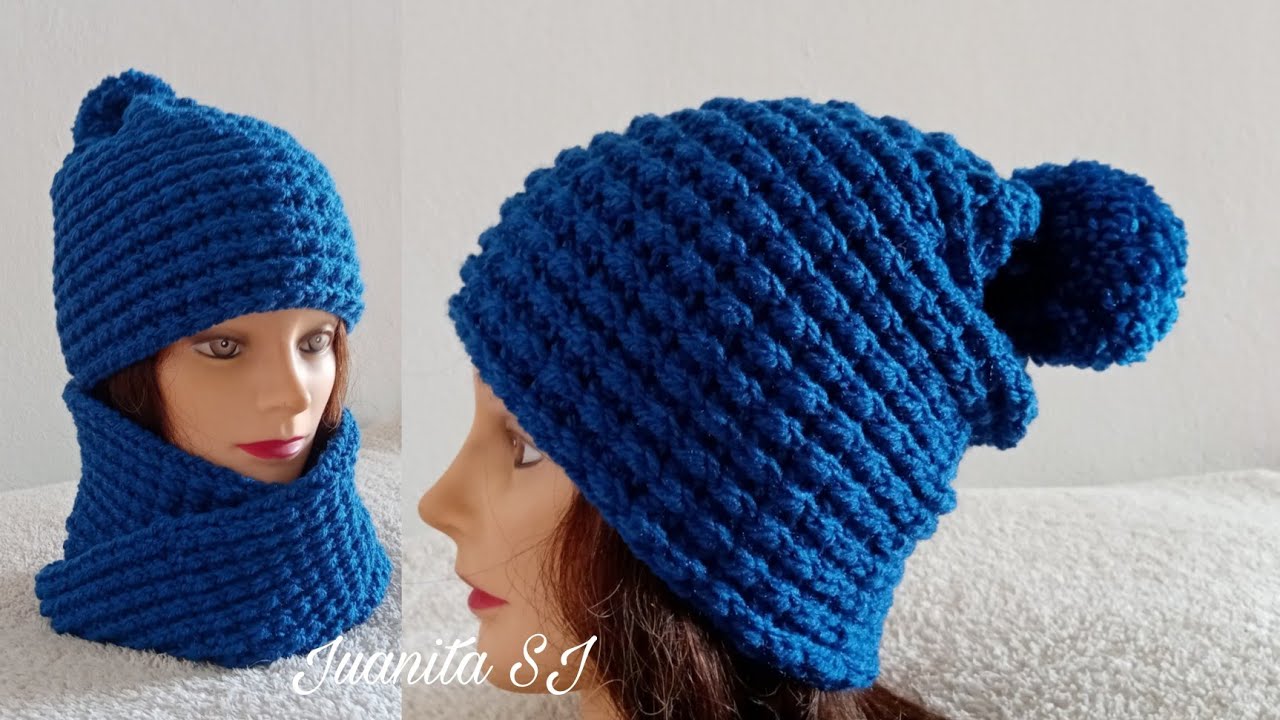
🧶 HOW TO MAKE A CROCHET HAT (Step-by-Step)
🪡 What You’ll Need
| Item | Description |
|---|---|
| Yarn | Medium weight (category 4) acrylic or wool yarn – about 150–200 yards |
| Crochet Hook | Size H/8 (5.0 mm) — adjust according to yarn label |
| Scissors | For cutting yarn |
| Yarn Needle | For weaving in ends |
| Measuring Tape | To check hat size |
| Stitch Marker (optional) | To mark beginning of rounds |

🧩 STEP 1: Measure and Choose Hat Size
Decide who the hat is for. Here’s a quick sizing guide:
| Size | Head Circumference | Hat Height |
|---|---|---|
| Baby | 14–16 in (35–40 cm) | 6 in (15 cm) |
| Child | 18–20 in (46–51 cm) | 7 in (18 cm) |
| Teen/Adult Small | 20–22 in (51–56 cm) | 8 in (20 cm) |
| Adult Large | 22–24 in (56–61 cm) | 8.5–9 in (21–23 cm) |
💡 Tip: Crochet hats stretch! Aim for 1–2 inches smaller than the head measurement.
🌀 STEP 2: Start with a Magic Ring (or Chain Circle)
Magic Ring Method:
- Wrap yarn around two fingers to form a loop.
- Insert hook under loop, pull up a loop of working yarn.
- Chain 2 (counts as first half double crochet or double crochet, depending on pattern).
Alternatively, chain 4 and slip stitch into the first chain to form a circle.
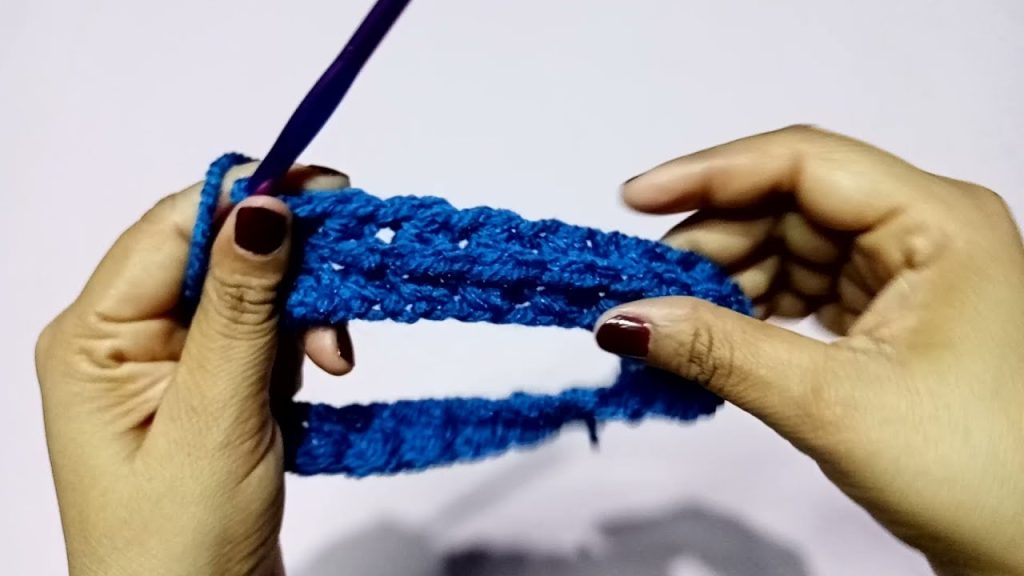
🧵 STEP 3: Crochet the Crown (Increase Rounds)
You’ll increase stitches evenly to make the top of the hat flat.
Let’s use double crochet (dc) stitches for this example.
Round 1:
- Chain 2 (counts as first dc).
- Make 11 dc into ring (12 total).
- Slip stitch to top of chain 2 to join.
Round 2:
- Chain 2.
- 2 dc in each stitch around (24 dc).
- Join with slip stitch.
Round 3:
- Chain 2.
- 1 dc in first stitch, 2 dc in next stitch — repeat around (36 dc).
- Join with slip stitch.
Round 4:
- Chain 2.
- 1 dc in next 2 stitches, 2 dc in next stitch — repeat around (48 dc).
- Join.
Round 5:
- Chain 2.
- 1 dc in next 3 stitches, 2 dc in next stitch — repeat around (60 dc).
- Join.
Keep increasing (1 more regular stitch between increases each round) until the crown’s diameter =
Head circumference ÷ 3.14 (π)
For example:
22-inch head ÷ 3.14 ≈ 7 inches crown diameter
🧶 STEP 4: Build the Sides (No More Increases)
Once the crown is wide enough:
- Continue making 1 dc in each stitch around.
- Join at end of each round with slip stitch.
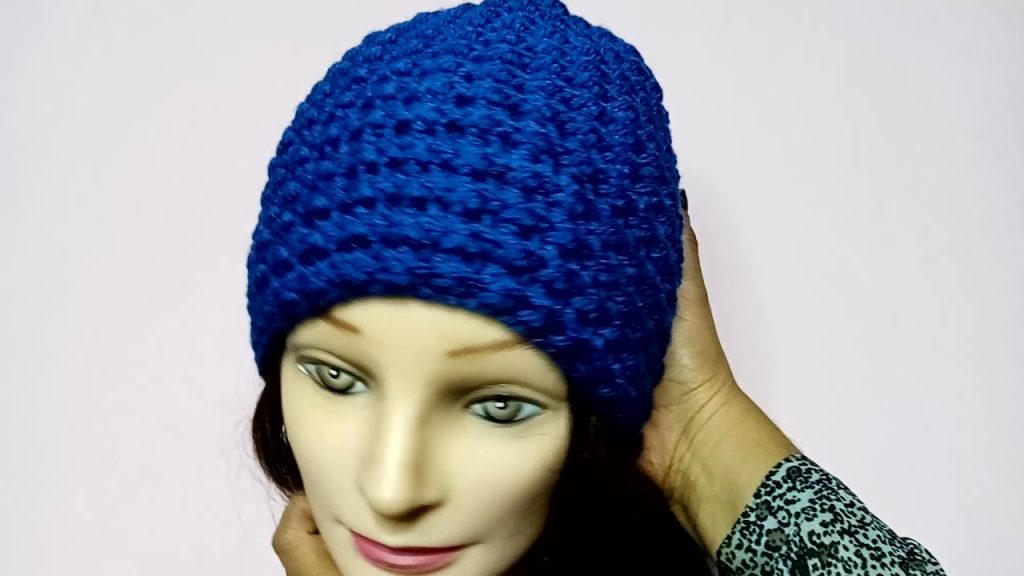
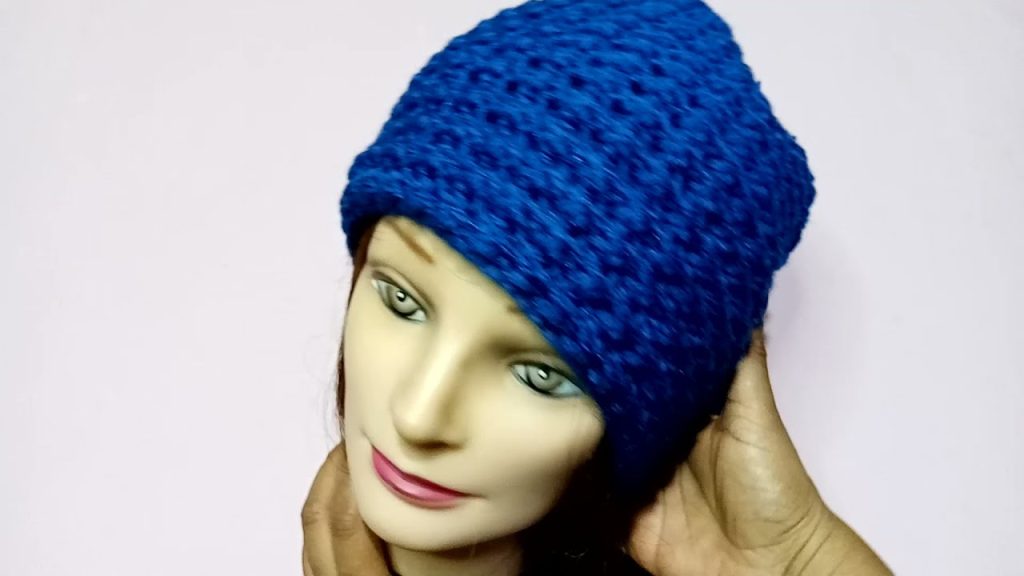
- Repeat for several rounds until hat reaches desired height.
Example: For an adult, continue until hat measures about 8 inches from crown to edge.
🧤 STEP 5: Add the Brim (Optional)
You can:
- Single Crochet (sc) in each stitch around for 2–3 rounds for a neat, snug edge.
- Or switch colors for a contrasting trim.
- For a folded brim, make the hat 2 inches longer and fold the edge upward.
🪡 STEP 6: Finish Off and Weave In Ends
- Cut yarn, leaving about 6 inches tail.
- Yarn over, pull through last loop, and tighten.
- Thread tail onto yarn needle and weave in ends securely.
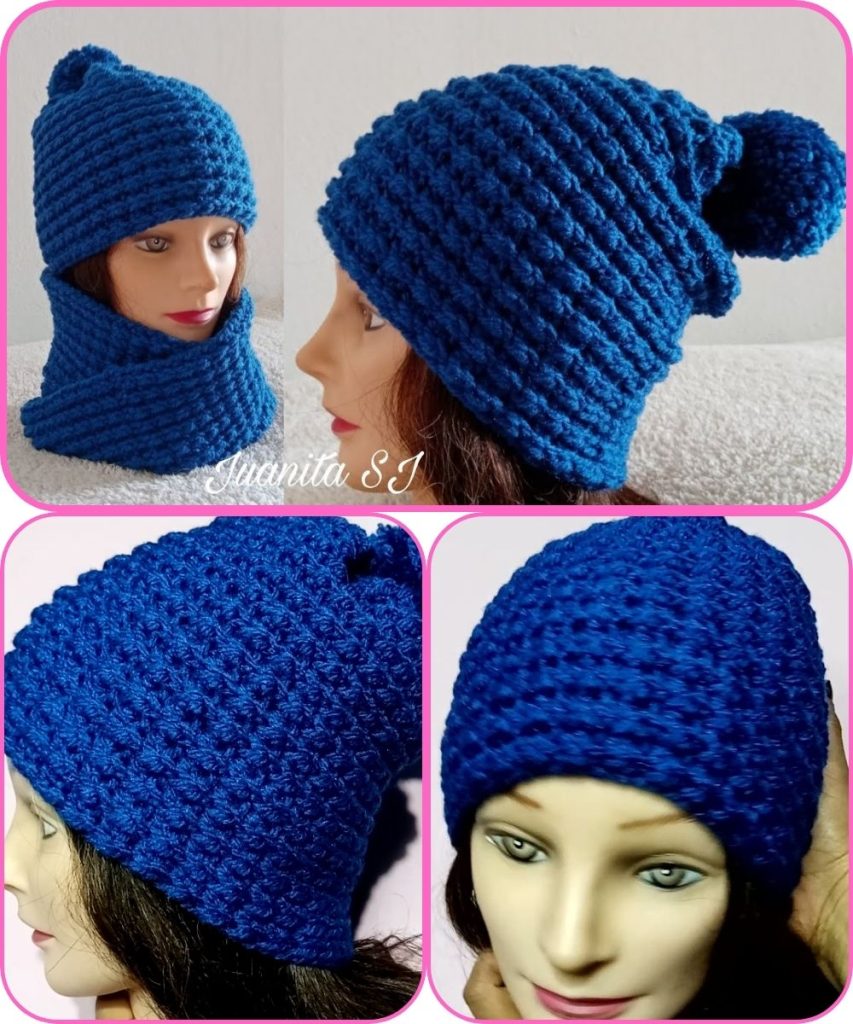
- If you want, add a pom-pom or appliqué on top.
🌈 Optional Variations
| Style | Modification |
|---|---|
| Beanie | Follow pattern exactly, ending with single crochet edge. |
| Slouchy Hat | Add 1–2 extra rounds in Step 4 for extra height. |
| Ribbed Look | Use front post dc and back post dc stitches alternately for sides or brim. |
| Striped Hat | Change yarn color every 2–3 rounds. |
🧵 Quick Recap:
- Make magic ring or chain circle.
- Increase evenly for crown until size is right.
- Work even rounds for body of hat.
- Add optional brim or border.
- Finish and weave in ends.
Would you like me to format this into a printable pattern sheet (with stitch abbreviations and row-by-row instructions)? I can make it look like a crochet pattern PDF layout for easy use.
Watch tutorial: