 by
by Absolutely! Here’s a detailed, beginner-friendly guide on how to knit a simple bandana-style headband — stylish, quick, and easy to make with minimal materials.
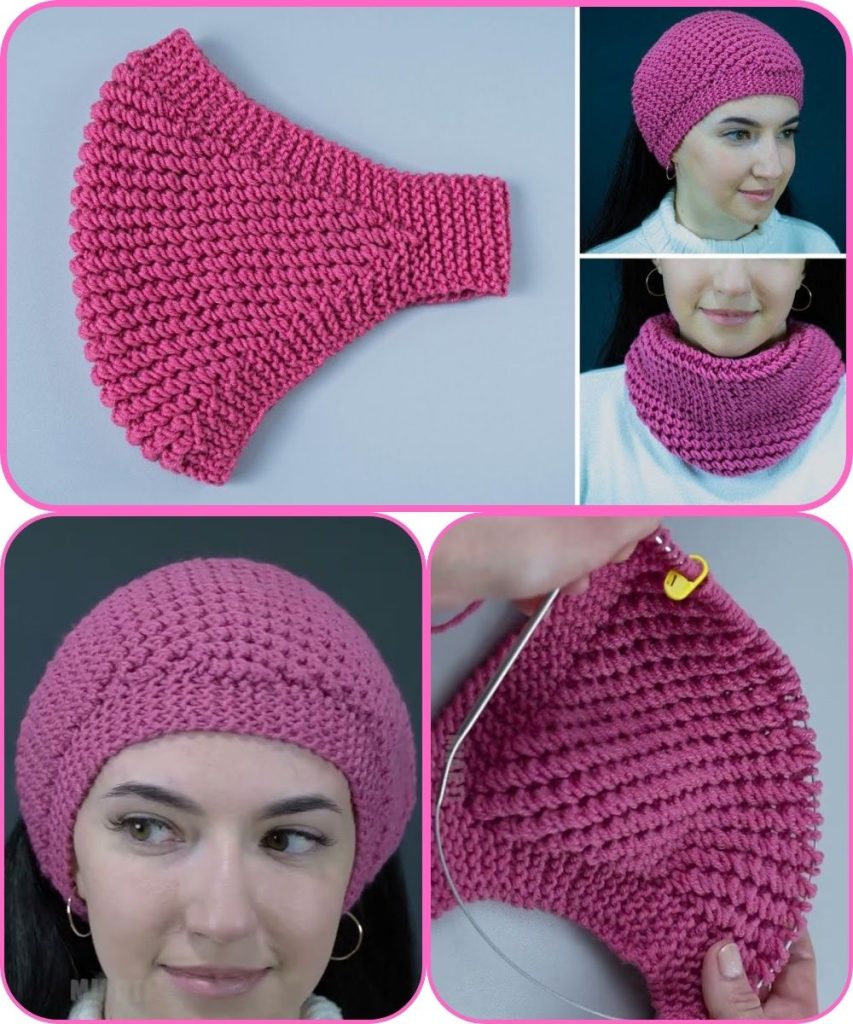
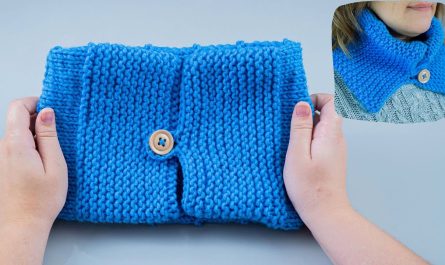
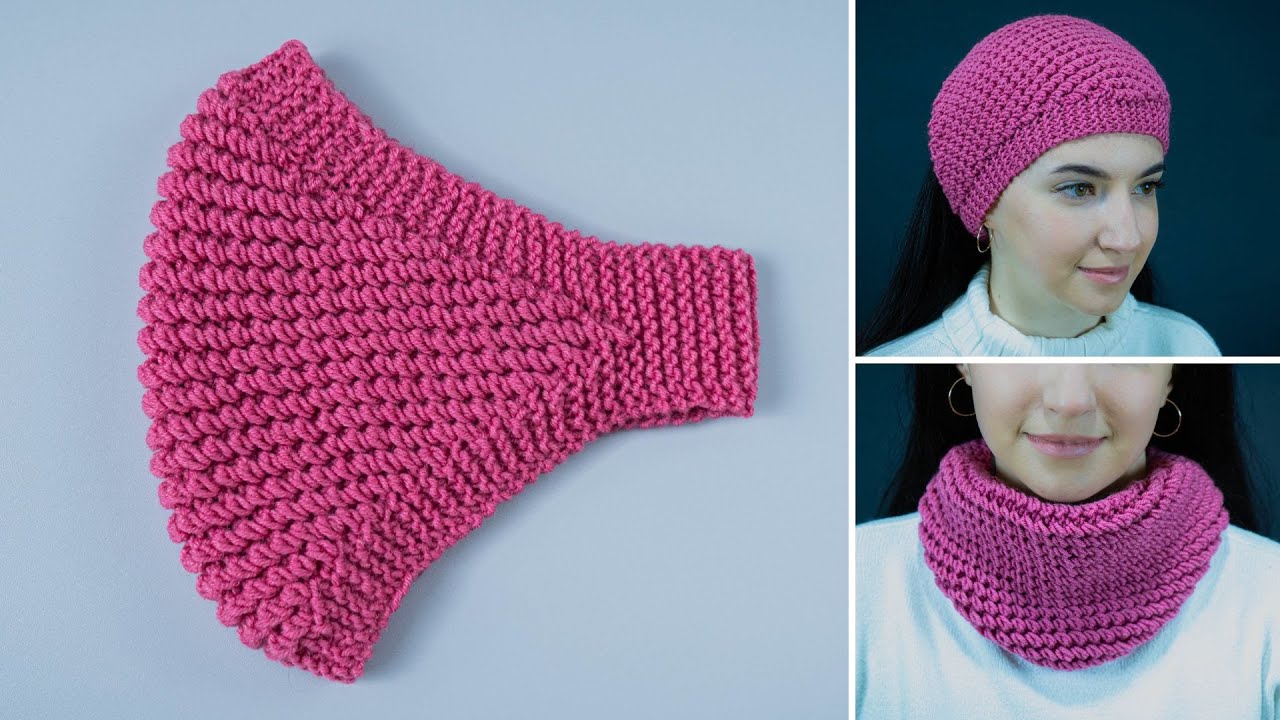
🧶 How to Make a Knitted Bandana (Headband) — Easy and Simple
✨ Overview
A knitted bandana is a fun project that works up quickly and is perfect for beginners. You can make it as a triangle-style bandana or a flat headband with a tie or elastic back.
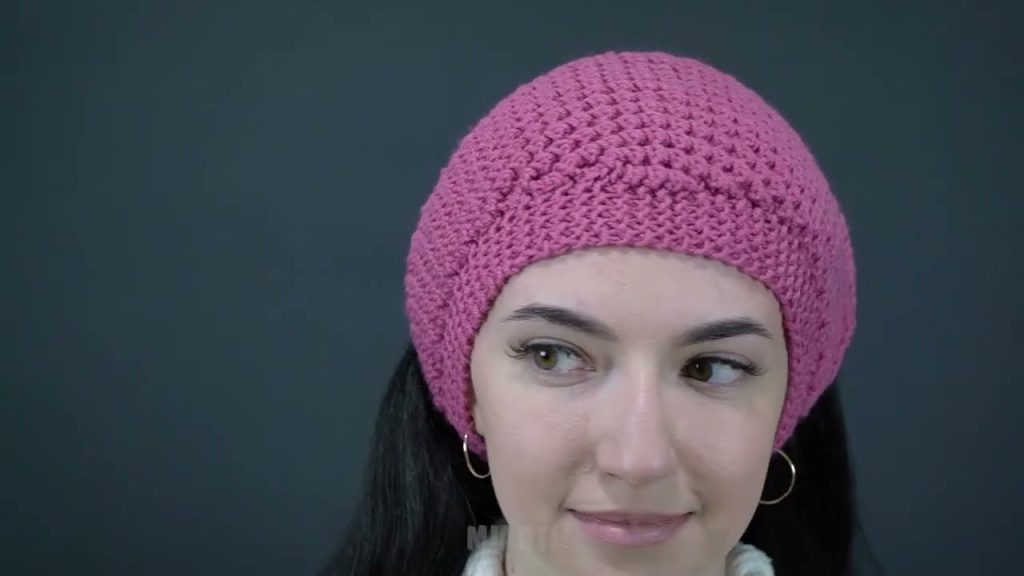
This guide focuses on the triangle bandana headband, which ties at the back and fits comfortably on most head sizes.
🧰 Materials Needed
- Yarn:
- Worsted weight (Medium #4) cotton or soft acrylic yarn
- About 50–70 grams (one small ball)
- Knitting needles:
- Size 4.0 mm (US 6) or size needed to match gauge
- Tapestry needle (for weaving in ends)
- Scissors
Optional:
- Measuring tape
- Blocking board/pins (if you want a crisp, finished look)
🧮 Gauge (Approximate)
- 18 stitches = 4 inches (10 cm) in stockinette stitch
Don’t worry too much about gauge; it’s a small accessory project.
🪡 Pattern: Triangle Bandana Headband
Step 1: Cast On
- Using your yarn and needles, cast on 3 stitches.
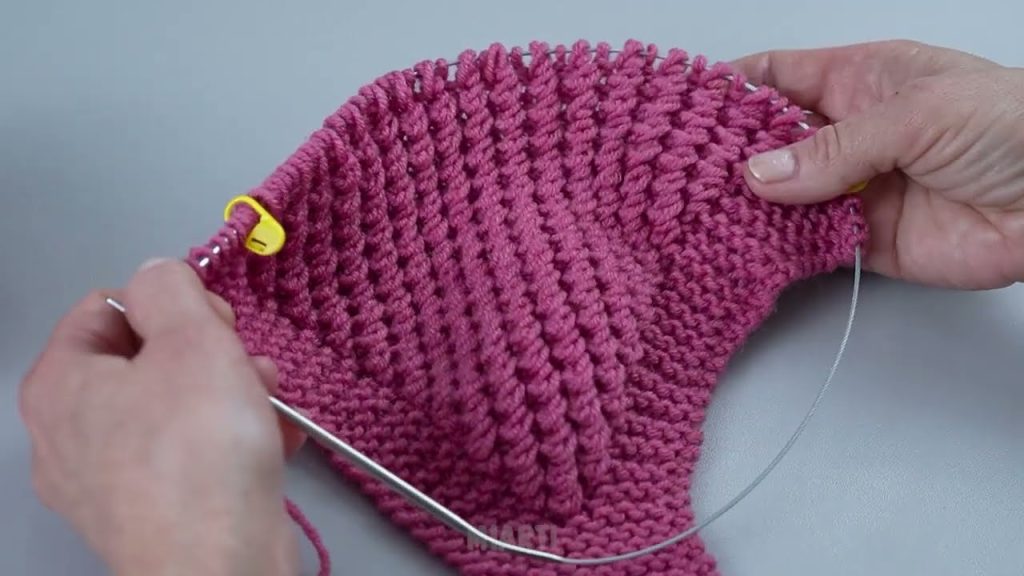
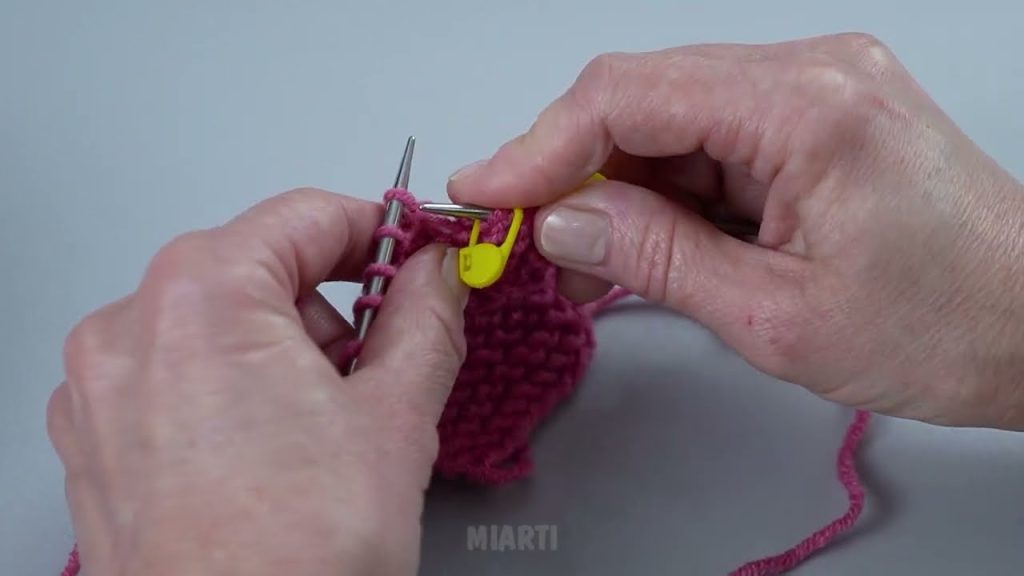
Step 2: Begin Increasing
You’ll increase at the edges to form a triangle shape.
Row 1 (Right Side): Knit across.
Row 2 (Wrong Side): Knit 1, yarn over, knit to end.
Repeat Row 2 on every row until the bandana is the desired width at the widest point.
👉 Tip:
The triangle’s long edge will be the part that wraps around your head.
For a standard adult bandana, increase until it measures about 12–14 inches across the top edge.
Step 3: (Optional) Add a Design
Once you’ve reached the desired width, you can:
- Continue in garter stitch (knit every row),
- Switch to stockinette stitch (knit one row, purl one row), or
- Try a lace or textured pattern in the middle section for decoration.
Keep knitting without increases for about 2–3 inches to make the top edge lie flat.
Step 4: Decrease for the Other Side
To form a neat triangle point again:
Row 1: Knit 1, knit 2 together, knit to end.
Repeat this row until 3 stitches remain.
Step 5: Bind Off
Bind off all stitches loosely.
Cut yarn, leaving a 6–8 inch tail to weave in.
Step 6: Make Ties (Optional)
If you want to tie it around your head:
- Option 1: Knit or crochet two simple cords (about 10–12 inches each).
- Option 2: Braid three strands of yarn.
- Option 3: Knit a small I-cord:
- Cast on 3 stitches.
- Knit across.
- Slide stitches to the other end of the needle without turning.
- Pull the yarn tightly across the back and knit again.
- Repeat until cord is desired length.
Sew the ties to each corner of the bandana’s wide edge.
Step 7: Finishing
- Weave in all yarn ends with a tapestry needle.
- If desired, block the bandana (lightly wet it, shape it flat, and let it dry).
- Tie it around your head — and you’re done! 🎀
🌸 Variations
- Add stripes: Change yarn colors every few rows.
- Make it ribbed: Alternate knit and purl stitches for a stretchy version.
- Add a decorative edge: Crochet or picot edging around the triangle.
- Use fine yarn and smaller needles for a dainty lace version.
💡 Quick Tips
- Cotton yarn is ideal for warmer weather and breathability.
- For a snug fit as a headband, stop increasing earlier (about 8–10 inches wide).
- Want no ties? Attach an elastic band at the ends instead.
Would you like me to make a visual knitting chart or diagram to show how the triangle grows and where to add the ties? It can help make the pattern clearer for beginners.
Watch tutorial: