 by
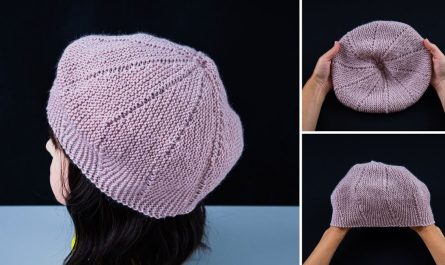
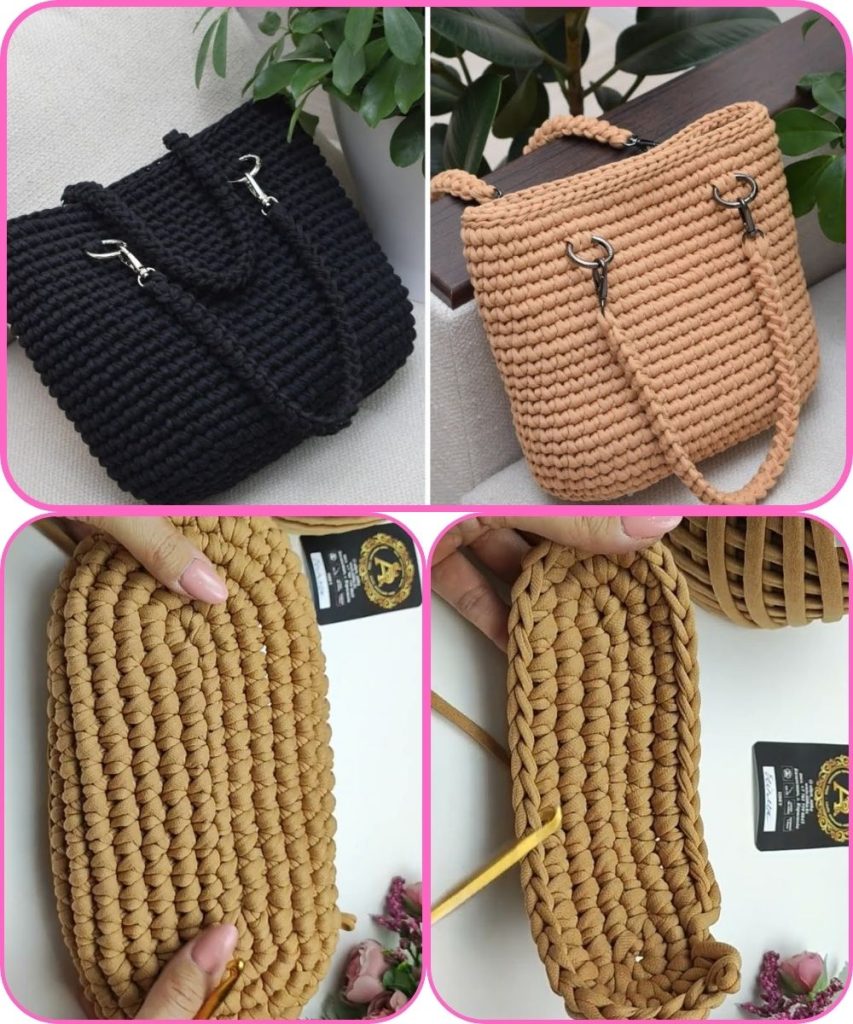
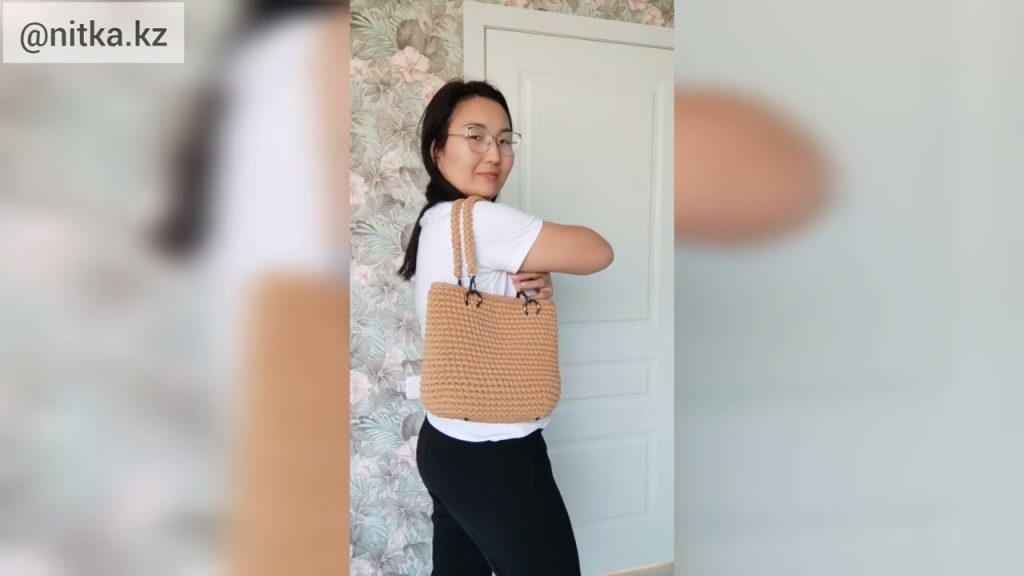
by Absolutely! I can give you a detailed step-by-step guide on making a crocheted shopper bag with an oval bottom. I’ll include instructions, materials, techniques, and tips to ensure clarity. Let’s get started.
Materials Needed
- Yarn:
- Medium weight cotton or acrylic yarn (size 4 – worsted). Cotton is ideal for durability and shape.
- Crochet Hook:
- Size recommended on yarn label (commonly 5mm / H-8 for worsted cotton yarn).
- Stitch Markers:
- Useful for marking the start of rounds.
- Scissors
- Tapestry Needle:
- For weaving in ends.
- Optional:
- Fabric lining for extra durability.
- Buttons or magnetic snap for closure.
Abbreviations
- ch – chain
- sc – single crochet
- hdc – half double crochet
- dc – double crochet
- st – stitch
- sl st – slip stitch
- inc – increase (2 stitches in same stitch)
- dec – decrease (crochet 2 stitches together)
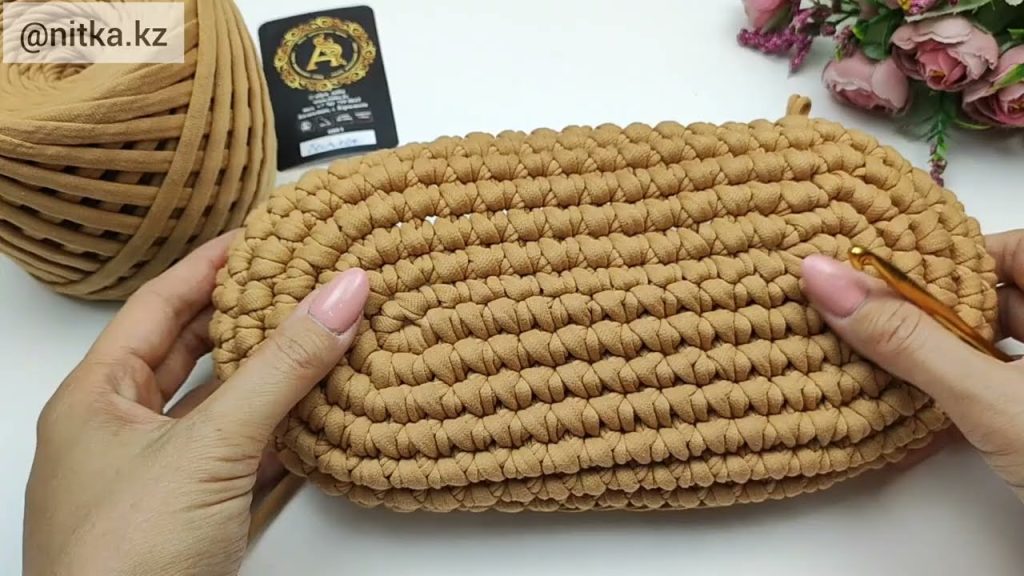
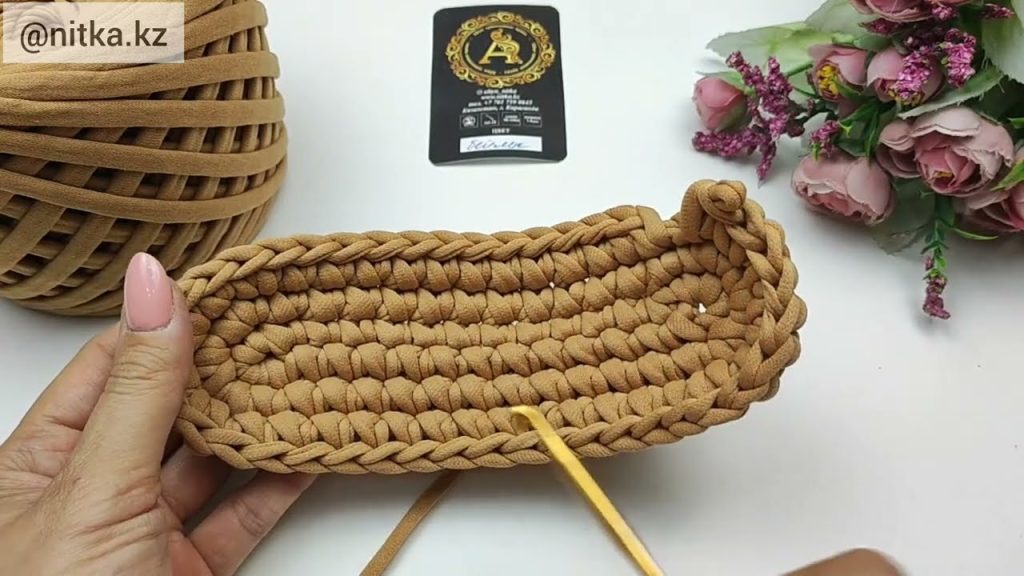
Step 1: Making the Oval Bottom
The oval bottom creates a flat base for your shopper bag.
- Foundation Chain:
- Decide the length of your bag base. For a medium bag, chain 30. (This is the long side of the oval.)
- Round 1:
- Work 1 sc in second chain from hook and in each ch across.
- For the ends, work 3 sc in the last chain to turn around and work along the opposite side of foundation chain.
- Join with sl st to first sc.
- Round 2:
- Ch 1, sc in same stitch, sc in next 27 sts, 2 sc in each of the 3 end sts, sc along opposite side, 2 sc in each of 3 end sts.
- Join with sl st.
- Round 3 (optional, if you want a larger base):
- Repeat increases at the ends (you can increase once per round until desired width).
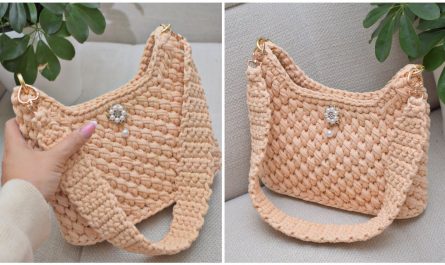
Step 2: Building the Bag Body
- Round 1:
- Ch 1, sc in each st around (do not increase), join with sl st.
- Round 2 onward:
- Continue sc in rounds until bag reaches desired height (e.g., 12–14 inches).
- Optional: Alternate stitches like hdc or dc for different textures.
- Tip: You can add stripes by changing yarn colors every few rounds.
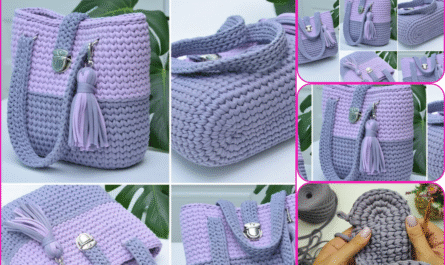
Step 3: Adding Handles
- Determine Handle Placement:
- Mark two opposite sides for handles.
- Create Handles:
- Ch to desired handle length (usually 40–50 ch).
- Skip same number of sts on the bag body, then sl st in next st.
- Repeat for the second handle.
- For sturdiness, you can crochet another row of sc along the chains to reinforce handles.
Step 4: Optional Reinforcements
- Add fabric lining: Cut fabric to bag size, sew into place, or use a sewing machine.
- Add magnetic snap: Sew at the top center for closure.
Step 5: Finishing
- Weave in all loose ends using a tapestry needle.
- Shape the bag with gentle hand-stretching.
- Optionally, block the bag by dampening and shaping it to make the oval bottom flat and even.
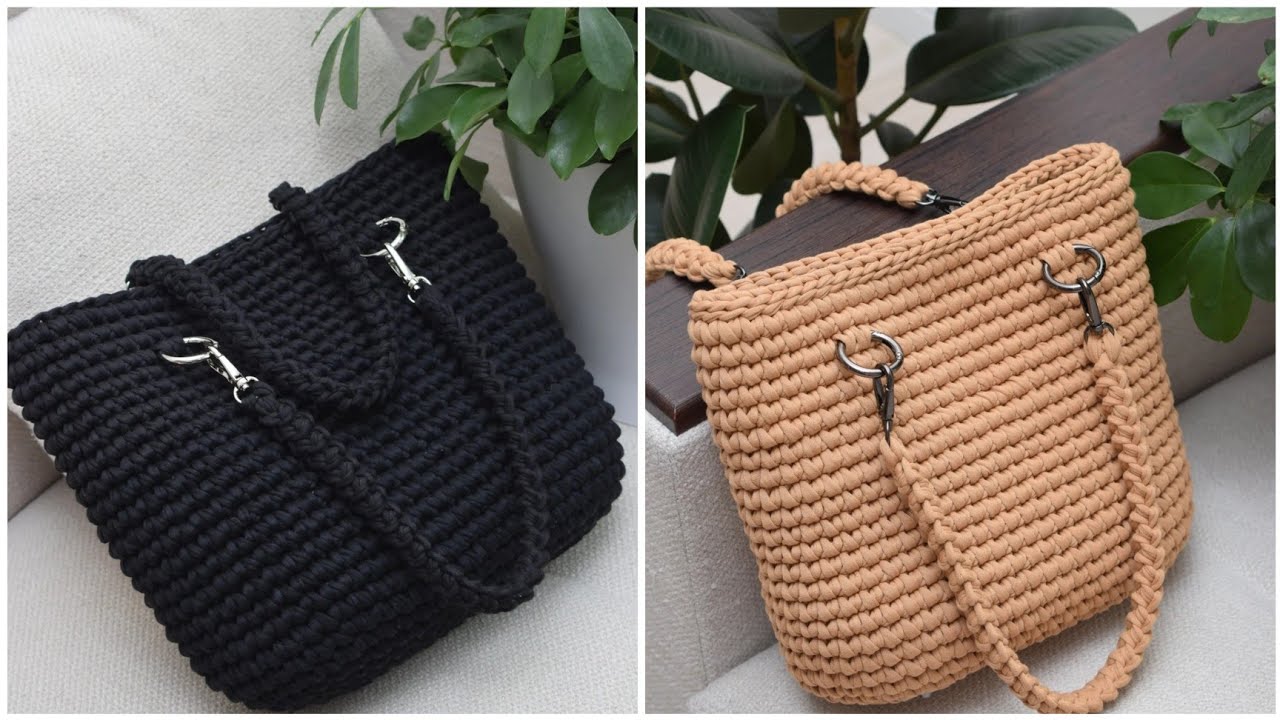
Tips for Success
- Use tighter stitches for a sturdier bag that holds shape.
- Use cotton yarn because it resists stretching under weight.
- If you want a larger shopper bag, increase the initial foundation chain.
- Decorative touches: Add tassels, pockets, or stripes.
If you want, I can draw a simple crochet diagram for this oval-bottom shopper bag showing rounds and handle placement—it makes it much easier to visualize.
Watch tutorial: