Sure! Here’s a detailed step-by-step guide on how to make an easy crochet bucket hat — perfect for beginners. 🧶🎩
🧺 Materials You’ll Need
| Item | Details / Suggestions |
|---|---|
| Yarn | Medium (worsted) weight cotton yarn – about 150–200 yards. Cotton helps the hat hold its shape and is breathable. |
| Crochet Hook | Size 4 mm (G-6) or 5 mm (H-8), depending on your tension and yarn. |
| Stitch Marker | Optional, but helpful for marking rounds. |
| Scissors | For trimming ends. |
| Yarn Needle | For weaving in ends. |
🧶 Basic Crochet Stitches Used
- ch = chain
- sl st = slip stitch
- sc = single crochet
- hdc = half double crochet
- dc = double crochet
- inc = increase (2 stitches in the same stitch)
🧢 Hat Construction Overview
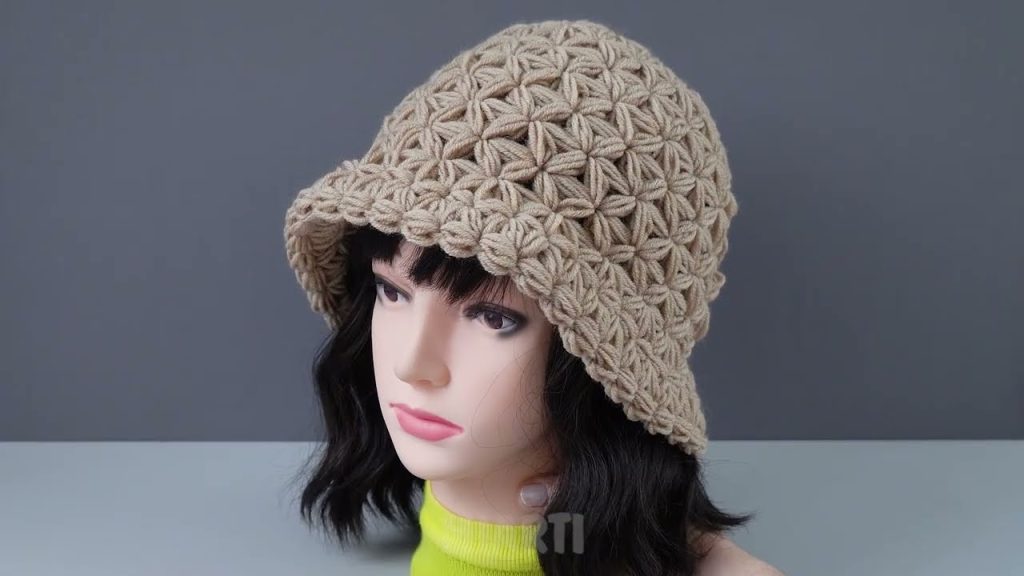
A crochet bucket hat typically has 3 sections:
- Top (the crown) – a flat circle made by increasing each round.
- Sides (the body) – worked straight without increases.
- Brim – flared by increasing again.
🪡 Step-by-Step Instructions
1. Crochet the Crown (Top of the Hat)
- Start with a Magic Ring (or chain 4 and join with sl st to form a ring).
- Round 1: Ch 2 (counts as first dc), make 11 dc into ring. Join with sl st to top of ch 2. (12 dc)
- Round 2: Ch 2, 1 dc in same st, 2 dc in each st around. Join. (24 dc)
- Round 3: Ch 2, 1 dc in next st, 2 dc in next st — repeat around. Join. (36 dc)
- Round 4: Ch 2, 1 dc in next 2 sts, 2 dc in next st — repeat. (48 dc)
- Round 5: Ch 2, 1 dc in next 3 sts, 2 dc in next st — repeat. (60 dc)
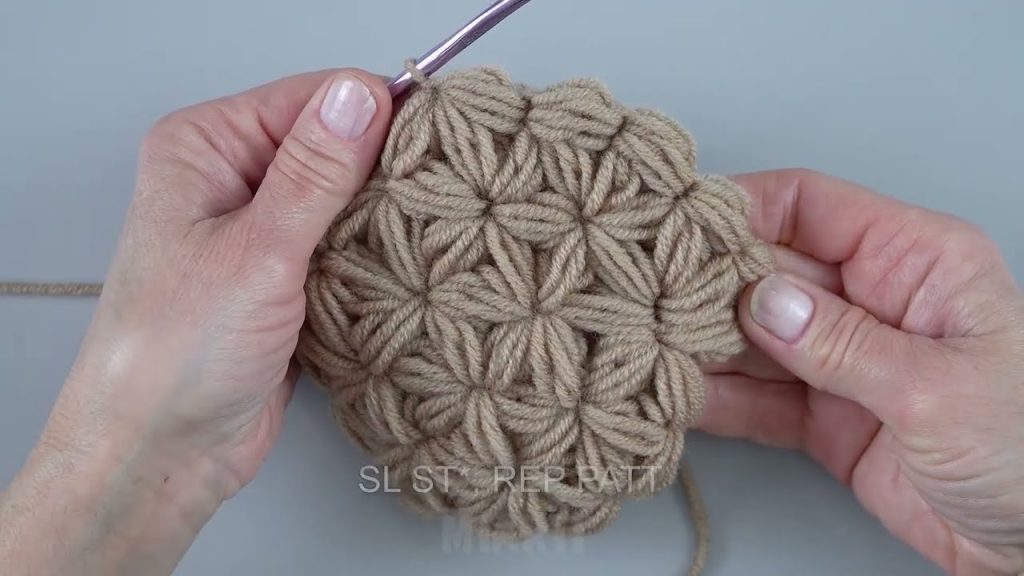
- Keep increasing this way (adding one more dc before each increase) until the circle is about 6–6.5 inches (15–16 cm) across — this fits most adult heads.
2. Crochet the Sides (Body of the Hat)
- Round 1: Ch 2, 1 dc in each st around. Join.
- Repeat this round (no increases) until the sides measure about 3.5–4 inches (9–10 cm) tall.
- You can also switch to hdc or sc stitches if you prefer a denser texture.
3. Crochet the Brim
- Round 1 (Increase): Ch 2, 1 dc in next 4 sts, 2 dc in next st — repeat. Join.
- Round 2: Ch 2, 1 dc in next 5 sts, 2 dc in next st — repeat. Join.
- Continue increasing every few stitches for each round until the brim is as wide as you like (typically 2–3 inches / 5–7.5 cm).
- For a floppy brim, use softer yarn and more increases.
- For a structured brim, use tighter stitches or stiffer yarn.
4. Finishing
- Fasten off and weave in all loose ends using a yarn needle.
- Optionally, you can block your hat to shape it nicely:
- Wet it slightly, place it over a bowl (the size of your head), and let it dry.
🎨 Optional Customizations
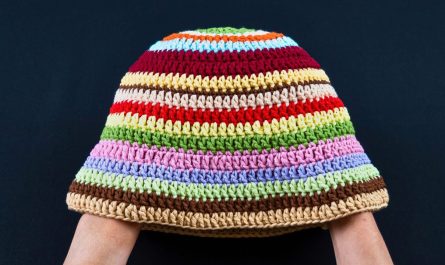
- Color Changes: Switch colors between rounds for stripes.
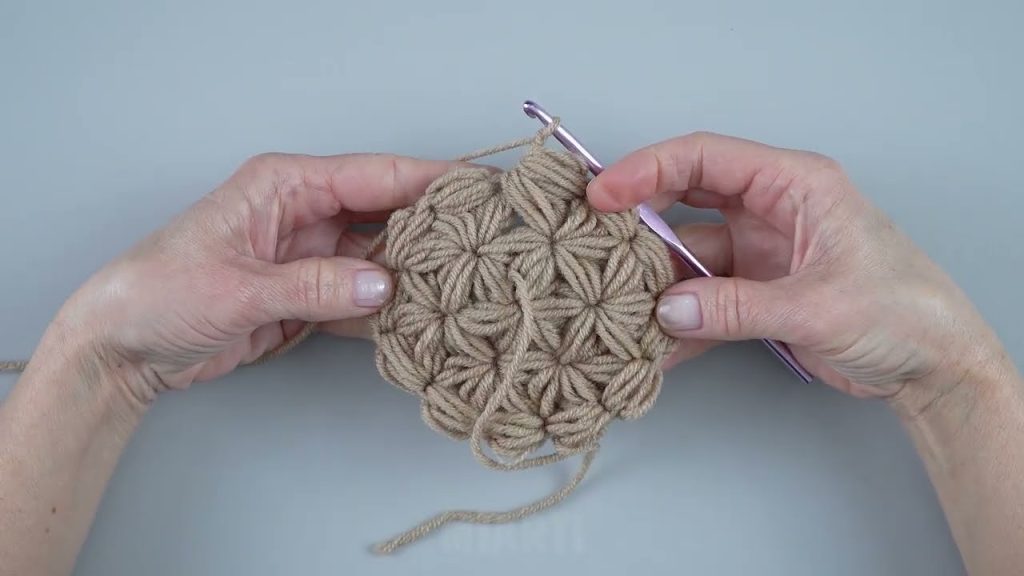
- Textured Stitches: Try half double crochet or front-post/back-post stitches for pattern.
- Decorations: Add embroidered flowers, crochet appliqués, or a small tag.
- Chin Strap: Attach a braided cord or chain ties on both sides.
🧵 Quick Tips
- Always check your gauge — if the hat feels too tight, go up a hook size.
- Cotton yarn gives structure, but you can use acrylic for a softer feel.
- Keep your tension even; looser stitches make the hat stretchier.
Would you like me to write this as a printable crochet pattern (with row counts and stitch markers) or as a beginner-friendly tutorial with pictures and diagrams next?
Watch tutorial:

