 by
by Absolutely! 🧶 Let’s go step-by-step through how to make a crochet hat, from choosing materials to finishing touches. I’ll give you a beginner-friendly pattern that can be adjusted for any size.
🧵 What You’ll Need
Materials:
- Yarn: Medium (worsted weight / category 4) acrylic or cotton yarn — about 100g for an adult hat.
- Hook: 5mm (H/8) crochet hook (check your yarn label for the best size).
- Tapestry needle – for weaving in ends.
- Scissors
Optional: Stitch marker (helpful to mark the beginning of each round).
🧶 Basic Terms (US Crochet Terms)
| Abbreviation | Stitch Name | How to do it |
|---|---|---|
| ch | chain | Yarn over, pull through loop on hook |
| sl st | slip stitch | Insert hook, yarn over, pull through both loops |
| sc | single crochet | Insert hook, yarn over, pull through, yarn over, pull through 2 loops |
| hdc | half double crochet | Yarn over, insert hook, yarn over, pull through, yarn over, pull through 3 loops |
| dc | double crochet | Yarn over, insert hook, yarn over, pull through, yarn over, pull through 2 loops twice |
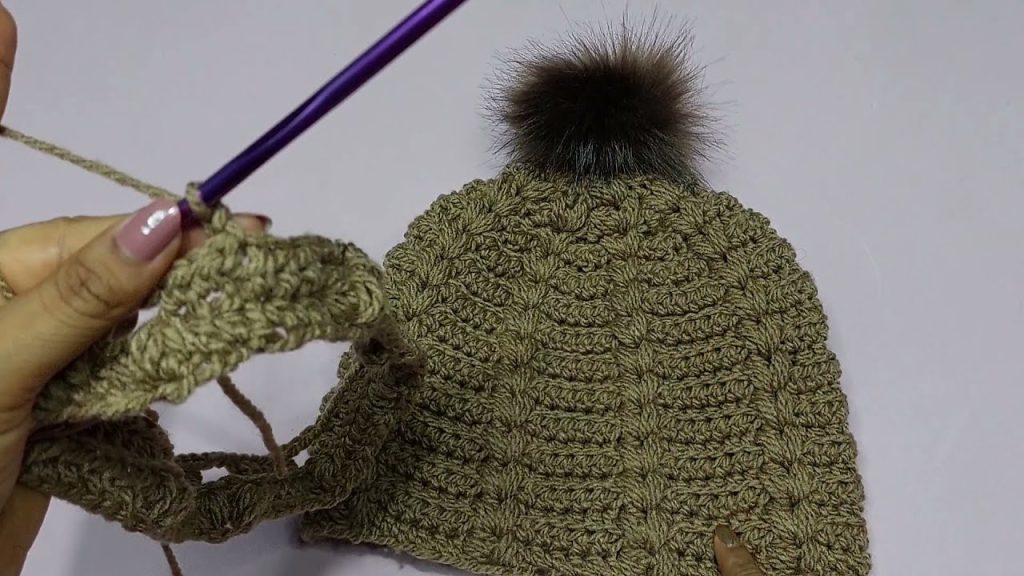
🎩 STEP-BY-STEP CROCHET HAT (Beginner Pattern – Top Down)
This is a simple beanie-style hat worked in rounds.
🪡 Step 1: Start with a Magic Ring (or Chain 4 and Join)
- Make a magic ring, OR
- Chain 4, join with a slip stitch to form a ring.
- Chain 2 (counts as first stitch if using double crochet).
🪡 Step 2: Round 1 – Make the Crown
- Round 1: Make 12 double crochets (dc) into the ring.
- Join with sl st to the top of the first dc.
- (12 stitches total)
🪡 Step 3: Round 2 – Increase
- Round 2: Chain 2. Make 2 dc in each stitch around.
- Join with sl st.
- (24 stitches total)
🪡 Step 4: Round 3 – Increase More
- Round 3: 1 dc in next stitch, 2 dc in next stitch, repeat around.
- Join with sl st.
- (36 stitches)
🪡 Step 5: Round 4 – Continue Increasing
- 1 dc in next 2 stitches, 2 dc in next stitch, repeat around.
- (48 stitches)
🪡 Step 6: Round 5 – Final Increase (optional)
- 1 dc in next 3 stitches, 2 dc in next stitch, repeat around.
- (60 stitches)
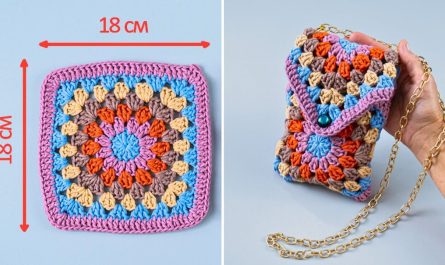
👉 Stop increasing when the flat circle reaches the following diameter:
| Hat Size | Diameter (cm/inch) |
|---|---|
| Baby | 10–12 cm / 4–4.7 in |
| Child | 13–14 cm / 5–5.5 in |
| Adult | 15–17 cm / 6–6.5 in |

🪡 Step 7: Work Even (No More Increases)
Now crochet 1 dc in each stitch around (no increases) for 10–15 rounds or until the hat measures the desired height:
| Hat Size | Height (cm/inch) |
|---|---|
| Baby | 12–14 cm / 4.5–5.5 in |
| Child | 17–19 cm / 6.5–7.5 in |
| Adult | 20–23 cm / 8–9 in |
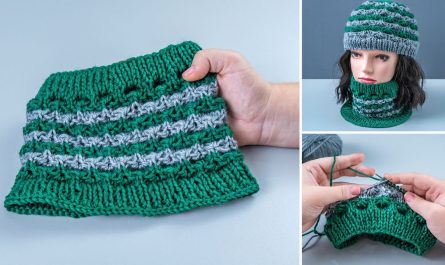
🪡 Step 8: Add a Ribbed Band (Optional)
To make a stretchy band:
- Switch to half double crochet (hdc) or single crochet (sc) stitches.
- Work 3–5 rounds evenly around the edge.
- Optional: For a ribbed look, alternate front post dc and back post dc stitches for 2–3 rounds.
🪡 Step 9: Finish
- Cut yarn (leave a 6-inch tail).
- Pull the tail through the last loop to fasten off.
- Use your tapestry needle to weave in loose ends.
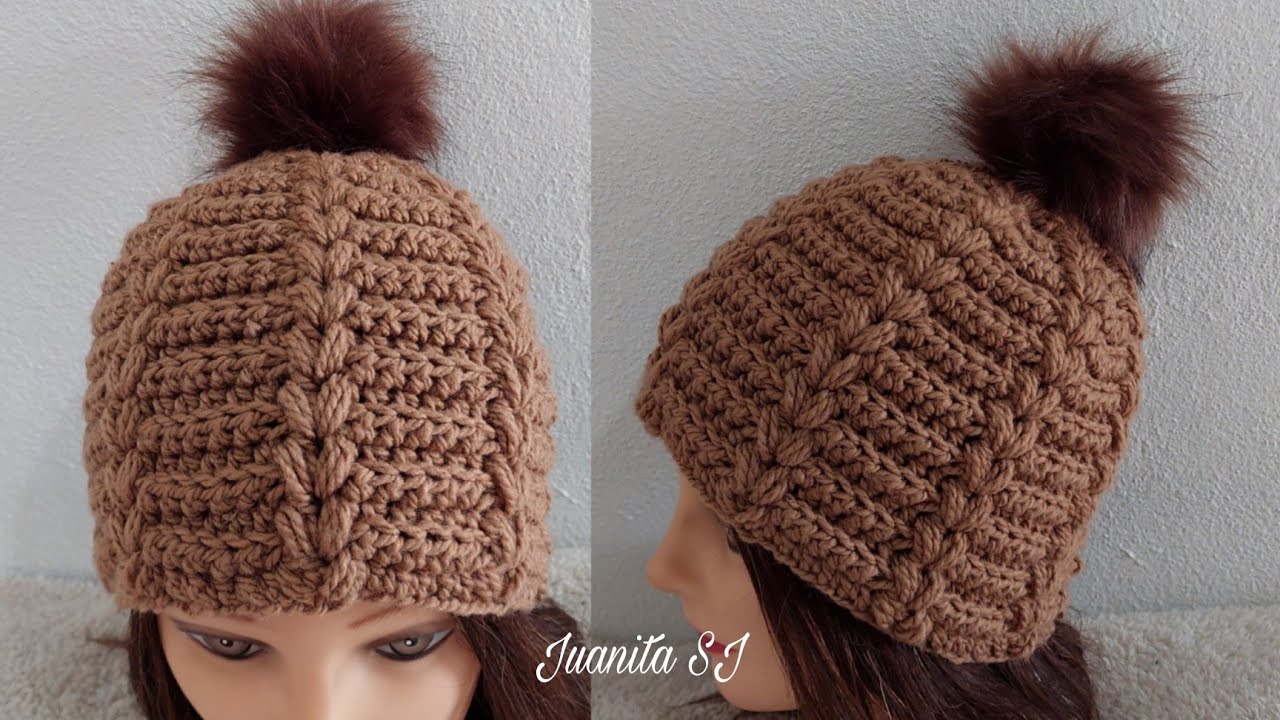
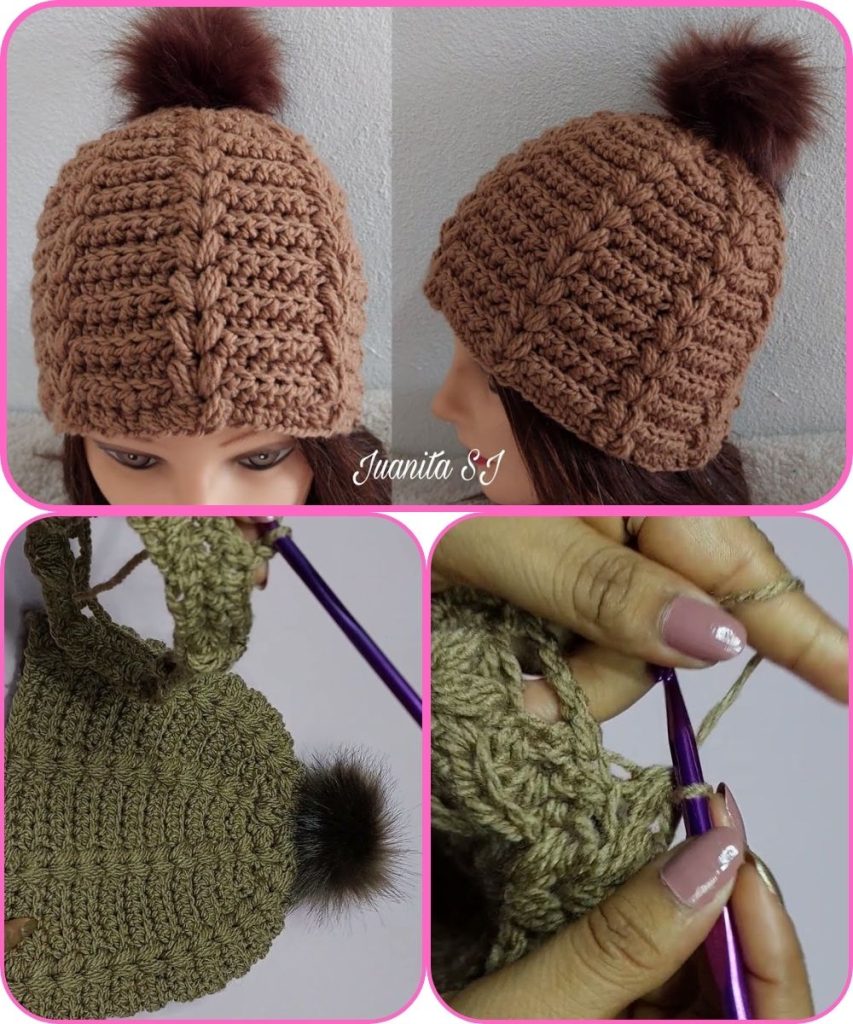
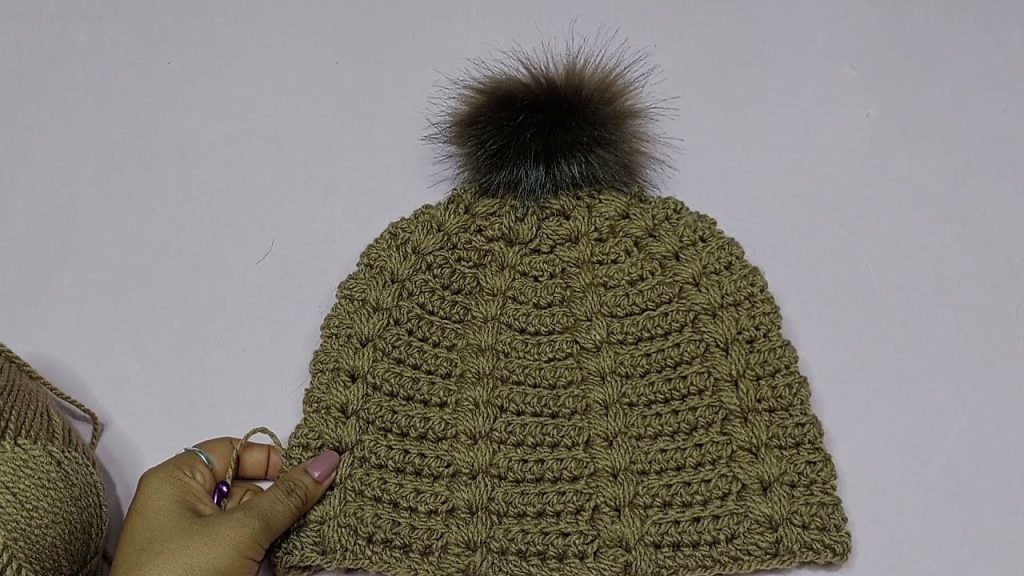
🪡 Step 10: Add Decoration (Optional)
- Pom-pom on top 🎀
- Buttons, appliqués, or embroidery
- Change yarn colors for stripes
💡 Tips for Beginners
- Check your tension: If your hat feels too tight, use a larger hook; too loose, use a smaller one.
- Mark your rounds: Use a stitch marker at the beginning of each round to avoid losing your place.
- Try on as you go: Especially for custom fits!
Would you like me to include a pattern chart or diagram (visual guide) for the hat crown and body? I can make one for you if you’d like a picture-based reference.
Watch tutorial: