 by
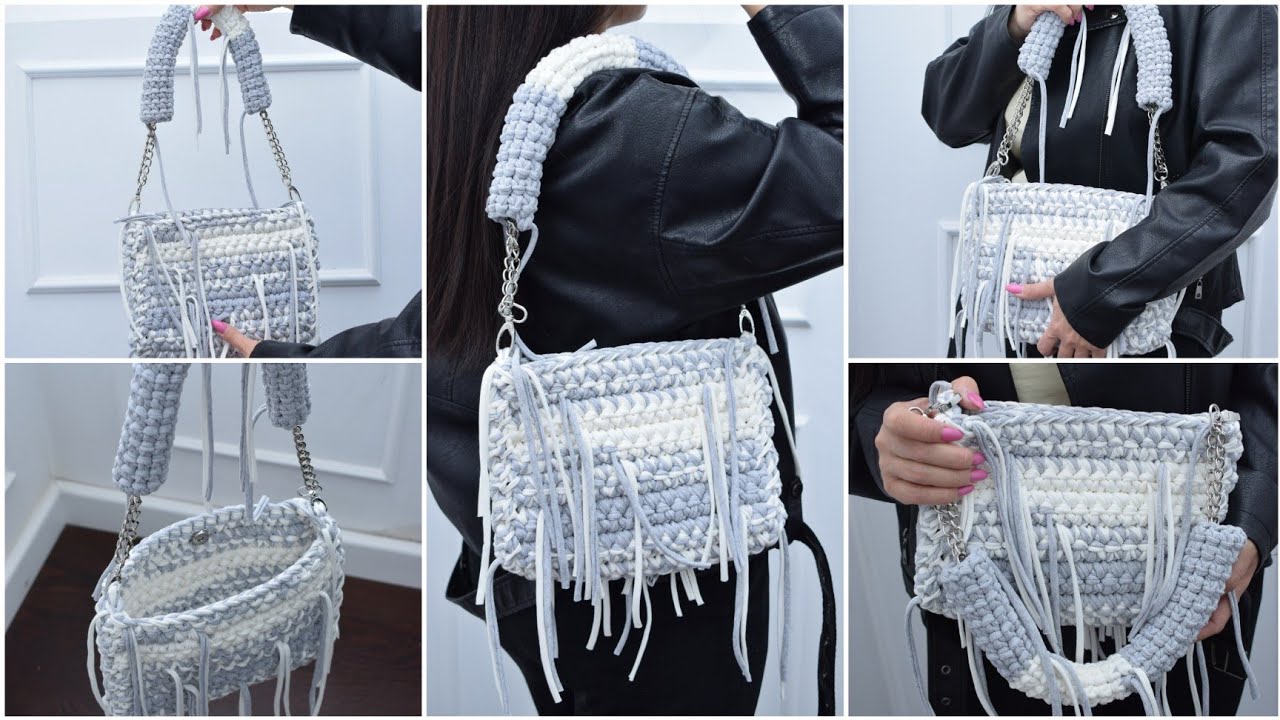
by Absolutely! 💕 Let’s go step by step through how to make a simple chunky crochet bag — a perfect project for beginners. This kind of bag works up quickly, looks stylish, and uses basic stitches.

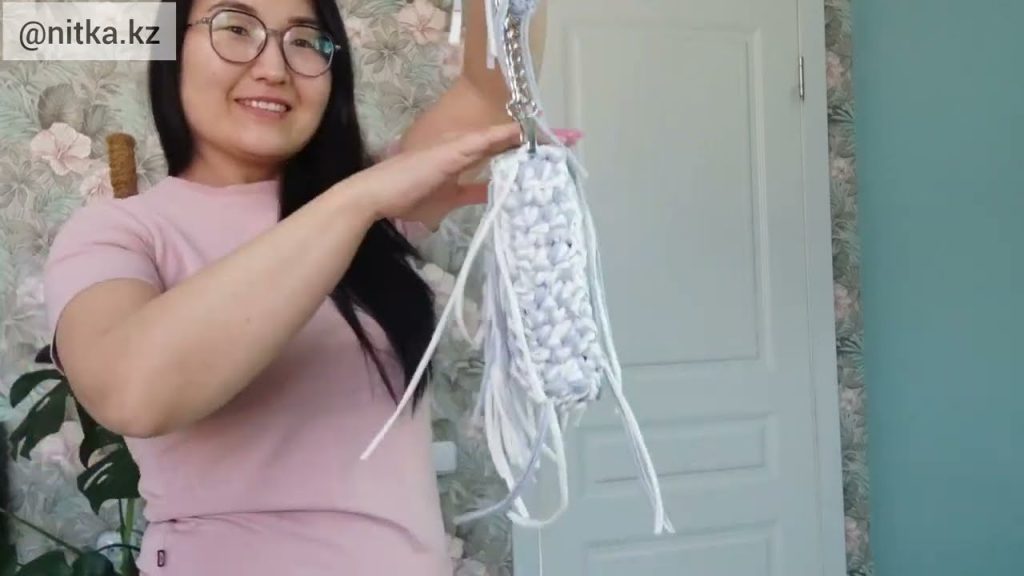
🧶 Simple Chunky Crochet Bag Tutorial (Beginner-Friendly)
🌟 What You’ll Learn
- How to crochet a flat rectangle (the base of your bag)
- How to fold and seam it into a bag shape
- How to add simple handles
- Tips for making it look professional and durable
✨ Materials You’ll Need
| Item | Details |
|---|---|
| Yarn | Chunky or Super Bulky yarn (e.g., 100g x 2 skeins) – cotton or acrylic works best |
| Hook | 8 mm (L-11) crochet hook |
| Scissors | For trimming yarn |
| Tapestry needle | For sewing and weaving in ends |
| Optional | Stitch marker, lining fabric, magnetic snap closure |
🪡 Stitches Used
All beginner-friendly:
- Chain (ch)
- Single Crochet (sc)
- Slip Stitch (sl st)
🧺 Step-by-Step Instructions
Step 1: Create the Base
- Start with a slip knot.
- Chain 26 (or adjust for desired width — this makes a small tote).
- Row 1: Single crochet (sc) in the second chain from the hook, and across. (25 sc)
- Row 2: Chain 1, turn, sc in each stitch across.
- Repeat Row 2 until your rectangle measures about 10–12 inches tall.
🪄 This rectangle will form the body of your bag.
Step 2: Fold and Seam
- Fold your rectangle in half (short sides together) to form the bag shape.
- Using the same yarn and your tapestry needle (or slip stitch through both sides with your hook), sew or crochet up each side.
- Leave the top edge open — that’s your bag opening!

Step 3: Add Handles
You can crochet handles directly onto the bag or attach ready-made ones.
Crochet Handles (simple version):
- Attach yarn to one top corner.
- Chain about 25–35 (depending on how long you want the handle).
- Skip about 4–6 stitches, then attach with a slip stitch.
- Reinforce with one row of single crochet along the chain.
- Repeat on the other side for the second handle.
Step 4: Finishing Touches
- Weave in all yarn ends with your tapestry needle.
- (Optional): Add a fabric lining inside for extra durability.
- (Optional): Sew on a magnetic snap, wooden button, or clasp.

🎀 Tips for Beginners
- Use thick yarn and a big hook — it works up faster and looks trendy.
- Keep your tension even; don’t pull too tight.
- You can experiment with colors — try stripes or two-tone designs.
- Add a simple edging (single crochet around the top) for a neat finish.
👜 Customization Ideas
- Add a pom-pom or tassel for decoration.
- Crochet a long strap instead of handles for a crossbody look.
- Use textured stitches (like half double crochet) once you’re comfortable.
💡 Estimated Time
- Beginners: 2–3 hours
- Intermediate: 1–1.5 hours
Would you like me to include photo references or a visual pattern chart (drawn out rows and stitches) for this chunky crochet bag? I can make a clear step-by-step visual guide for you.
Watch tutorial: