 by
by Absolutely! Let’s create a detailed, beginner-friendly guide to making a simple crochet bag with a corn pattern. I’ll break it down step by step, including materials, stitches, and instructions.
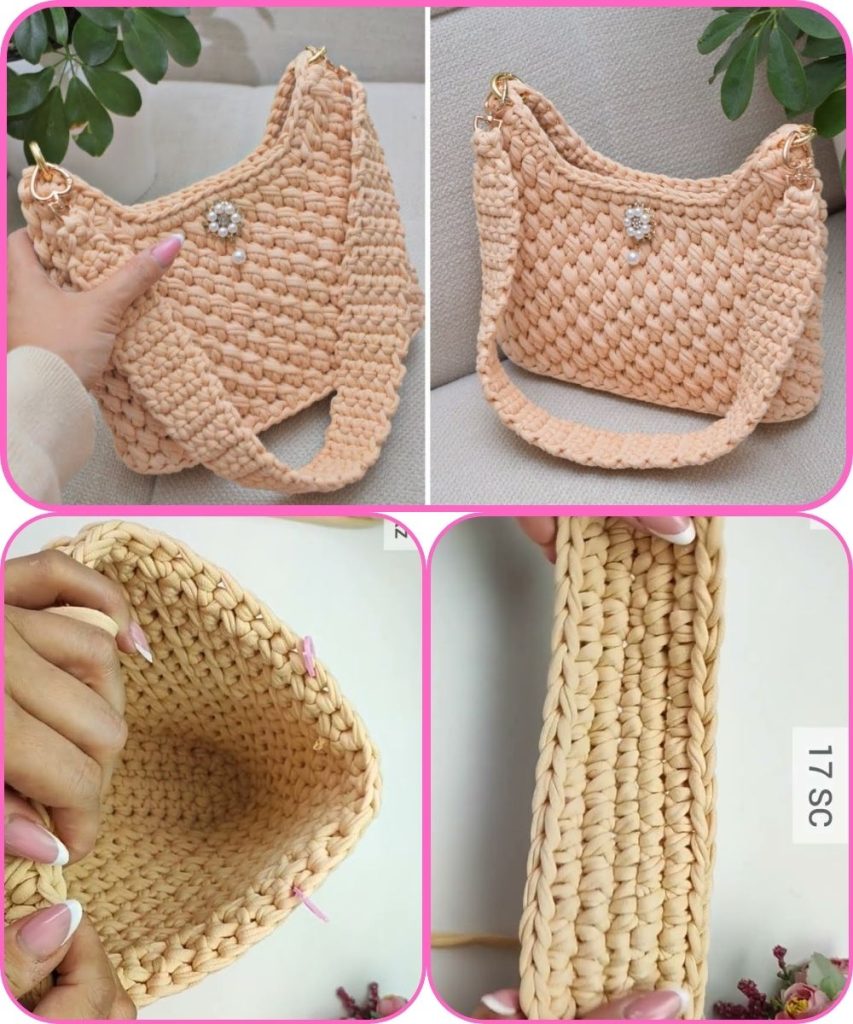
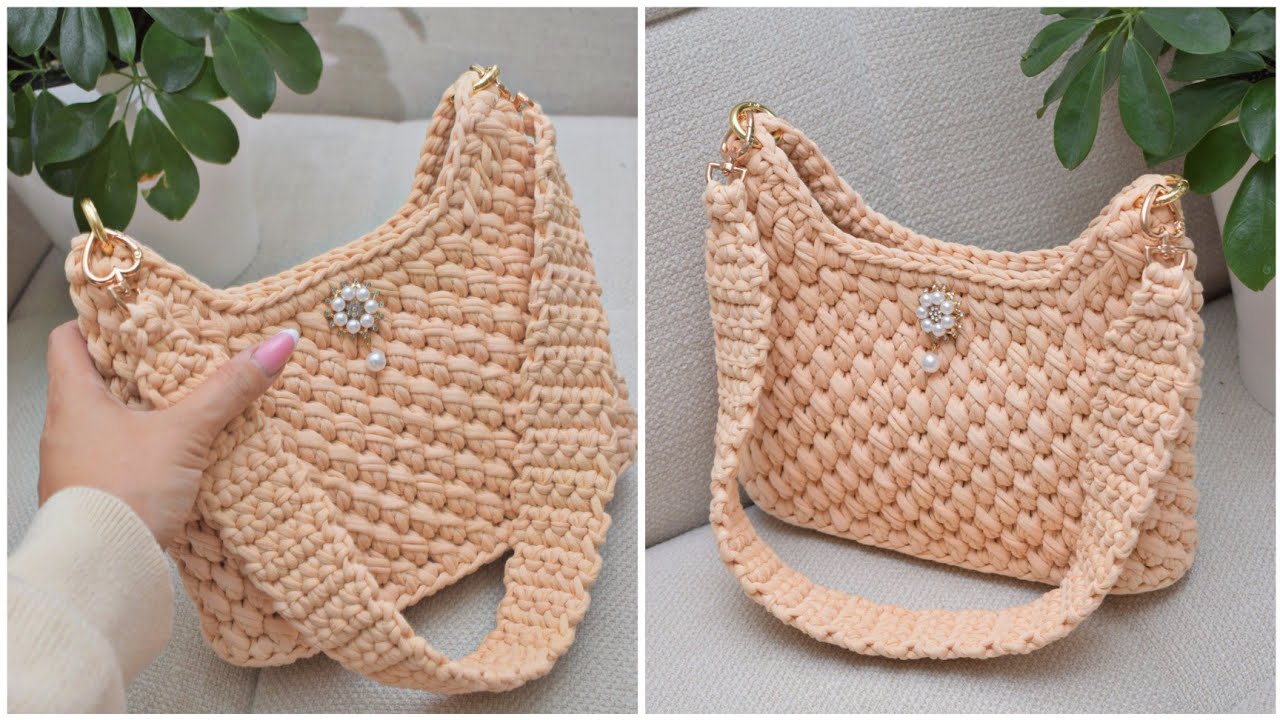
Easy Crochet Bag with Corn Pattern – Beginner Level
Materials Needed
- Yarn: Medium-weight (worsted) cotton or acrylic yarn (2 colors if you want the corn pattern to contrast).
- Hook: Size H/5mm or according to your yarn label.
- Tapestry needle for weaving in ends.
- Scissors
- Optional: Stitch markers to keep track of rounds.
Abbreviations
- ch = chain
- sc = single crochet
- dc = double crochet
- sl st = slip stitch
- st = stitch
- inc = increase (2 stitches in same st)
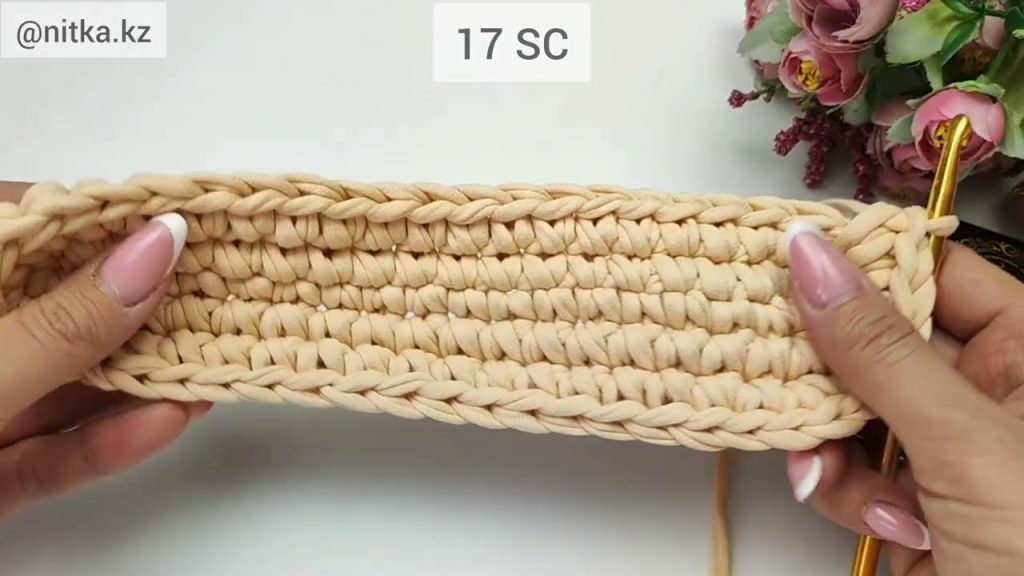
Step 1: Making the Base of the Bag
- Start with a foundation chain. For a small bag, chain 25–30.
- Row 1: Sc in 2nd chain from hook and in each chain across. Turn.
- Row 2: Ch 1, sc in each stitch across. Turn.
- Repeat Row 2 until your rectangle measures the desired width of the bag (e.g., 10–12 inches).
💡 Tip: Keep edges neat by counting stitches to ensure you don’t accidentally add or skip.
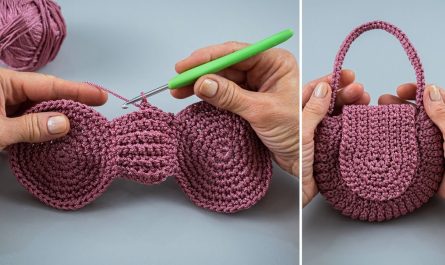
Step 2: Start the Corn Pattern
The corn pattern is also called the popcorn stitch because it creates little rounded “kernels.”
Popcorn stitch (for corn effect):
- Make 5 dc in the same stitch.
- Remove hook from loop, insert it into the first dc of the 5-dc group, pull the loop through.
- This creates a small “popcorn bump.”
To create the corn row:
- Ch 1, skip 1 st, make a popcorn in next st, sc in skipped st. Repeat across row.
- Next row: Sc across, placing sc between each popcorn.
- Alternate these rows to create a textured corn pattern.
💡 Tip: For beginners, make small popcorns and space them evenly; uneven spacing can distort the bag shape.
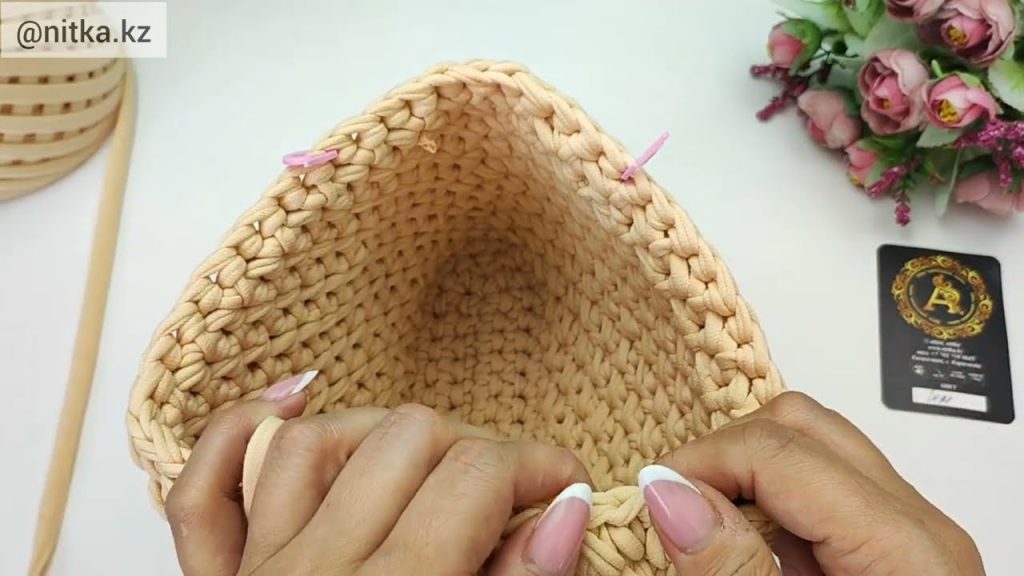
Step 3: Crochet the Sides
- Once the base rectangle is done and the corn pattern rows are complete, fold the rectangle so the short ends meet.
- Use sc to sew the sides together. Insert hook through both layers and sc along the edge.
- Bottom: Sc along the bottom edge to close the base.
Step 4: Add Handles
Option 1 – Simple chain handles:
- Decide the handle length (usually 15–20 chains).
- Attach yarn to the bag edge, ch desired length, skip stitches equal to handle length, attach with sl st to bag.
- Repeat on the other side. Reinforce with extra rows of sc if needed.
Option 2 – Crochet handles:
- Ch the desired length, sc across chain.
- Attach both ends to the bag and sc around for sturdiness.
Step 5: Finishing
- Weave in all loose ends with a tapestry needle.
- Optional: Add a lining for strength.
- Optional: Add a button or snap closure.
Tips for Beginners
- Keep tension consistent to maintain an even shape.
- Use stitch markers to mark corners for the side seams.
- Practice popcorn stitch separately before adding it to your bag.
If you want, I can draw a simple diagram showing the corn stitch placement and bag layout, which makes it much easier to follow visually for beginners.
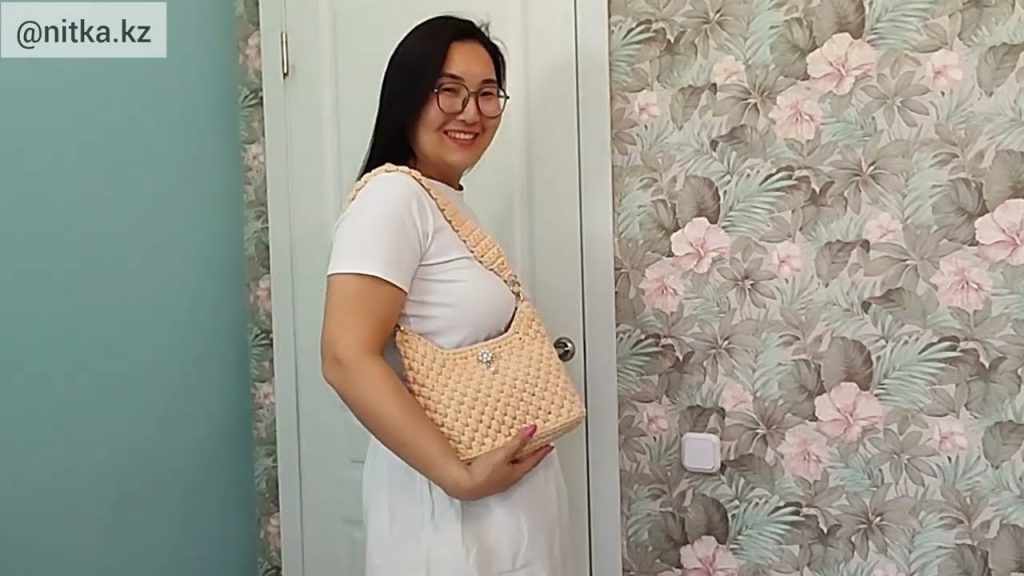
Watch tutorial: