by
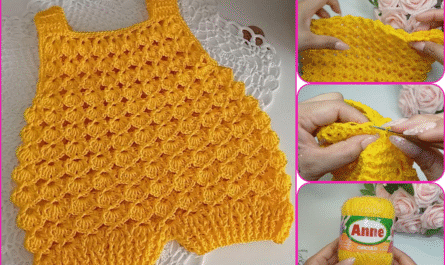
by Absolutely! Let’s break down a detailed step-by-step guide for making a crocheted bag with a honeycomb pattern. I’ll include the materials, stitches, techniques, and step-by-step instructions so it’s clear for both beginners and intermediate crocheters.
Materials Needed
- Yarn:
- Medium-weight cotton yarn is ideal (for sturdiness and shape).
- You can choose one color or multiple colors for stripes.
- Hook:
- Use a crochet hook size that matches your yarn (usually H/8 – 5 mm for medium yarn).
- Accessories:
- Yarn needle for weaving ends
- Scissors
- Optional: bag lining, handles (leather or crocheted), buttons or zipper
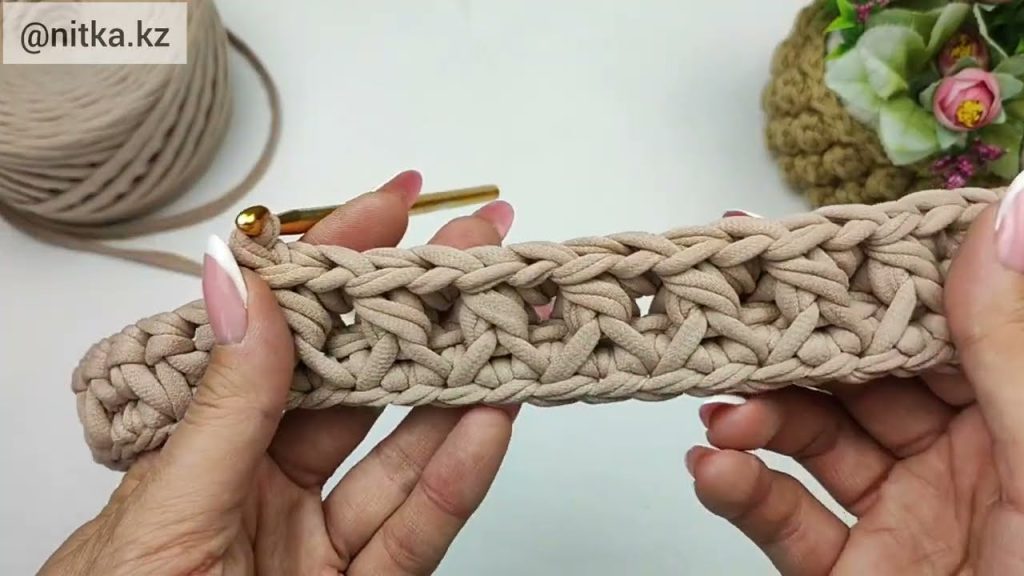
Understanding the Honeycomb Stitch
The honeycomb pattern is made using front post double crochet (FPDC) and back post double crochet (BPDC) to create raised, hexagon-like texture. It looks like interlocking “honeycombs.”
Basic Honeycomb Stitch Repeat
- Work a foundation chain (even number of chains).
- Row 1: Standard double crochet (DC) across.
- Row 2:
- Skip the first stitch (for turning).
- FPDC around the stitch two rows below, DC in the next stitch – repeat across.
- Row 3:
- BPDC around the FPDC below, DC in the next stitch – repeat across.
- Repeat Rows 2 and 3 for desired texture.
This creates a raised, honeycomb effect.

Step-by-Step Instructions for a Honeycomb Bag
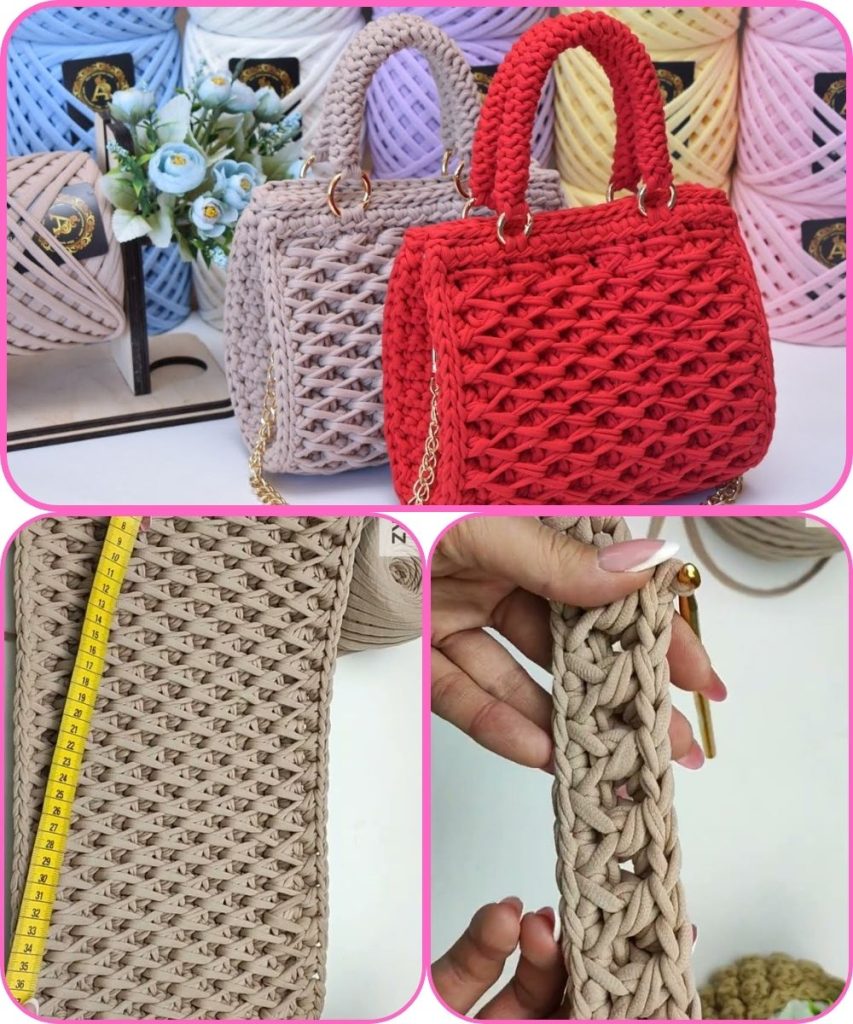
Step 1: Base of the Bag
- Decide the size of your bag.
- Chain a length for the base (e.g., 30–40 chains).
- Work in single crochet (SC) or double crochet (DC) in rows to create a firm rectangle (base).
- Optionally, you can make the base oval by working in rounds and increasing at the ends.
Step 2: Start the Body (Honeycomb Pattern)
- Join yarn to one side of the base.
- Chain 2 (counts as first DC), then DC across the first row.
- Begin honeycomb stitch following the stitch repeat above.
- Continue in honeycomb pattern until the body reaches the desired height.
Step 3: Shape the Bag
- If you want a slightly tapered bag, decrease on every few rows by skipping the first and last stitch.
- Keep checking symmetry as you go.

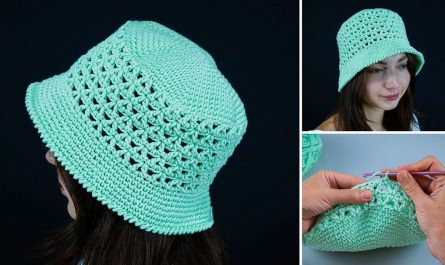
Step 4: Top Edge
- Once the bag is tall enough, finish with a few rows of single crochet (SC) to make the edge neat.
- You can also add a decorative scallop or shell stitch here.
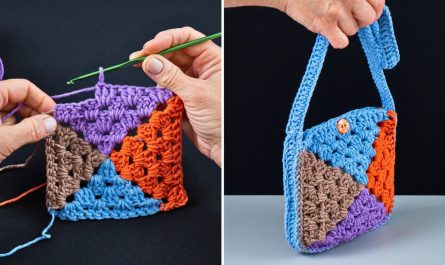
Step 5: Handles
There are multiple options for handles:
- Crocheted straps:
- Attach yarn at the top, chain desired length, SC back down, then attach to the other side.
- Leather straps: Sew on securely.
- Optional: Work a chain strap directly into the top edge of the bag.
Step 6: Lining (Optional but Recommended)
- Cut fabric to fit the interior of your bag.
- Sew or glue to prevent stretching and increase durability.
Step 7: Finishing Touches
- Weave in all ends with a yarn needle.
- Add closures (button, zipper, or drawstring).
- Block your bag lightly if needed to shape it.
Tips for Success
- Keep tension consistent to maintain the honeycomb pattern.
- Use a stitch marker for rows to track your pattern repeats.
- Cotton yarn is preferable for bags as it holds shape better than soft acrylic.
- Experiment with colors: alternating yarns every few rows can make the honeycomb pop.
If you want, I can also draw a step-by-step diagram showing the honeycomb stitch layout for the bag, which makes it much easier to visualize and follow.
Watch tutorial: