 by
by Absolutely! I can create a detailed guide/script/outline for a video tutorial on crocheting a seasonless shopper bag. Here’s a comprehensive breakdown:

Video Tutorial Title:
“How to Crochet a Stylish Shopper Bag for Any Season | Step-by-Step Tutorial”
Video Description:
Learn how to crochet a versatile shopper bag that’s perfect for any season! This tutorial is beginner-friendly and shows you step by step how to create a stylish, durable, and functional bag. Great for carrying groceries, books, or everyday essentials. Customize with your favorite colors and textures!
Video Outline / Script:
1. Introduction (0:00–0:45)
- Greet viewers warmly.
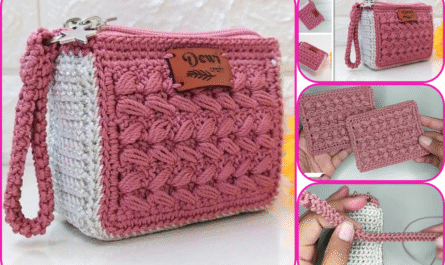
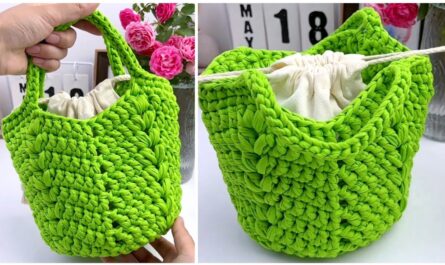
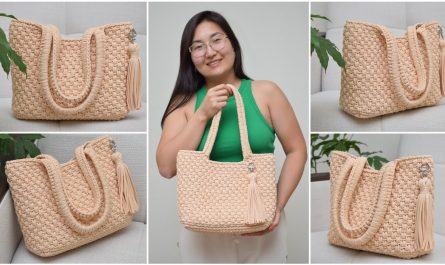
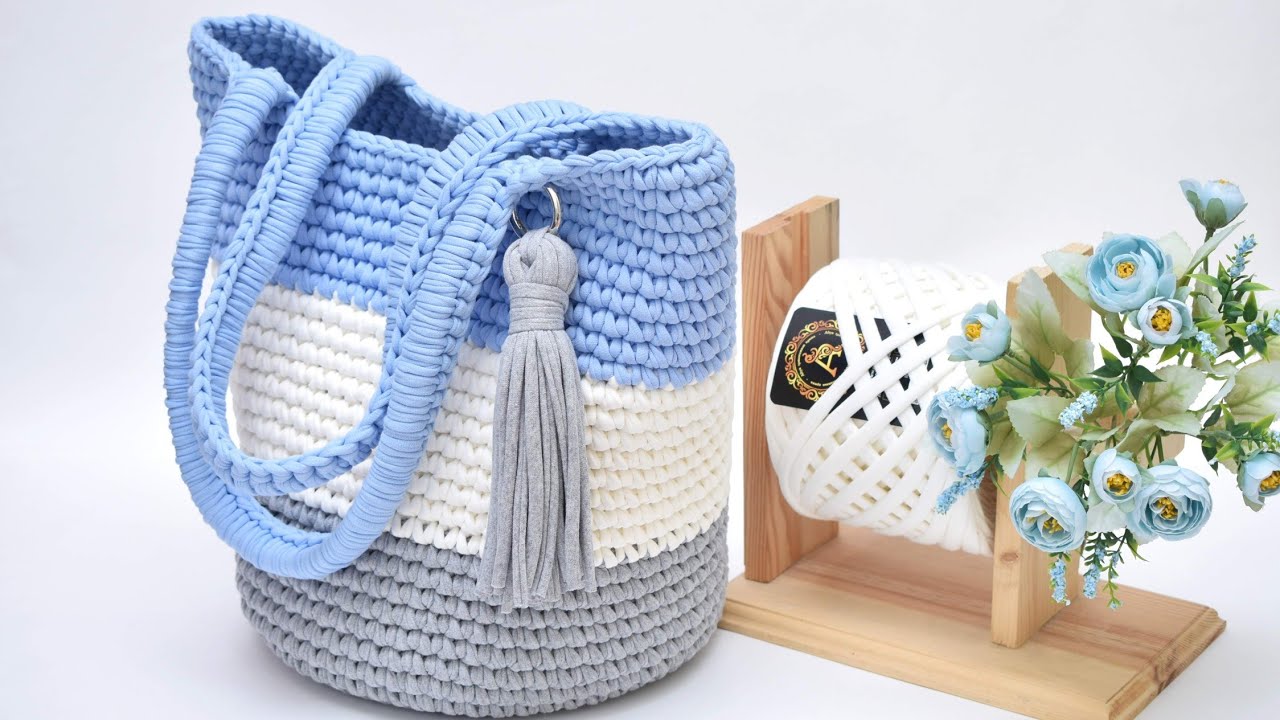
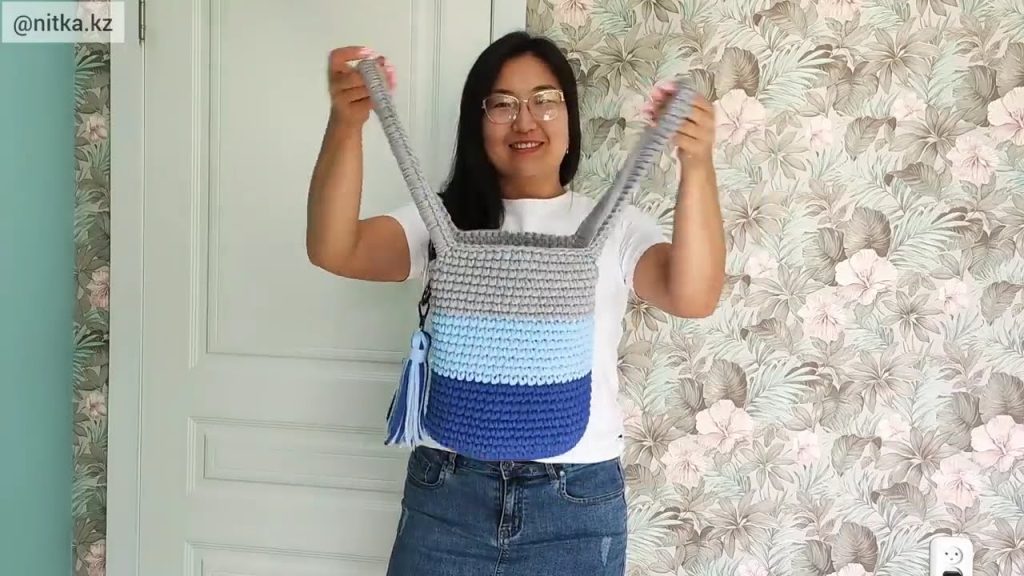
- Briefly show the finished bag.
- Highlight the bag’s versatility: can be used in summer, winter, spring, or autumn.
- Mention the skill level: beginner-friendly but stylish for all crafters.
- Show materials quickly on screen.
Materials Needed:
- Cotton or acrylic yarn (medium weight for durability)
- Crochet hook (size appropriate for the yarn, e.g., 5.0 mm / H-8)
- Scissors
- Yarn needle for weaving ends
- Optional: stitch markers
2. Choosing Yarn & Colors (0:45–1:30)
- Explain why cotton is perfect for summer and acrylic blends for winter durability.
- Suggest neutral or mix-and-match colors to suit all seasons.
- Mention that textured yarn can give a more stylish, trendy look.
3. Crochet Stitches Used (1:30–2:30)
- Basic stitches: Chain (ch), Single Crochet (sc), Double Crochet (dc)
- Optional decorative stitches: Shell stitch, Basketweave, or Bobble stitch for accents
- Show a quick demonstration of each stitch
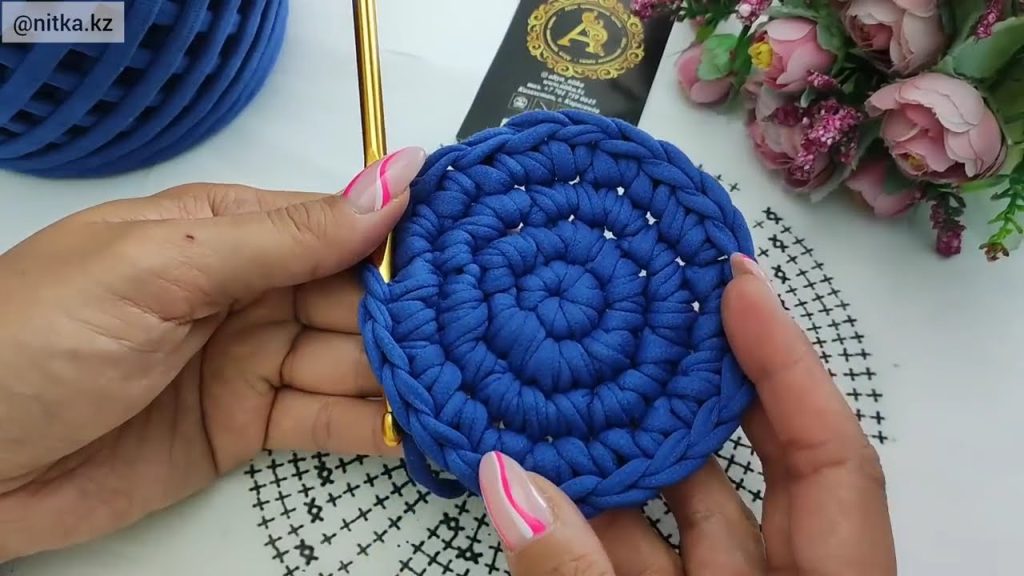
4. Bag Base (2:30–5:00)
- Start by creating a flat rectangular or oval base using chains.
- Work in rows or rounds depending on shape preference.
- Make it sturdy: suggest using a tighter stitch for the base.
- Show step-by-step how to measure width and length.
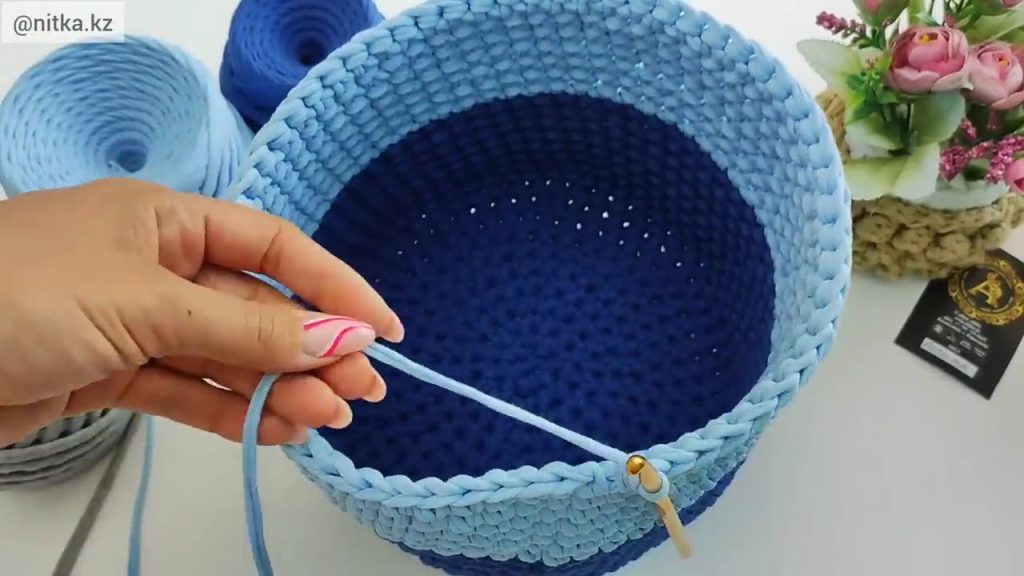
5. Bag Body (5:00–10:00)
- Crochet upward from the base to form the body of the bag.
- Show how to maintain even tension.
- Introduce optional decorative stitches for style.
- Suggest length: long enough to fit over the shoulder but comfortable.
- Remind viewers to count rows for symmetry.
6. Handles (10:00–13:00)
- Show two options: simple single crochet straps or braided/rope-style handles.
- Explain the importance of sturdy handles for carrying heavier items.
- Demonstrate attaching handles securely to the bag.
- Optional: reinforce with an extra row of stitching for durability.
7. Finishing Touches (13:00–15:00)
- Weave in all yarn ends neatly.
- Optional: add a lining for extra durability (especially for groceries).
- Suggest adding buttons, tassels, or a small pocket inside for organization.
- Shape the bag by stretching lightly if necessary.
8. Styling & Seasonal Tips (15:00–16:00)
- Show how to use the bag year-round:
- Summer: light pastel yarns, carry to beach or market
- Autumn/Winter: darker colors, thicker yarn
- Suggest adding removable decorations like pom-poms for seasonal flair.
9. Closing (16:00–16:30)
- Show the finished bag in use.
- Encourage viewers to try different colors and textures.
- Ask viewers to like, subscribe, and comment if they made their own version.
- Optionally, mention downloadable PDF pattern link (if available).
Tips for a High-Quality Tutorial Video:
- Use close-up shots for stitches.
- Add on-screen text for stitch counts.
- Use natural lighting for color accuracy.
- Keep pace moderate for beginners to follow easily.
- Include a downloadable pattern or reference guide.
If you want, I can also write the full step-by-step crochet pattern specifically for this shopper bag that you could follow while making the video. That way, your tutorial can be fully ready to shoot.
Watch tutorial: