 by
by Here is a detailed, beginner-friendly tutorial written in clear and simple language. You can use it for a blog post, class handout, or video description.
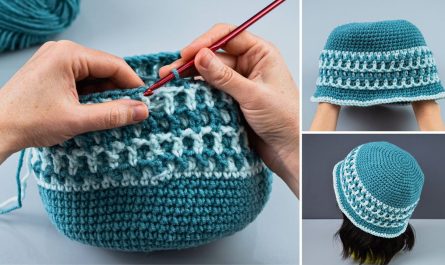
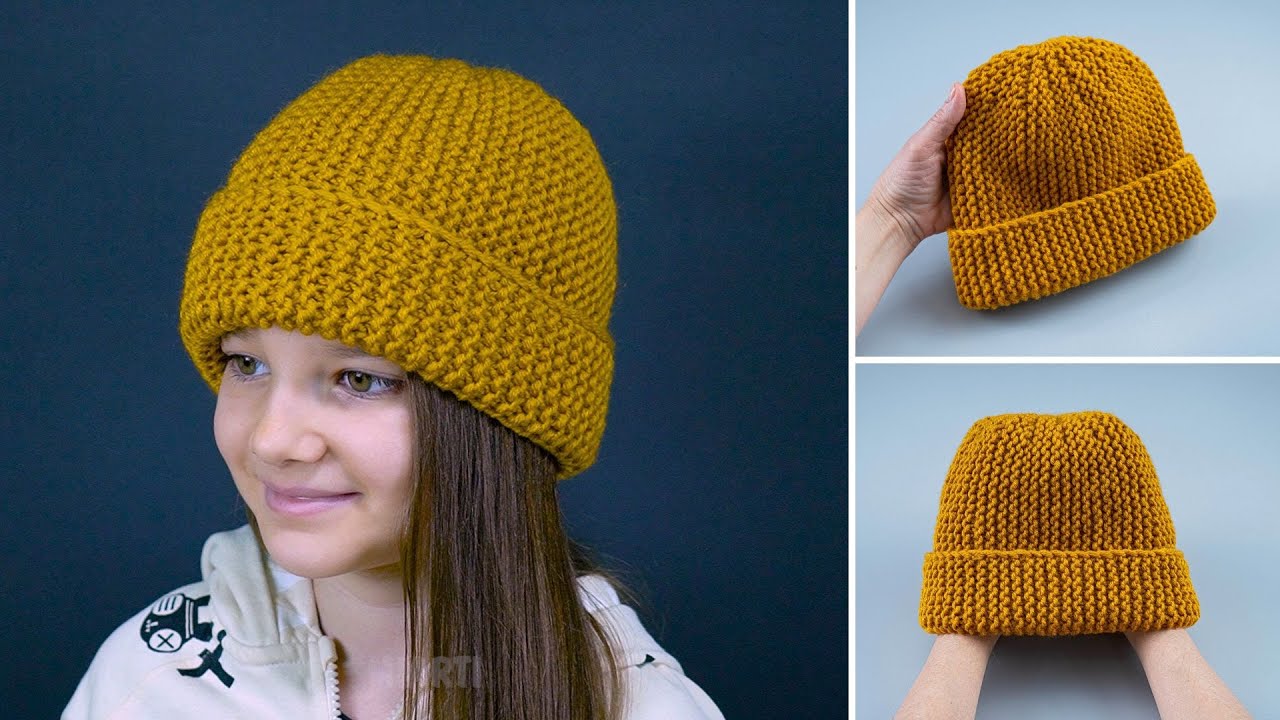
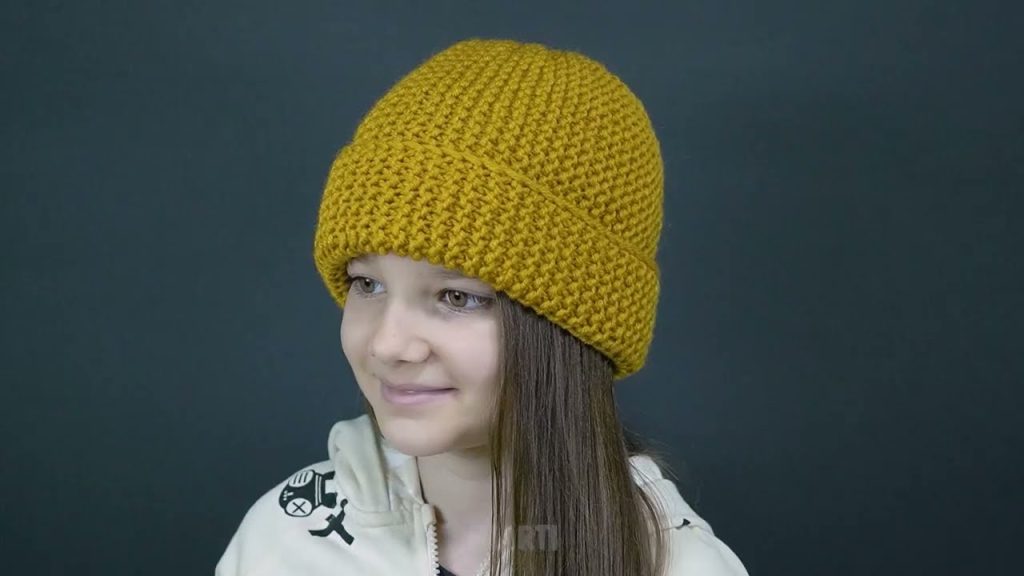
How to Make the Simplest Knitted Hat
A Step-by-Step Tutorial for Beginners
This is the simplest knitted hat pattern, perfect for beginners who are just learning to knit. It uses basic stitches, simple shaping, and can be made flat (no circular needles needed).
🧶 Materials Needed
- Medium-weight yarn (Category 4 / Worsted weight)
- Knitting needles: 5 mm (US 8) straight needles
- Scissors
- Yarn needle
- Measuring tape
📏 Finished Size (Approx.)
- Fits average adult head (adjustable)
- Width (flat): 22–24 cm (9–9.5 inches)
- Height: 22–25 cm (9–10 inches)
✨ Knitting Skills Used
- Cast on
- Knit stitch
- Purl stitch
- Knit two together (k2tog)
- Bind off
- Seaming
Skill Level: Beginner
🪡 Step 1: Cast On
- Make a slip knot.
- Cast on 80 stitches using the long-tail or basic cast-on method.
- Keep your stitches loose and even.
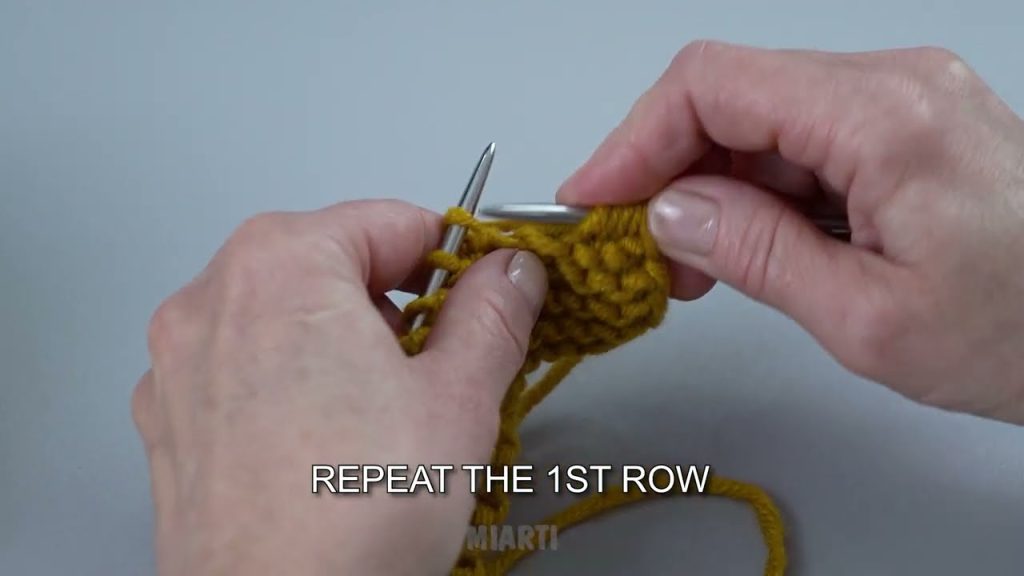
🧵 Step 2: Knit the Ribbed Brim
The ribbing helps the hat stretch and fit comfortably.
- Row 1: Knit 2, purl 2 (repeat across the row).
- Row 2: Knit the stitches as they appear (knit the knits, purl the purls).
- Repeat these two rows until the ribbing measures 5 cm (2 inches).
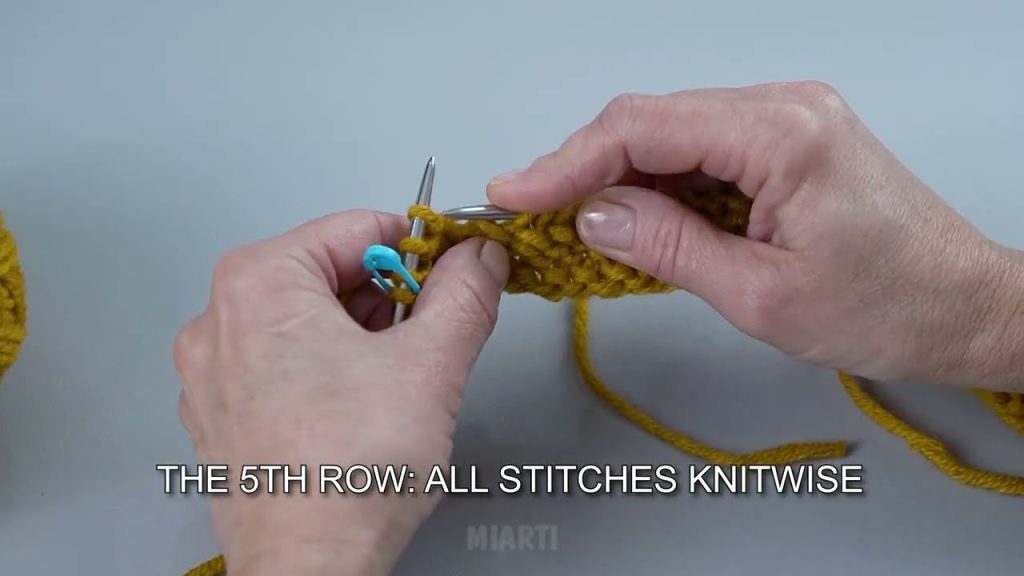
🧶 Step 3: Knit the Hat Body
- Switch to knit stitch only for every row (this creates garter stitch).
- Knit every row until the piece measures about 18 cm (7 inches) from the cast-on edge.
🔻 Step 4: Shape the Top (Decrease Section)
This shapes the crown of the hat.
- Row 1: Knit 8, knit 2 together — repeat across.
- Row 2: Knit all stitches.
- Row 3: Knit 7, knit 2 together — repeat across.
- Row 4: Knit all stitches.
👉 Continue this pattern, decreasing one stitch between decreases each time (6, 5, 4…) until about 10–12 stitches remain.
✂️ Step 5: Finish the Hat Top
- Cut yarn, leaving a 25 cm (10-inch) tail.
- Thread the yarn needle.
- Pull the yarn through the remaining stitches.
- Pull tightly to close the top and secure.
🪢 Step 6: Seam the Hat
- Fold the hat in half, right sides facing.
- Use mattress stitch or whip stitch to sew the side seam.
- Secure and weave in all loose ends.
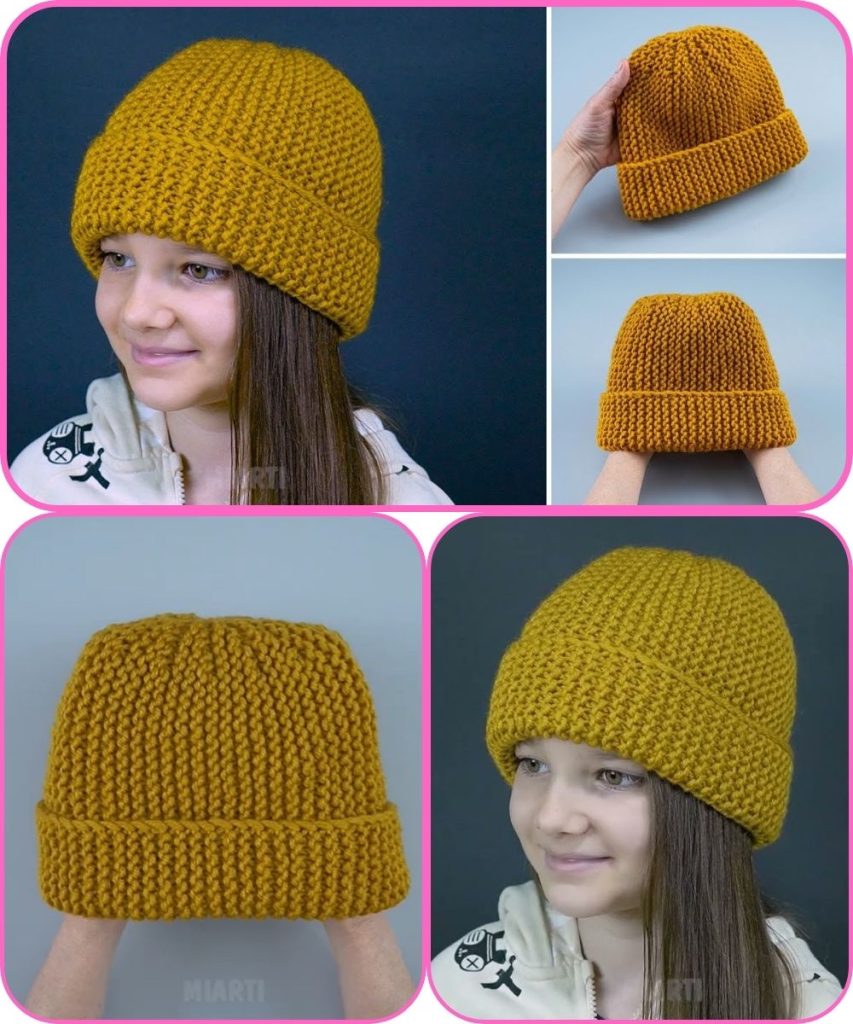
🎀 Optional Add-Ons
- Attach a pom-pom
- Fold the brim for extra warmth
- Add stripes or color blocks
- Use chunky yarn for a faster project
💡 Beginner Tips
- Practice knit and purl stitches before starting
- Count stitches after each decrease row
- Don’t pull yarn too tightly
- Use light-colored yarn to see stitches better
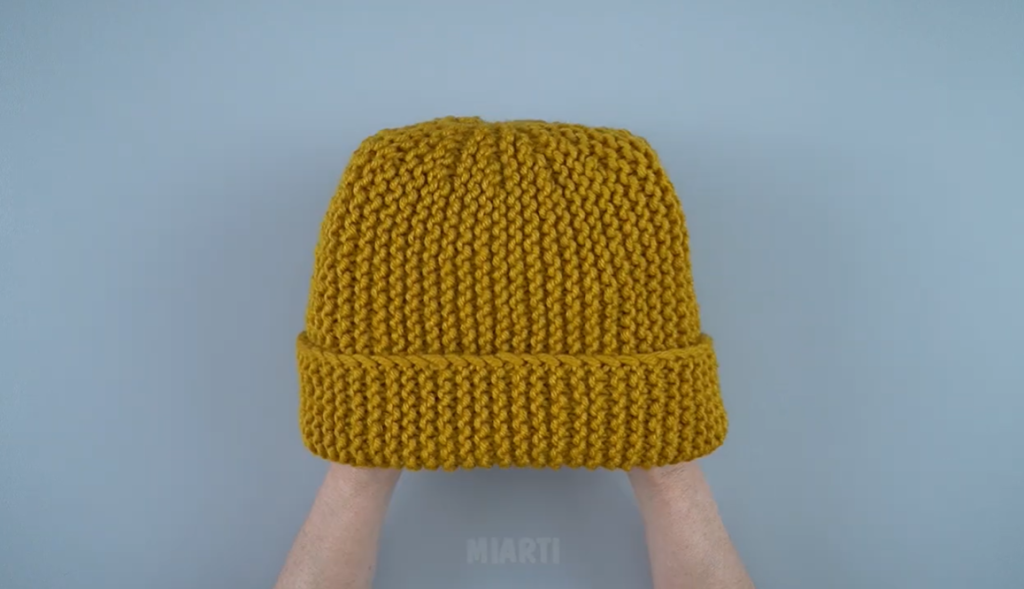
🎉 Congratulations!
You’ve made your first knitted hat! This simple pattern is perfect for gifts, practice, or learning basic hat construction.
If you’d like, I can:
- Make a child or baby size version
- Convert this to circular needles
- Write a video tutorial script
- Create a printable PDF pattern
Watch tutorial: