 by
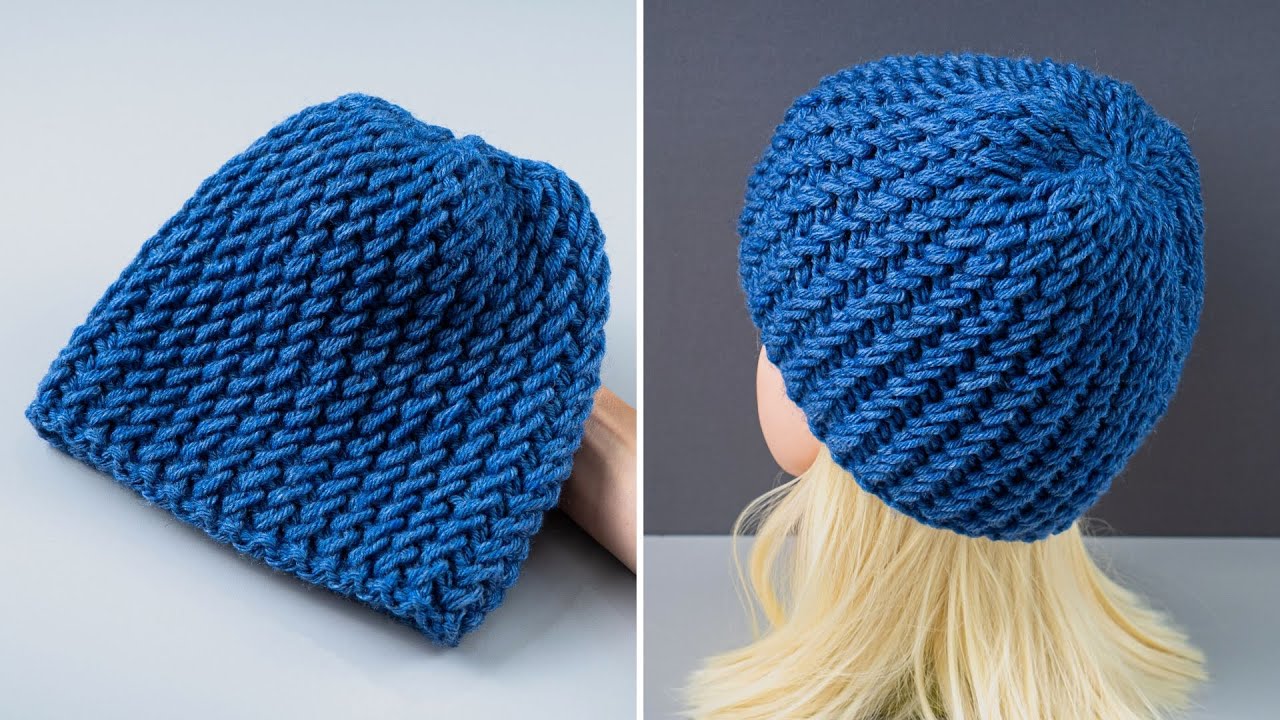
by Absolutely! Here’s a detailed, beginner-friendly guide to making a knitted hat quickly and simply. I’ll break it down step by step and include tips to make it easier even if you’ve never knit before.
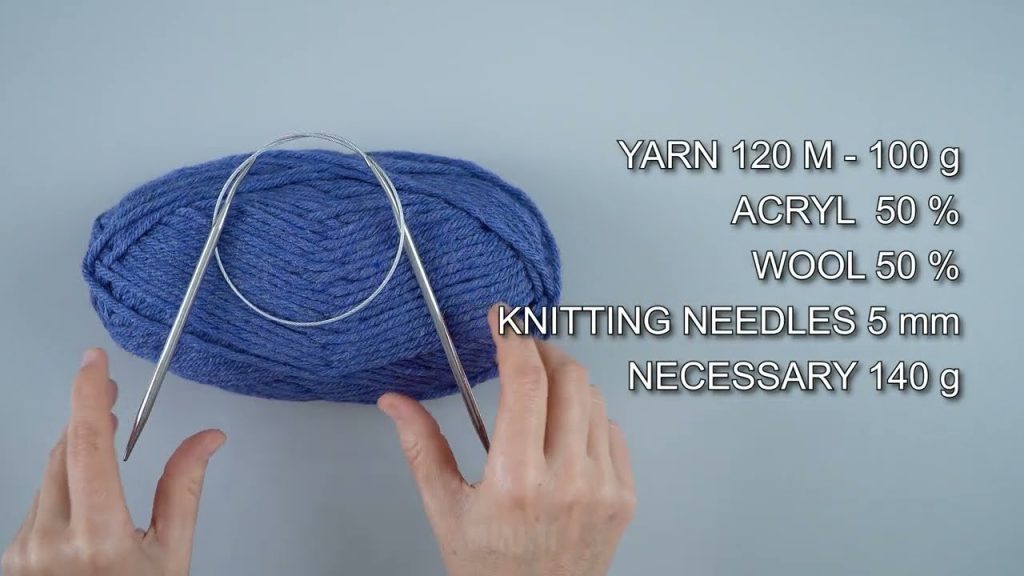
Materials You’ll Need
- Yarn: Medium-weight (worsted) yarn is easiest for beginners. Pick a soft yarn for comfort.
- Knitting needles: Circular needles or double-pointed needles (DPNs) in size recommended on your yarn label, usually US 8 (5mm).
- Scissors
- Tapestry needle for weaving in ends
- Stitch markers (optional, but helpful)
Step 1: Measure Your Head
- Use a tape measure around the widest part of your head.
- Most adult hats are 20–22 inches (50–56 cm) in circumference.
- This will help you determine how many stitches to cast on.
Tip: If your yarn label says 4.5 stitches per inch, multiply by head circumference.
Example: 20 inches × 4.5 ≈ 90 stitches
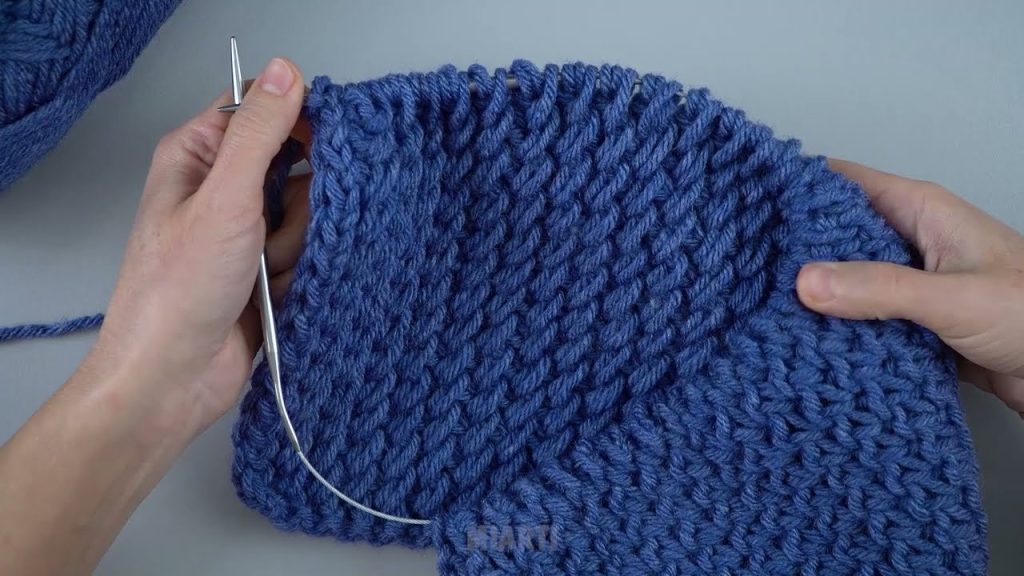
Step 2: Cast On
- Use the long-tail cast-on method (it’s stretchy and beginner-friendly).
- Cast on the number of stitches you calculated (e.g., 90).
- Join to knit in the round carefully, making sure not to twist the stitches. Place a stitch marker at the start of the round.
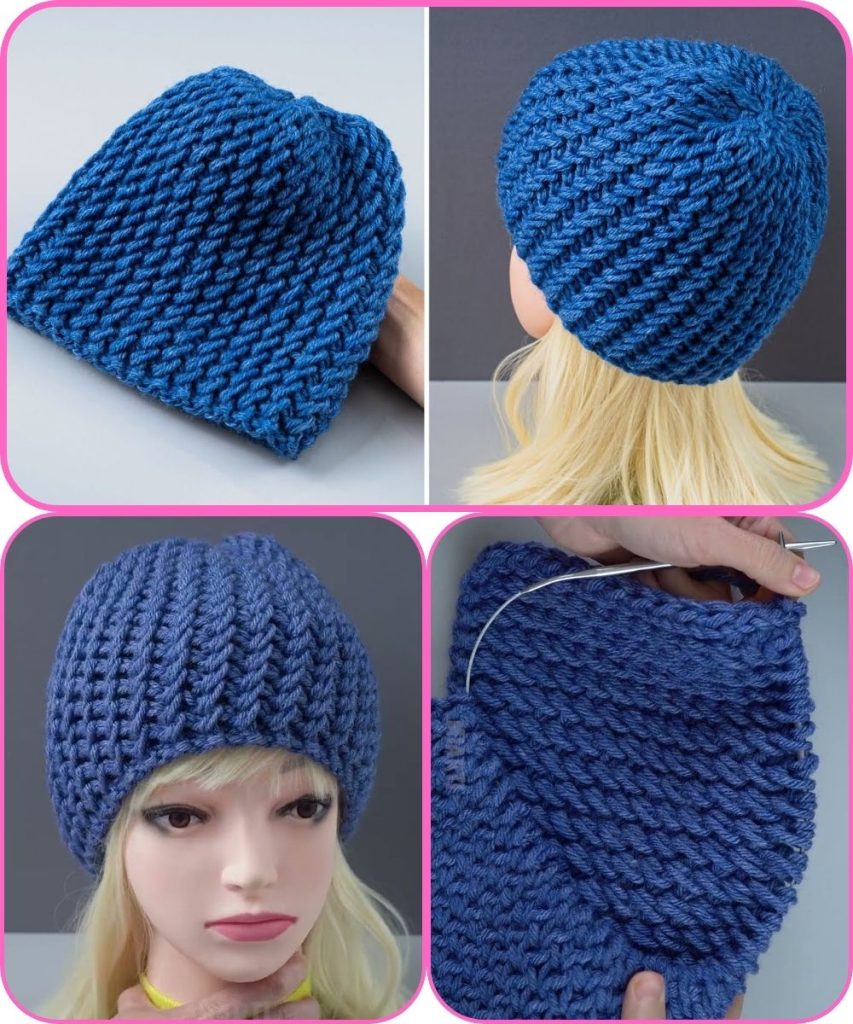
Step 3: Knit the Body of the Hat
- Knit in stockinette stitch: This means knitting every round (in circular knitting, knit = stockinette).
- Continue until the hat measures about 7 inches (18 cm) from the cast-on edge for adults (adjust for a shorter/longer hat).
Tip: For a ribbed edge (like most beanies), do 1 inch of k1, p1 ribbing at the start before switching to all knit.
Step 4: Shape the Crown (Top)
To make the hat taper at the top:
Decrease Round Example:
- Round 1: Knit 8, knit 2 together (k2tog) repeat to end
- Round 2: Knit all stitches
- Round 3: Knit 7, k2tog repeat
- Continue decreasing like this, reducing the knit number by 1 each decrease round until very few stitches remain.
You’ll typically end with 8–10 stitches.
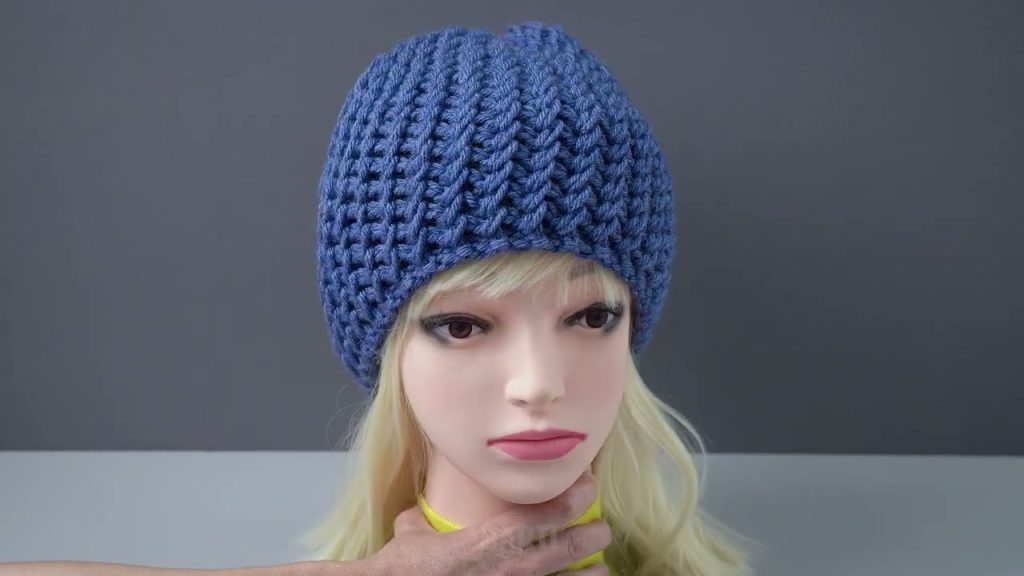
Step 5: Finish the Hat
- Cut the yarn, leaving a 6–8 inch tail.
- Thread the tail through a tapestry needle and pull through the remaining stitches.
- Pull tight to close the top of the hat.
- Weave in all ends neatly on the inside.
Optional Steps
- Add a pom-pom for fun.
- Experiment with stripes by switching yarn colors.
- Use different rib patterns at the edge for texture.
Tips for Speed
- Use thicker yarn — it knits up faster.
- Use larger needles — fewer stitches and faster progress.
- Keep your tension even — makes decreases easier and quicker.
- Practice k2tog and purl before starting to save time.
✅ Summary:
- Cast on → Ribbing → Knit body → Decrease crown → Finish
- Total time for a beginner: 3–5 hours (less with chunky yarn and bigger needles).
If you want, I can make a super-quick beginner hat pattern that’s literally doable in a single weekend and even includes a visual guide for each step. It’s perfect if you want something hands-on immediately.
Watch tutorial: