 by
by Here’s a clear, beginner-friendly lesson you can use or study from. It’s written step-by-step and keeps the project simple enough to finish in about 2 hours.
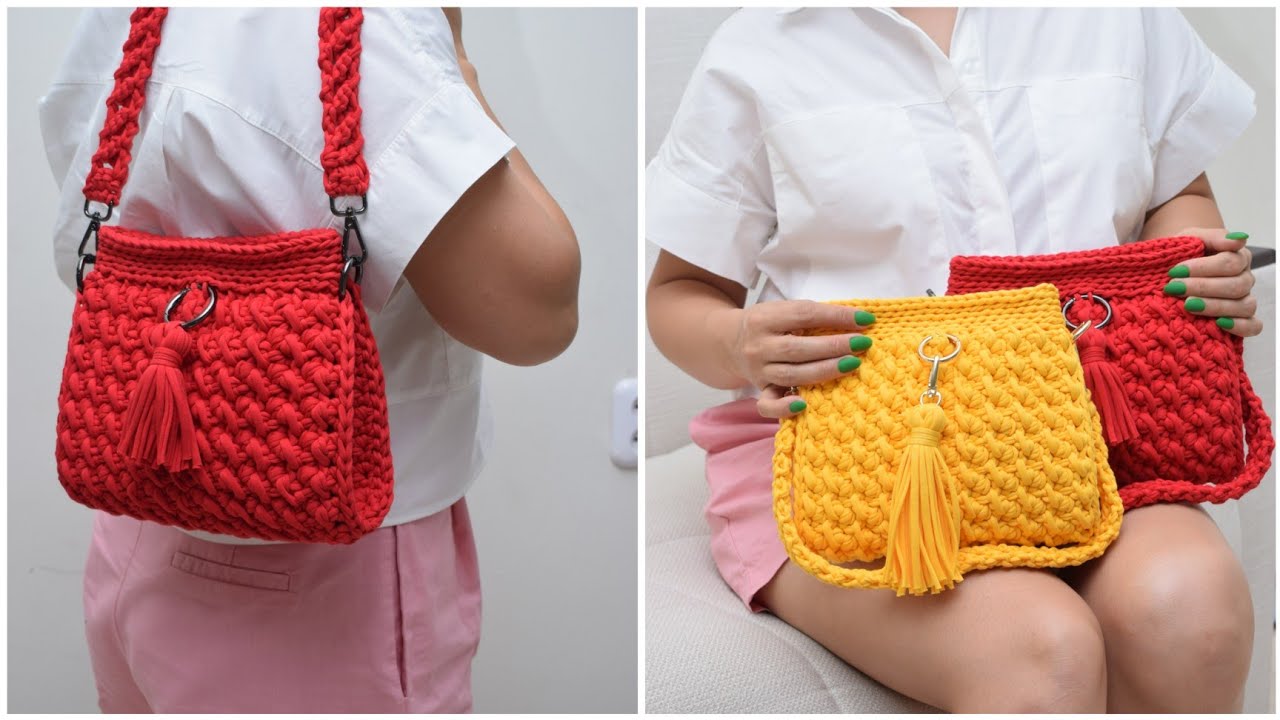
Lesson: How to Make a Beautiful Crocheted Handbag in 2 Hours
Level: Beginner
Time Needed: About 2 hours
Goal: Learn basic crochet stitches and complete a simple, stylish handbag
1. Introduction (5 minutes)
Crocheting a handbag is a fun and practical project for beginners. In this lesson, you will learn how to create a small but beautiful crocheted handbag using basic stitches. By the end of the lesson, you will understand how to start a crochet project, build the bag shape, and finish it neatly.
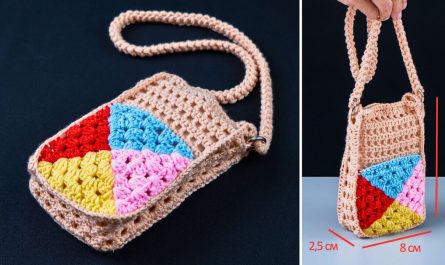
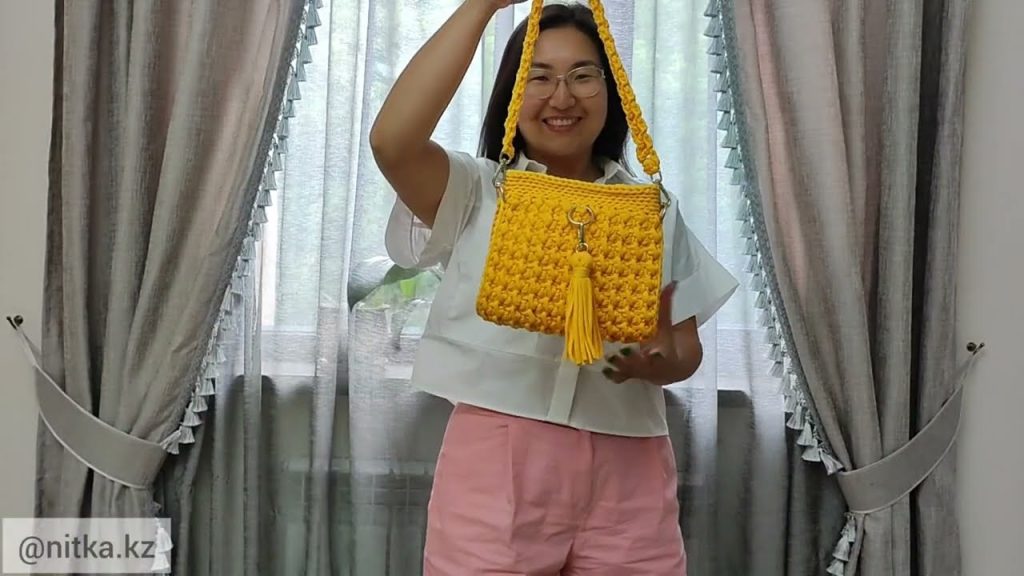
This handbag is perfect for carrying small items like a phone, wallet, or keys.
2. Materials Needed (5 minutes)
Make sure you have all materials ready before starting:
- Medium-weight yarn (cotton or acrylic works best)
- Crochet hook (size 4.5 mm or 5 mm)
- Scissors
- Yarn needle (for weaving in ends)
- Stitch marker (optional)
- Button or magnetic snap (optional, for closure)
3. Basic Crochet Skills You Will Use (10 minutes)
Before starting the bag, beginners should know these basic skills:
- Slip knot
- Chain stitch (ch)
- Single crochet (sc)
- Double crochet (dc)
- Slip stitch (sl st)
Practice these stitches briefly if you are new to crochet.
4. Step 1: Making the Base of the Handbag (20 minutes)
- Start with a slip knot on your hook.
- Chain 21 stitches (this will be the width of the bag).
- Single crochet into the second chain from the hook.
- Continue single crocheting across the chain.
- Chain 1, turn your work, and single crochet across again.
- Repeat this process until the base measures about 6–7 inches wide.
This flat rectangle will become the bottom of your handbag.
5. Step 2: Building the Sides of the Bag (40 minutes)
- Do not turn your work. Instead, crochet evenly around the edges of the base.
- Use single crochet stitches to go around all four sides.
- Place a stitch marker at the beginning of each round if needed.
- Continue crocheting in rounds without increasing stitches.
- Build the sides upward until the bag is about 6 inches tall.
At this stage, you will see the handbag shape forming.
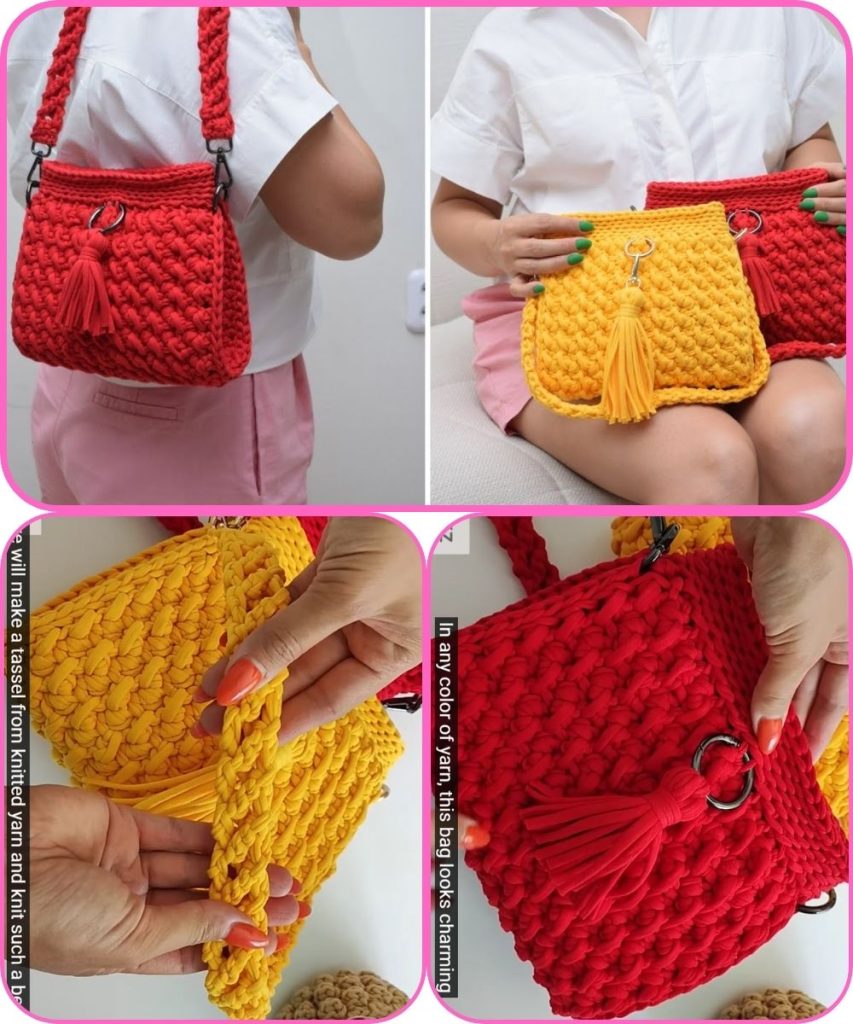
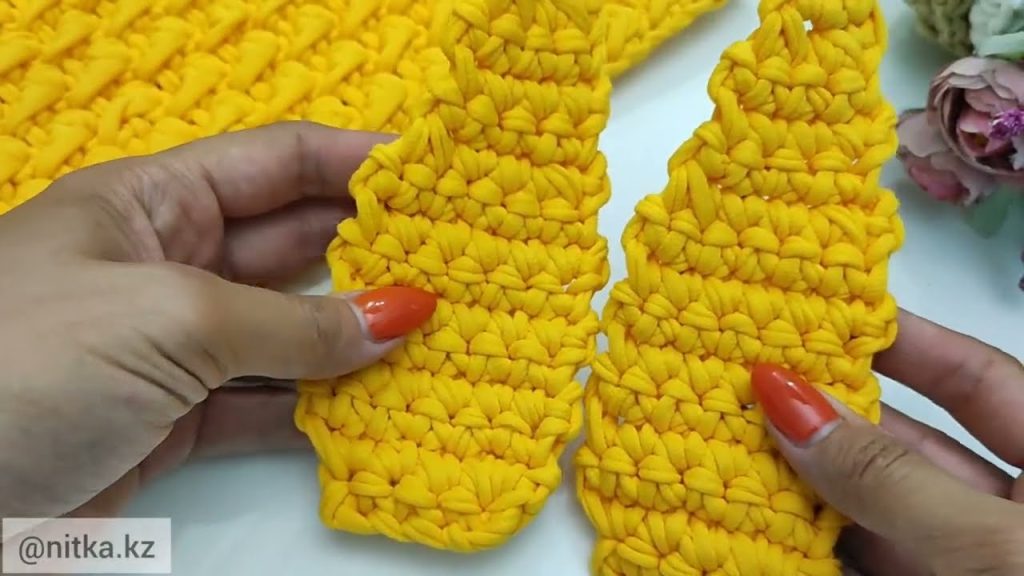
6. Step 3: Adding Texture or Design (20 minutes)
To make the handbag more beautiful:
- Switch to double crochet stitches for one or two rows
or - Alternate rows of single crochet and double crochet
This adds texture while still being easy for beginners.
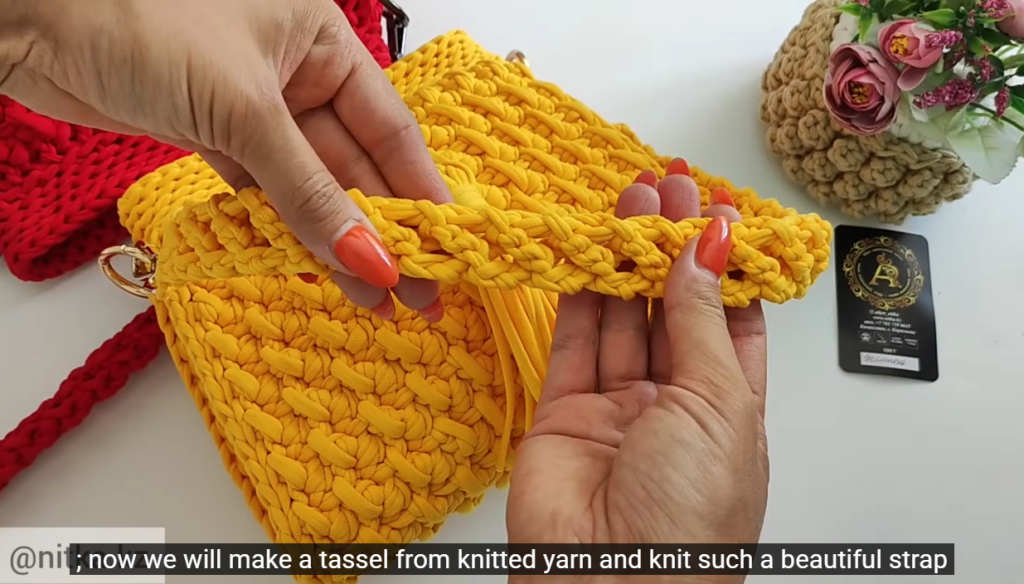
7. Step 4: Making the Handle (15 minutes)
- Decide where you want the handle to attach.
- Chain 30–40 stitches (depending on how long you want the handle).
- Skip stitches on the bag and attach the chain with a slip stitch.
- Single crochet over the chain to make the handle stronger.
- Repeat on the other side if you want two handles.
8. Step 5: Finishing the Handbag (10 minutes)
- Cut the yarn, leaving a small tail.
- Pull the yarn through the last loop to fasten off.
- Use a yarn needle to weave in all loose ends.
- Add a button or snap if you want a closure.
9. Tips for Beginners
- Keep your stitches loose and relaxed.
- Count your stitches to keep the bag even.
- Choose light-colored yarn so stitches are easy to see.
- Don’t worry if it’s not perfect—practice makes progress!
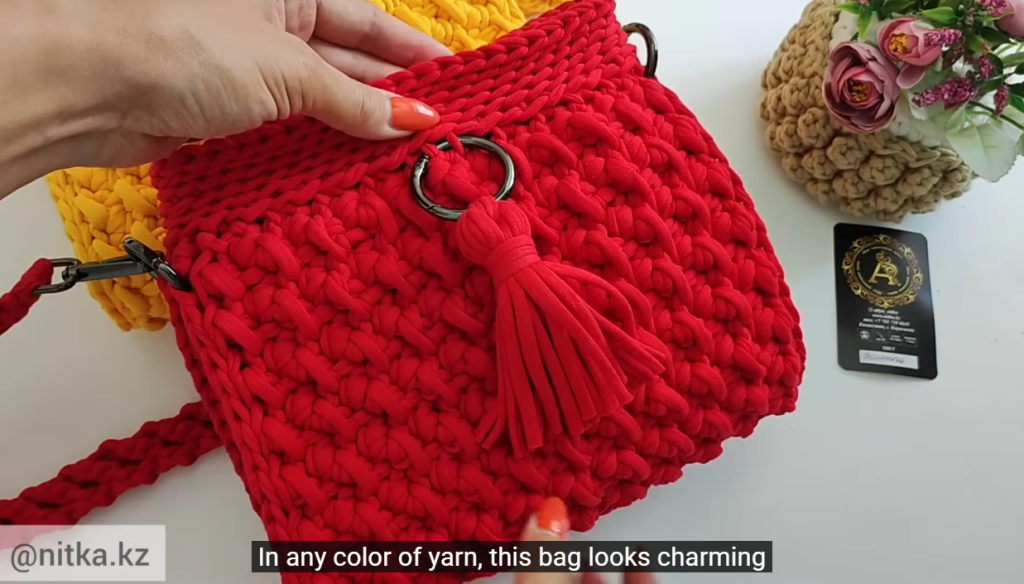
10. Conclusion (5 minutes)
In just two hours, you have created a beautiful crocheted handbag using simple techniques. This project helps beginners gain confidence and practice essential crochet skills. With different yarn colors or stitch patterns, you can create many unique handbags in the future.
If you want, I can also:
- Simplify this for younger students
- Turn it into a school lesson plan
- Add pictures guidance descriptions
- Rewrite it as a short project guide
Just tell me 😊
Watch tutorial: