by
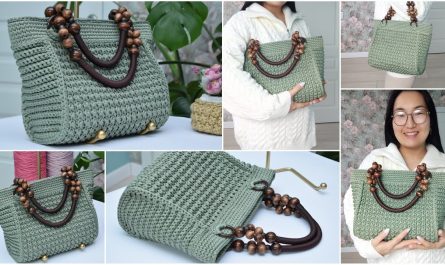
by Absolutely! Here’s a detailed, beginner-friendly tutorial on how to make a warm knitted snood (also called an infinity scarf or cowl). 🧶
This guide walks you through every step — from materials and stitches to finishing touches.
🧣 How to Make a Warm Knitted Snood — A Simple Tutorial for Beginners
✨ What You’ll Learn
- How to cast on and knit using the garter stitch or rib stitch (easy beginner stitches)
- How to measure and shape your snood
- How to sew it together neatly (or knit it in the round)
🪡 Materials You’ll Need
| Item | Recommendation |
|---|---|
| Yarn | 2–3 skeins of chunky or super chunky yarn (100–150g each). Wool, alpaca, or acrylic blends are perfect for warmth. |
| Knitting needles | Size 8 mm to 10 mm (US 11–15). Straight or circular needles, depending on your preference. |
| Tapestry needle | For sewing or weaving in ends. |
| Scissors | For trimming yarn. |
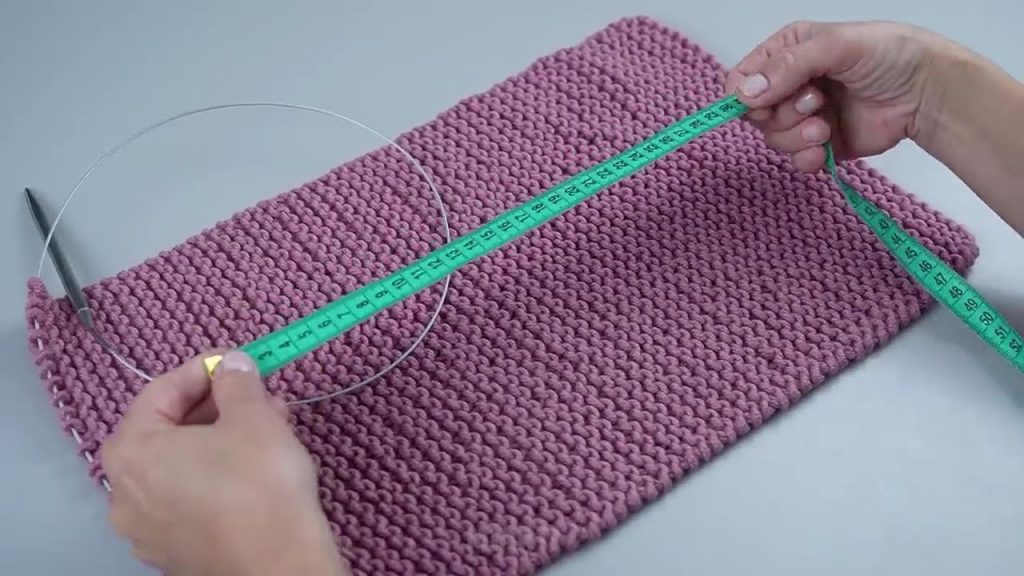
| Measuring tape | To check your snood length and width. |
🧵 Step-by-Step Instructions
Step 1: Cast On
- Measure about 1 meter (3 ft) of yarn for your tail.
- Cast on 30–40 stitches (for a snug fit) or 50–60 stitches (for a looser, chunky look).
- The width of your snood will be about 20–25 cm (8–10 inches) once knitted.
👉 Tip: Use the long-tail cast-on method — it’s stretchy and perfect for scarves and snoods.
Step 2: Choose Your Stitch Pattern
Option 1: Garter Stitch (Easiest)
- Knit every row.
- Gives a thick, squishy texture — great for beginners!
Option 2: Rib Stitch (Stretchy Look)
- Row 1: Knit 2, Purl 2
- Repeat this pattern every row for a classic ribbed snood.
Step 3: Keep Knitting!
- Continue knitting until your piece measures about 50–60 cm (20–24 inches) for a close-fitting cowl,
or 70–90 cm (27–35 inches) for a looser, wrap-around snood. - As you knit, check your tension — keep it consistent (not too tight or too loose).
👉 Optional: Change yarn colors halfway through for a striped effect!
Step 4: Bind Off
- Once you’ve reached your desired length, bind off loosely to keep the edges elastic.
- Cut the yarn, leaving a long tail (about 30 cm / 12 in) to sew the snood ends together.
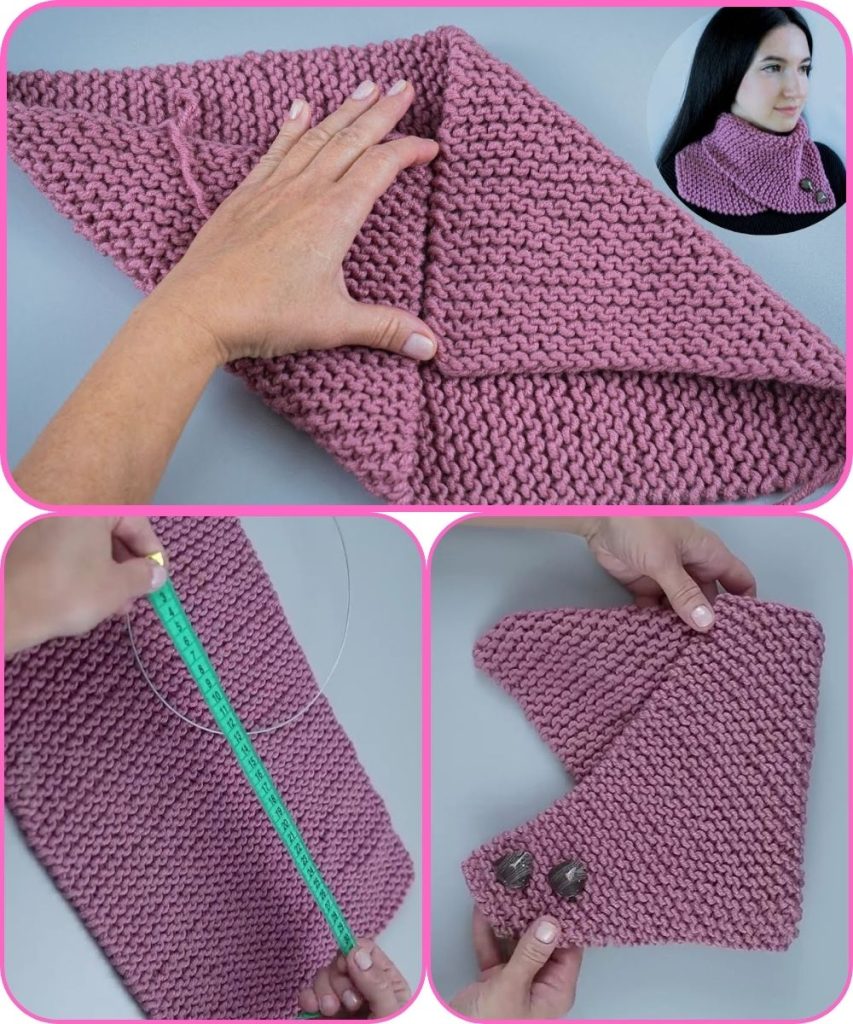
Step 5: Sew the Snood
- Lay your piece flat with the right sides facing each other.
- Use your tapestry needle and mattress stitch (or whip stitch) to sew the short edges together.
- Turn it right side out — your snood is now a seamless loop!
👉 If you used circular needles, you can skip this step — just join your stitches in the round from the start.
Step 6: Finishing Touches
- Weave in any loose yarn ends using your tapestry needle.
- Gently stretch and shape your snood.
- Optional: Block your snood by lightly dampening it and laying it flat to dry — this softens the fibers and evens out stitches.

🧤 Optional Variations
| Style | How to Make It |
|---|---|
| Chunky Snood | Use super bulky yarn and 12 mm needles; knit fewer stitches (around 25–30). |
| Striped Snood | Change colors every 10 rows for a bold, modern look. |
| Twisted Snood | Before sewing ends, twist the fabric once to create a “Mobius” twist — cozy and stylish! |
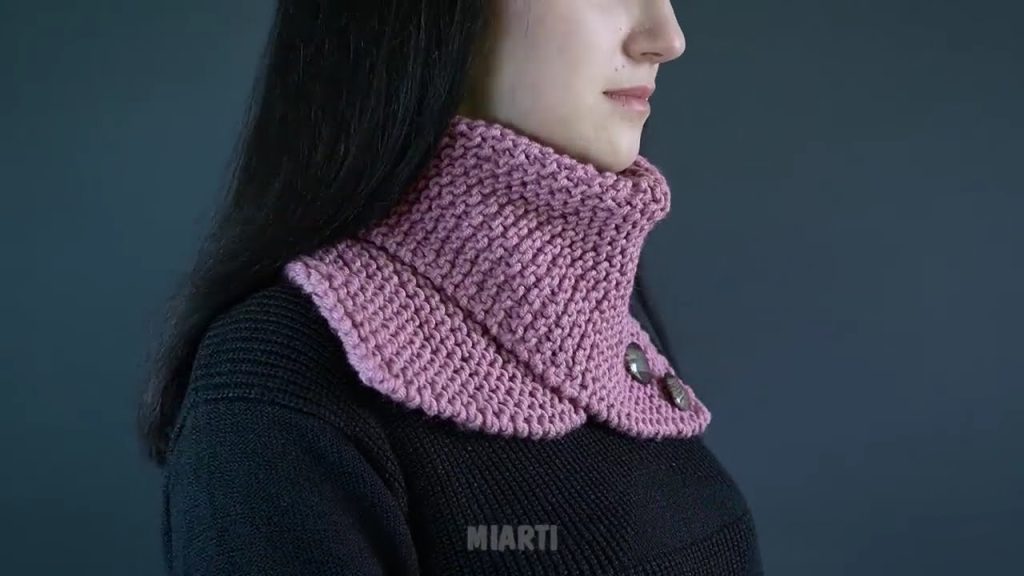
| Button Snood | Knit a flat scarf and add large buttons to one edge for an adjustable wrap. |
❤️ Care Tips
- Hand wash in lukewarm water with mild detergent.
- Gently squeeze out water (don’t wring).
- Lay flat on a towel to dry — never hang!
🧶 Final Thoughts
Making a warm knitted snood is a perfect first knitting project — it’s fast, forgiving, and rewarding.
Once you’ve mastered the basics, try experimenting with different textures, patterns, or yarn weights to create your own unique style.
Would you like me to format this as a printable PDF pattern/tutorial (with row-by-row instructions and visuals)? I can create that next.
Watch tutorial: