by
by Absolutely! Here’s a detailed, beginner-friendly guide to making a warm hood-scarf (also known as a snood) with a button — cozy, stylish, and simple enough for even a first-time sewer.
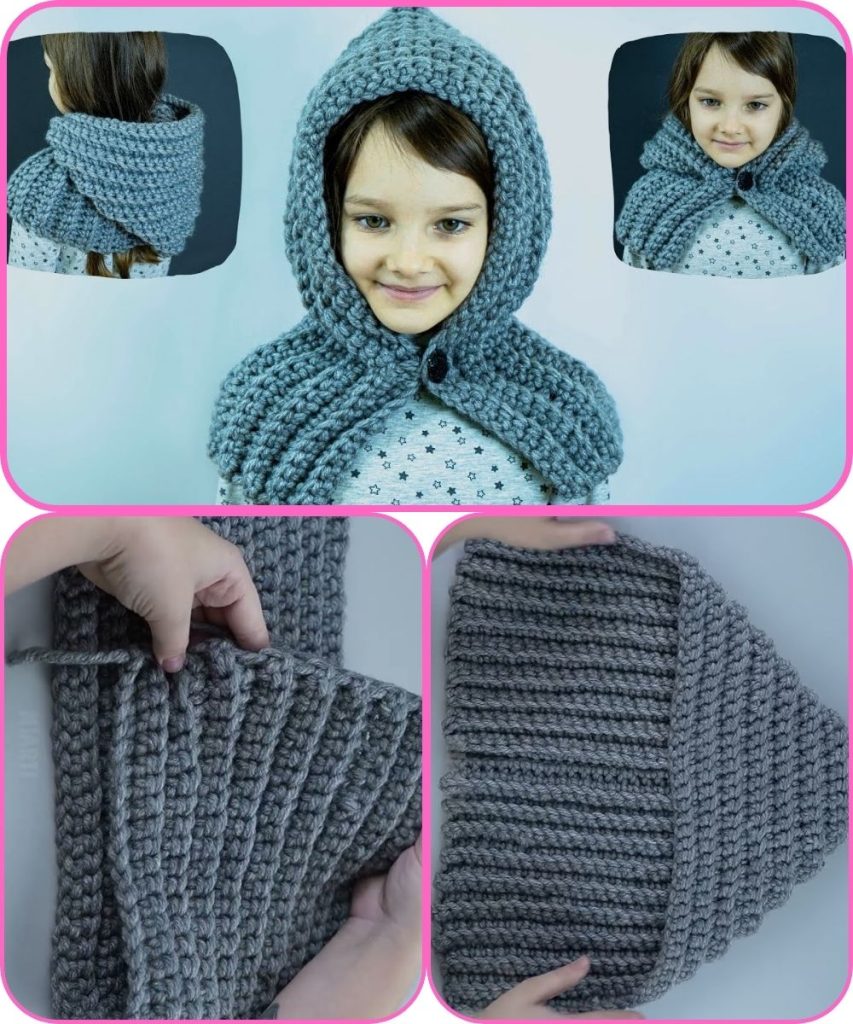
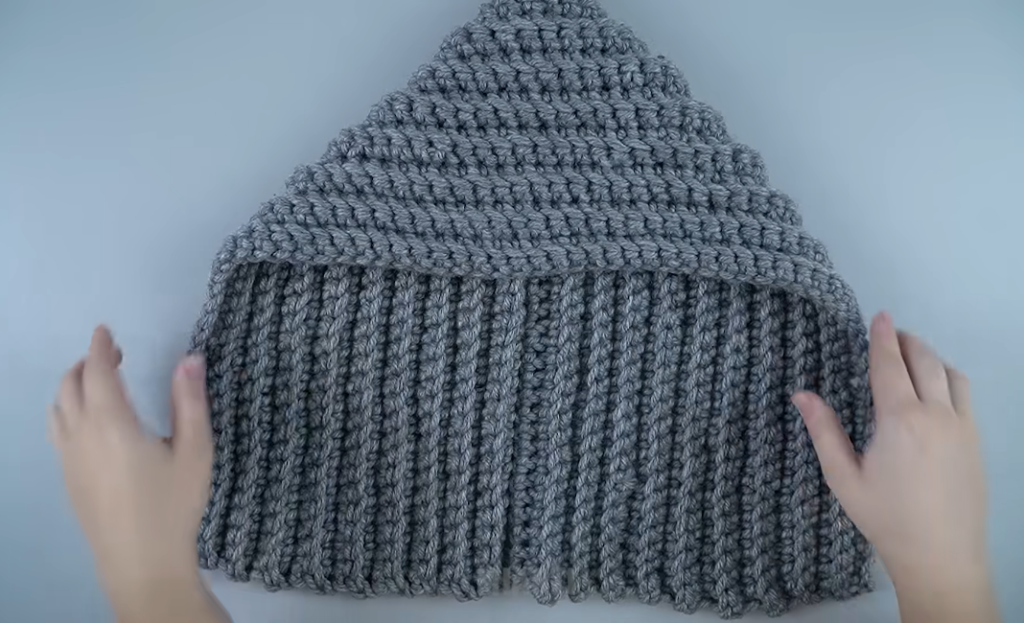
🧣 How to Make a Warm Hood-Scarf (Snood) with a Button
Skill Level: Beginner
Time: 1–2 hours
Perfect for: Cold weather, handmade gifts, or learning basic sewing!
✂️ Materials You’ll Need
- Fabric (2 layers total):
- Outer fabric: soft fleece, wool-blend, or sweatshirt fabric (about ½ yard / 0.5 m)
- Lining fabric: cozy flannel, minky, or another fleece (½ yard / 0.5 m)
- A large button (1–1.5 inch / 2.5–4 cm diameter)
- Matching thread
- Pins or clips
- Sewing machine (or hand needle)
- Scissors or rotary cutter
- Measuring tape or ruler
- Iron (optional but helpful)

🧵 Step-by-Step Instructions
1. Cut Your Fabric
You’ll need two rectangles:
- Size (adult): 30 inches (76 cm) wide × 14 inches (36 cm) tall
- You can adjust: make it longer for a looser wrap or shorter for a snug fit.
- Cut one rectangle from your outer fabric and one from your lining fabric.
💡 Tip: If you want a deeper hood, add an extra 2–3 inches (5–8 cm) to the height.
2. Layer and Sew
- Place the two fabric rectangles right sides together (the “good” sides touching).
- Pin or clip all around the edges, leaving a 4-inch (10 cm) gap along one short side for turning later.
- Sew around the edges with a ½-inch (1.3 cm) seam allowance.
- Use straight stitch.
- Don’t sew the gap closed yet!
3. Turn Right Side Out
- Carefully turn your fabric right-side-out through the opening.
- Push out corners neatly using a pencil or chopstick.
- Press flat with an iron (on a safe temperature for your fabric).
4. Form the Hood Shape
- Lay your rectangle flat, lining side up.
- Fold it in half widthwise (short sides together).
- Sew the top edge only (the one opposite the open ends) to form the back of the hood.
- Stop at the fold — this seam creates the hood part of the snood.
Now it looks like a tube with a hood attached!
5. Add the Button Loop
You have two options for closing the snood:
- Simple loop closure:
- Cut a 3-inch (7.5 cm) strip of elastic or make a small fabric loop (bias tape works too).
- Fold into a loop and sew it onto one corner of the open edge on the lining side.
6. Add the Button
- Try the snood on or wrap it around your neck to find the best placement.
- Mark where the loop reaches comfortably.
- Sew your button onto the opposite outer corner.
7. Finish the Opening
- Fold in the raw edges of the turning gap.
- Topstitch close to the edge all around the scarf to close it neatly and give it a finished look.
🧤 Optional Embellishments
- Add faux fur trim around the hood edge.
- Use a decorative button or leather toggle.
- Make it reversible by using two stylish fabrics.
✅ Done!
You now have a warm, stylish hood-scarf with a button closure — perfect for cold days, easy to pull over your head, and beginner-friendly.
It combines:
- The comfort of a hood,
- The warmth of a scarf, and
- The convenience of a button closure — no tying needed!
Would you like me to include a simple printable pattern (with measurements and fold lines) for this snood? I can create one for you as a PDF-style layout or a drawn template.
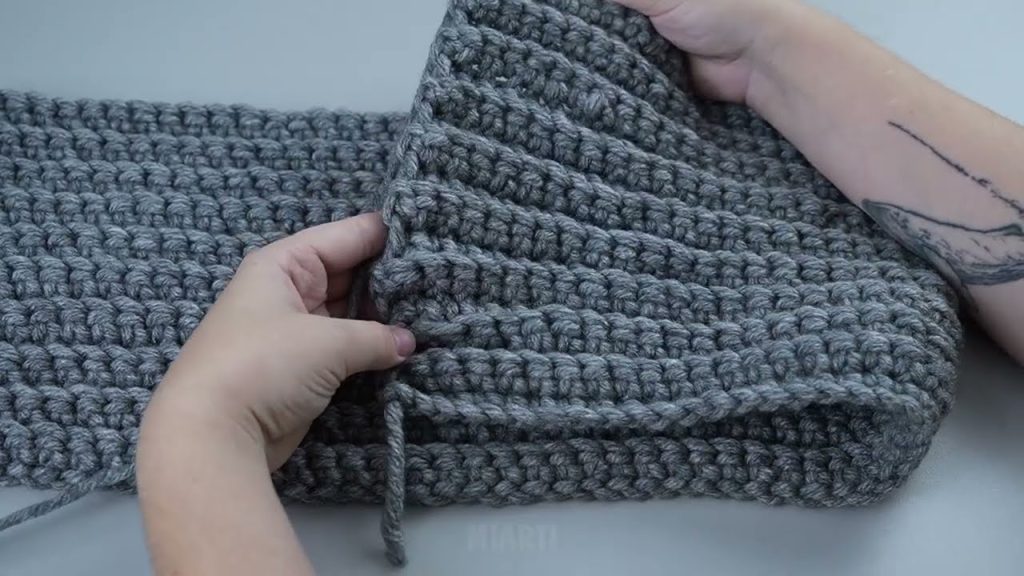
Watch tutorial: