 by
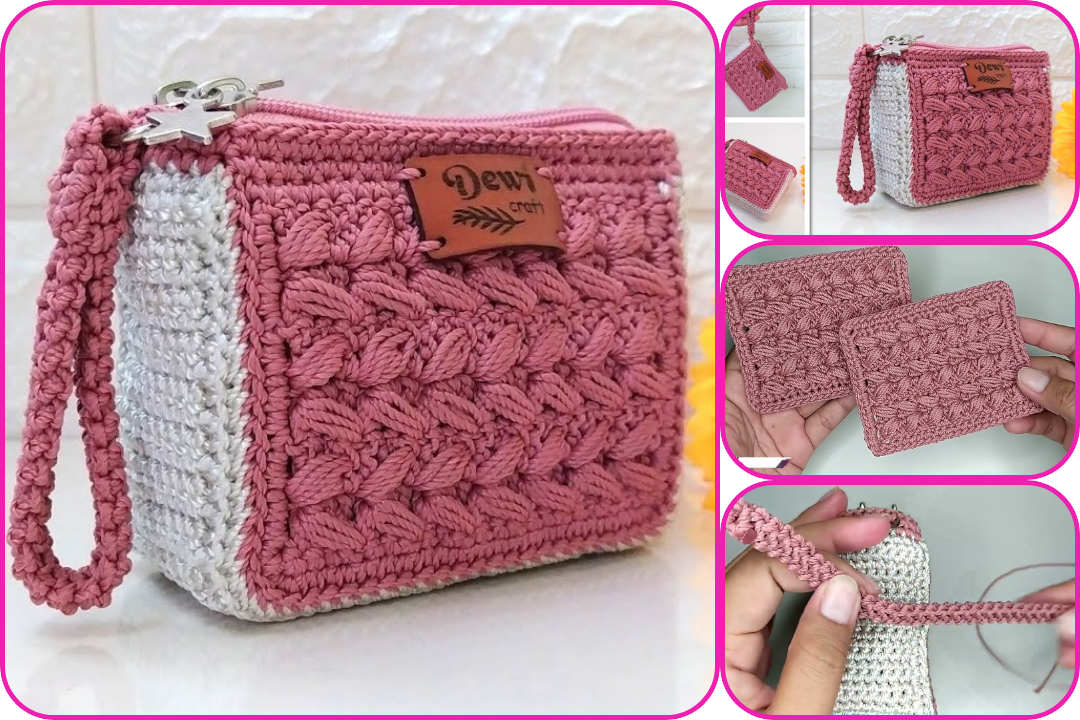
by Making a mini crochet wallet is a fantastic beginner-friendly project that’s both quick and satisfying. These little wallets are perfect for holding cards, coins, or even a few small essentials. Here’s a detailed guide on how to whip up a beautiful and cute mini crochet wallet with ease!
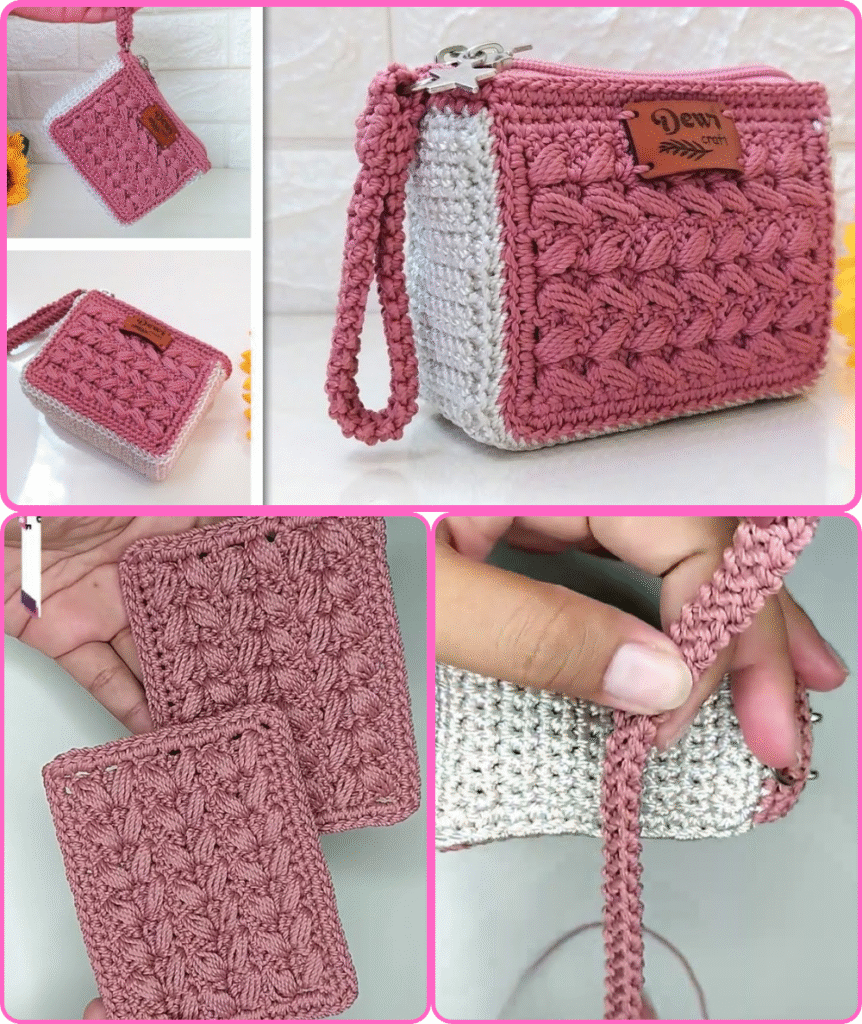
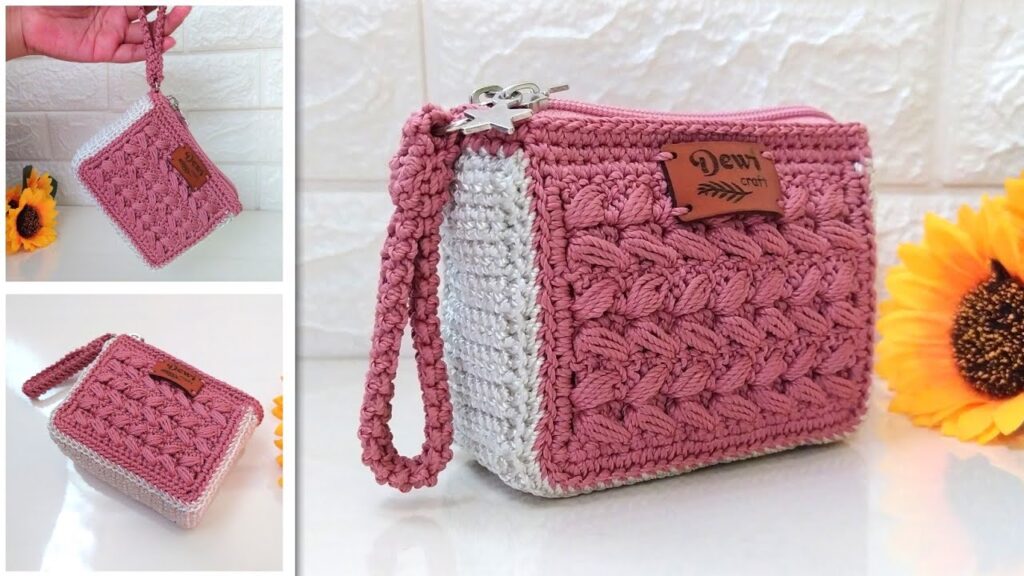
How to Make Easy & Quick Mini Crochet Wallets
This guide will focus on creating a simple, rectangular mini wallet that can be folded and secured. We’ll primarily use the single crochet (sc) stitch, which creates a dense and sturdy fabric, perfect for a wallet.
1. Gather Your Materials
Having everything ready before you start will make the process much smoother.
- Yarn:
- Type: DK (double knitting) or worsted weight (Aran) yarn is ideal for mini wallets. It’s thick enough to work up quickly but thin enough to create a neat, compact fabric.
- Fiber: Cotton or acrylic are great choices. Cotton provides a firm structure, while acrylic is widely available and comes in many colors.
- Quantity: You’ll only need a small amount, likely less than 50 grams (about 80-100 yards). This is a perfect project for using up yarn scraps!
- Crochet Hook:
- Size: Check your yarn label for a recommendation. For DK yarn, a 3.5mm (E/4) or 4.0mm (G/6) hook is common. For worsted weight, a 4.0mm (G/6) or 5.0mm (H/8) hook works well. A slightly smaller hook than recommended can create a tighter fabric, which is good for wallets.
- Scissors: For cutting yarn.
- Yarn Needle (Tapestry Needle): Essential for weaving in ends neatly.
- Stitch Marker (Optional but Recommended): Useful for marking the beginning of rows if you’re working in the round, though less critical for this flat project.
- Closure (Optional):
- Button: A small, decorative button.
- Magnetic Snap: Small sew-in magnetic snaps are very secure.
- Zipper: A small zipper (3-4 inches) can be sewn in for a secure closure.
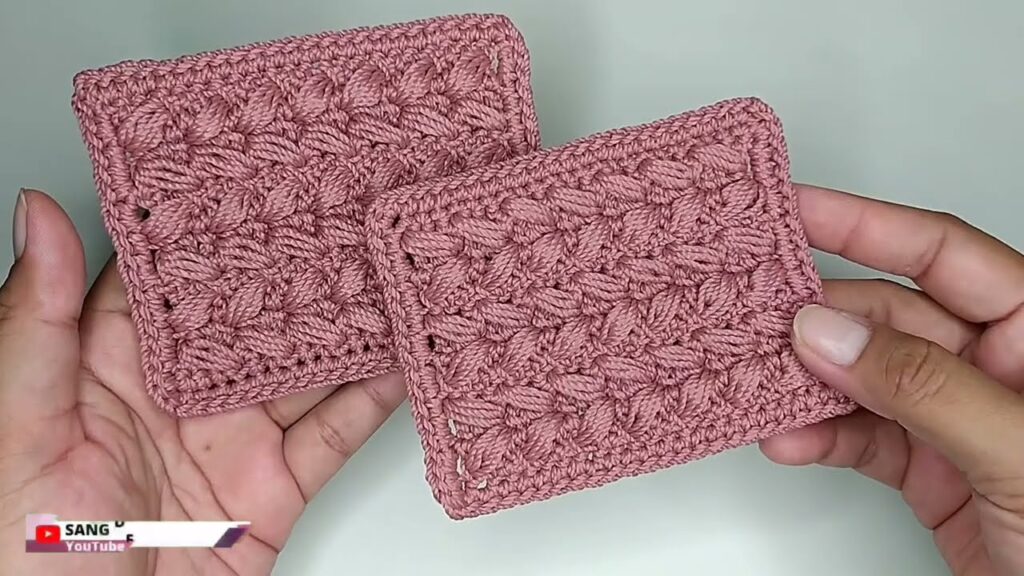
2. Master the Key Stitch: Single Crochet (sc)
The single crochet stitch is the backbone of this project. It creates a tight, durable fabric without large gaps, which is exactly what you want for a wallet.
- Chain (ch): The foundation of your work.
- Single Crochet (sc):
- Insert your hook into the designated stitch.
- Yarn over (yo) and pull up a loop (you now have 2 loops on your hook).
- Yarn over and pull through both loops on your hook.
3. Step-by-Step Guide: Easy Mini Wallet
This pattern creates a simple rectangle that you’ll fold to form your wallet. You can easily adjust the size by changing your starting chain and the number of rows.
Abbreviations:
- ch: chain
- sc: single crochet
- st(s): stitch(es)
- FO: fasten off
Instructions:
- Create a Slip Knot and Chain:
- Make a slip knot on your hook.
- Ch 16. (This will be the width of your wallet. For a wider wallet, chain more; for a narrower one, chain less. The number of chains determines the total width when folded. Aim for a number that fits credit cards if that’s your goal – typically 16-20 chains for a standard card).
- Tip: Don’t chain too tightly, or your first row will be difficult to work into.
- Row 1 (Single Crochet):
- Insert your hook into the 2nd chain from the hook.
- Work 1 sc in each chain across. (You should have 15 sc).
- Ch 1 (this is your turning chain; it doesn’t count as a stitch for single crochet).
- Turn your work.
- Row 2 and onwards:
- Work 1 sc in the very first sc (the stitch directly below your turning chain).
- Work 1 sc in each sc across to the end of the row. (You should still have 15 sc).
- Ch 1, turn.
- Repeat Row 2 until your piece measures approximately 7-8 inches long (or your desired length for folding). This will create the body of the wallet and the flap. A typical credit card is about 3.37 inches long, so you’ll want at least twice that length plus some for the flap.
- Consistency in tension is key here for a neat finish.
- Fasten Off (FO):
- Once your rectangle reaches the desired length, cut your yarn, leaving a tail of about 6-8 inches.
- Yarn over and pull the tail completely through the loop on your hook to secure.
4. Assembling Your Mini Wallet
Now, let’s bring your flat rectangle to life as a wallet!
- Fold the Wallet Body:
- Lay your crocheted rectangle flat.
- Fold one end up towards the middle to create the main pocket of the wallet. Overlap by about 3-3.5 inches (this will be the depth of your pocket). Use stitch markers or clips to hold the sides in place.
- The remaining portion of the rectangle will be your flap.
- Seaming the Sides:
- Thread your yarn needle with the long tail you left. If your tail isn’t long enough, attach a new piece of yarn.
- Using a whip stitch or a slip stitch seam, sew along one side of the folded pocket, going through both layers of crochet fabric.
- Weave in any remaining yarn tail along this seam to secure it.
- Repeat on the other side of the pocket.
- Ensure your seams are tight so nothing falls out of the wallet.
- Weave in Ends:
- Using your yarn needle, carefully weave in any remaining loose ends (including the starting tail) into the fabric. Go in a few different directions to make sure they are secure and invisible.
5. Add a Closure (Optional but Recommended)
A closure will keep your wallet contents secure.
- Button and Loop (Easiest):
- Button: Sew a decorative button onto the front of the wallet body, centered, just below the flap’s edge when it’s closed. Use sewing thread and a regular sewing needle for this.
- Loop: On the flap, decide where the button aligns. Attach your yarn to that spot on the edge of the flap with a slip knot. Chain a small loop (e.g., ch 5-8, depending on button size) that will fit around your button. Slip stitch back into the same spot to secure the loop. Fasten off and weave in ends.
- Magnetic Snap:
- Sew one part of the magnetic snap onto the inside of the flap, centered, a little way up from the edge.
- Sew the corresponding part of the snap onto the front of the wallet body, making sure it aligns perfectly with the snap on the flap when closed.
- Zipper (More Advanced):
- This requires basic sewing skills. Position the zipper along the top opening of your main pocket.
- Hand-sew the zipper to the crochet fabric using a regular sewing needle and strong thread that matches your yarn or zipper. Take care not to pull the stitches too tightly or distort the crochet fabric.
6. Finishing Touches & Customization
- Embellishments: Add a small crocheted flower, a pompom, or some embroidery to the front flap for a personalized touch.
- Lining (Optional): For extra durability and to prevent small items from slipping through stitches, you can cut a piece of fabric and hand-sew a simple lining into the wallet. This adds a nice professional finish.
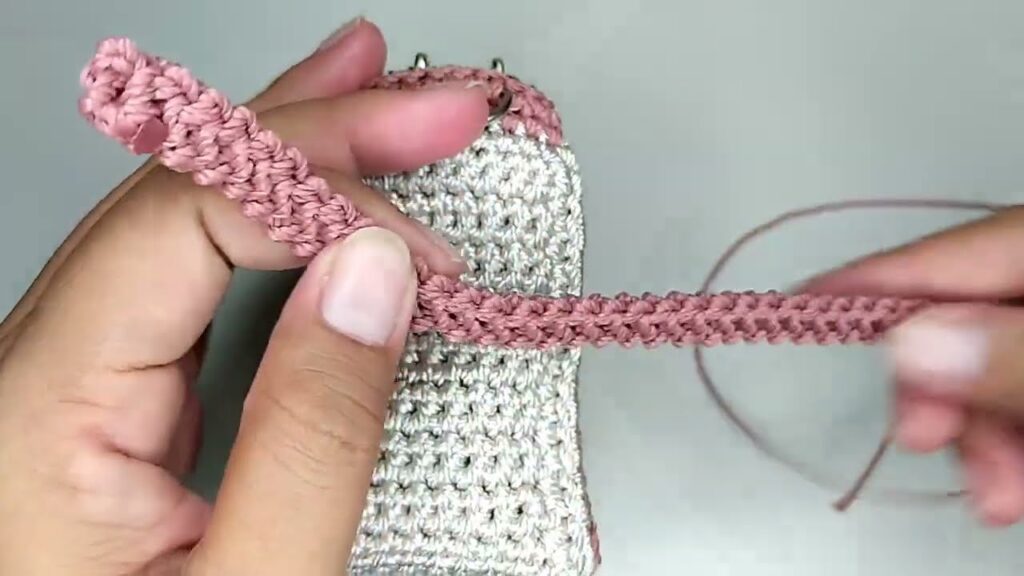
- Strap (Optional): Attach a small key ring or a wrist strap to one of the top corners of the wallet for easy carrying. You can crochet a simple strap by chaining your desired length and then slip stitching or single crocheting back down the chain.
You’ve now created a beautiful and functional mini crochet wallet! This project is great for building confidence and perfect for gifts or just organizing your own small items. Enjoy your new handmade creation!
Watch video: