 by
by Absolutely! Let’s break down a detailed guide for creating an elegant and simple Marshmallow Bag crochet video tutorial. I’ll cover everything: from planning your video to the crochet pattern and tutorial flow.

1. Introduction (Video Start)
Video length: ~30–60 seconds
- Greet your audience warmly: “Hi everyone! Today I’m showing you how to make an elegant and simple Marshmallow Bag, perfect for everyday use or gifting.”
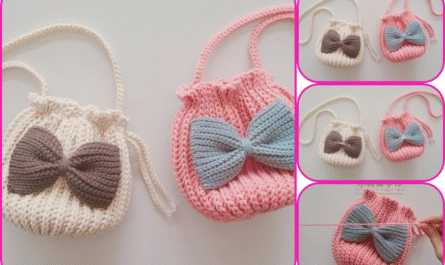
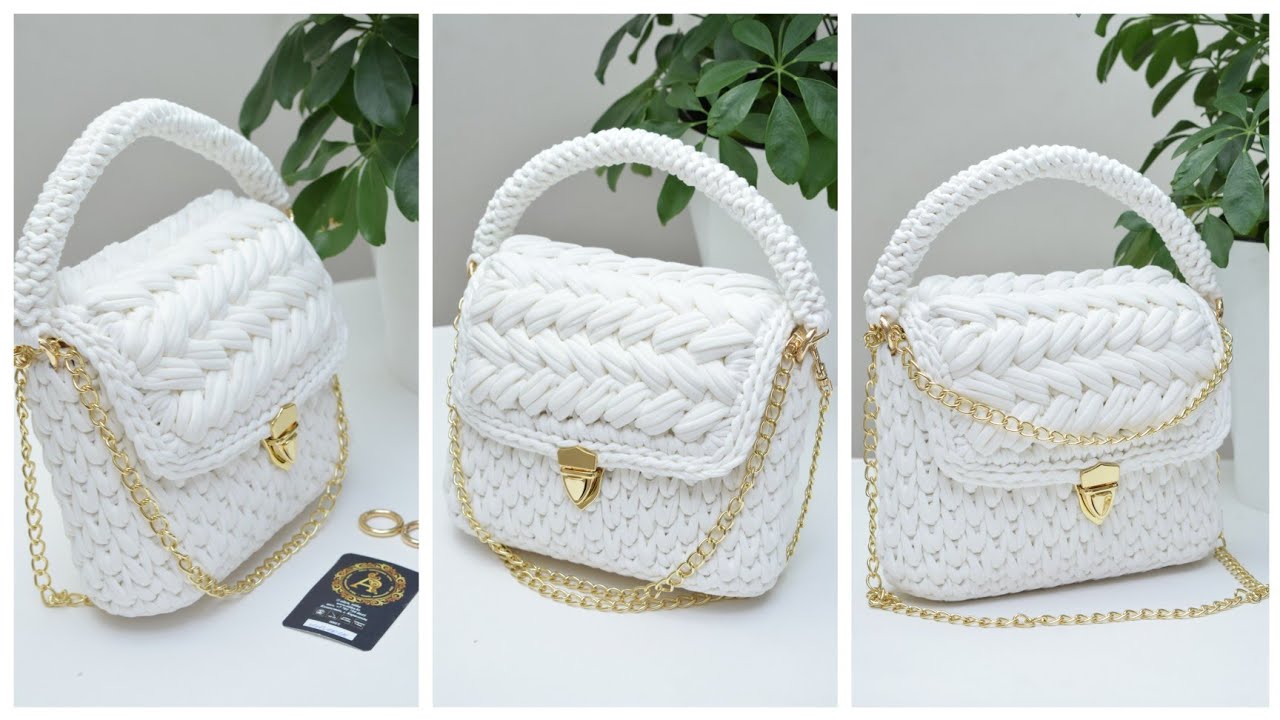
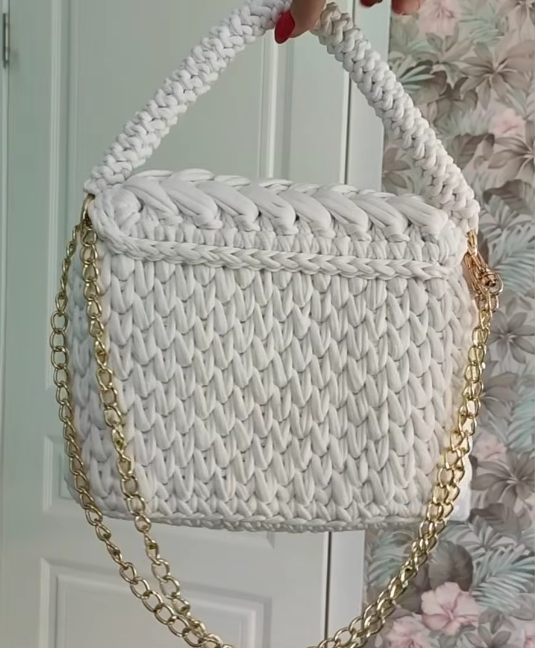
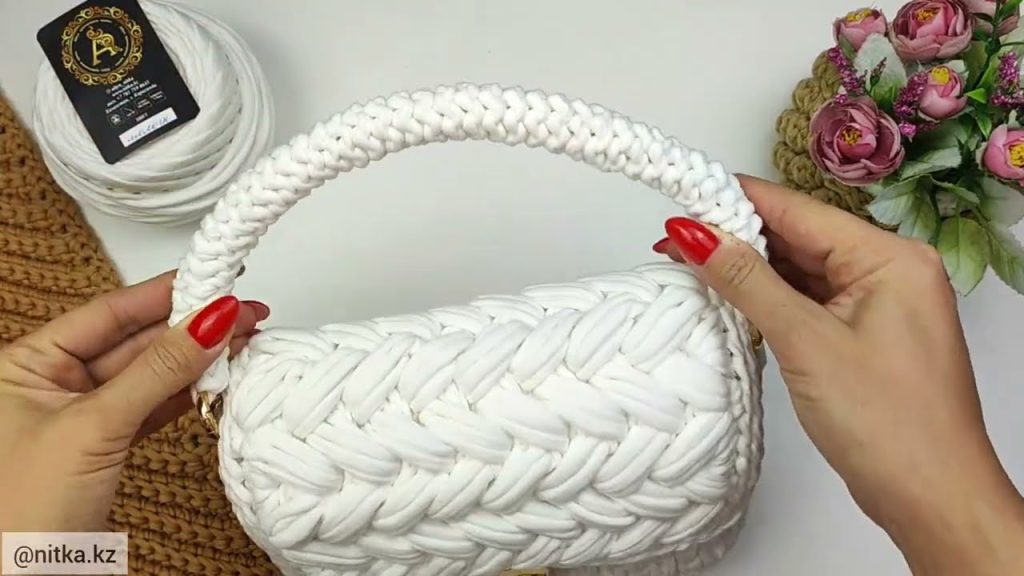
- Show a finished bag close-up: highlight texture, size, and style.
- Briefly mention the skill level: Beginner–Intermediate.
- Mention materials and estimated time to finish (~2–4 hours depending on speed).
Tip: Use soft background music and natural lighting to make the bag look cozy and inviting.
2. Materials Needed
- Yarn: Thick, soft yarn (like chunky cotton or acrylic). Marshmallow yarn or bulky weight works beautifully.
- Crochet Hook: Size recommended on the yarn label (usually 6–8 mm for bulky yarn).
- Other Supplies:
- Scissors
- Tapestry needle
- Stitch markers (optional)
- Magnetic snap or button (optional, for closure)
Visual Tip: Display materials neatly in a flat lay for 5–10 seconds.
3. Stitches & Techniques to Show
- Chain (ch) – foundation for your bag
- Single Crochet (sc) – main stitch for the body
- Slip Stitch (sl st) – for joining and finishing
- Increase (inc) – two sc in one stitch to widen base
- Decrease (dec) – optional for shaping
Pro Tip: Demonstrate each stitch slowly with close-up shots.
4. Crochet Pattern Step-by-Step
Bag Base (Flat Bottom)
- Chain 21–25 (depending on desired bag width).
- Row 1: Single crochet (sc) in second chain from hook and across. Turn.
- Row 2–6: Sc in each stitch across. Turn.
- For extra sturdiness, add a 7th row or alternate sc and hdc for texture.
Bag Body (Height & Texture)
- Row 1: Continue with sc in each stitch, or alternate sc & hdc for a “puffy marshmallow” texture.
- Repeat until the bag reaches desired height (~8–10 inches).
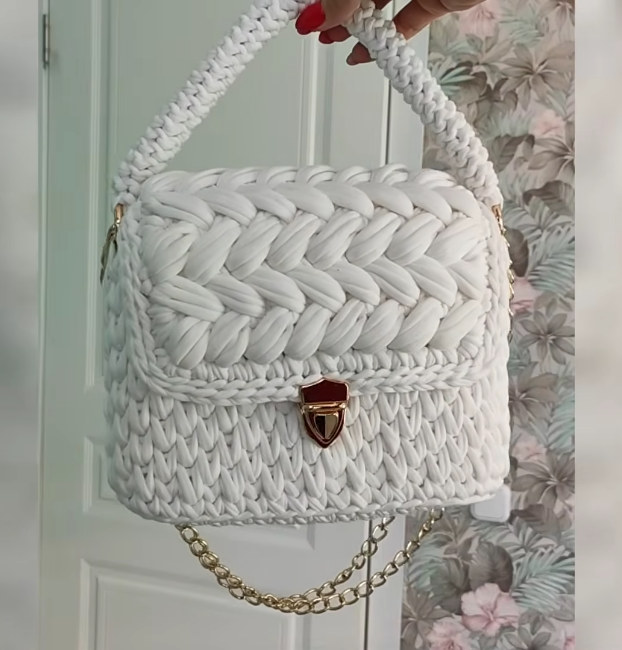
- Optional: For elegance, you can use a scalloped edge or puff stitch at the top.
Handles
- Option 1: Crochet straps directly onto bag edges: chain 50–60, attach with sl st, then sc along chain for a sturdy strap.
- Option 2: Make separate straps and sew them on.
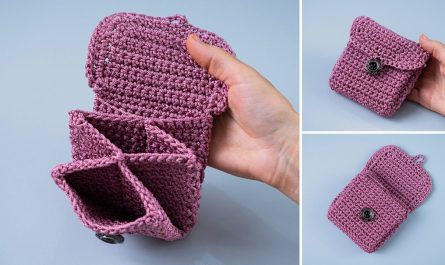
Finishing Touches
- Weave in all ends using a tapestry needle.
- Optional: Add a button or magnetic snap.
- Gently shape the bag and block if necessary (lightly wet, then air dry).
5. Video Filming Tips
- Lighting: Use soft, natural light for yarn texture clarity.
- Angles: Top-down for stitches, side-angle for bag shape.
- Close-ups: Always show stitch detail during tutorial.
- Text Overlay: Add instructions in text while demonstrating.
- Voiceover: Explain slowly and clearly.
6. Editing & Presentation
- Speed up repetitive rows to maintain viewer interest.
- Add captions for key steps.
- Insert before-and-after shots of bag: flat base → completed bag.
- Include optional variations: different colors, textures, or handle styles.
7. Outro
- Show the finished bag being used in daily life: held by a model, on a table, or styled with an outfit.
- Encourage engagement: “If you loved this tutorial, like, subscribe, and share your Marshmallow Bag creations with us!”
- Optional: Tease next project or related crochet items.
Extra Tips for Elegance
- Use neutral or pastel colors for a chic look.
- Keep the bag minimalist, avoiding too many embellishments.
- Use even tension to maintain smooth, polished texture.
- Add lining if you want a more refined, professional finish.
If you want, I can also write an exact crochet stitch-by-stitch written pattern formatted perfectly for a video tutorial, with timestamps and visual cues. It would be like a ready-to-use script for your video.
Watch tutorial: