 by
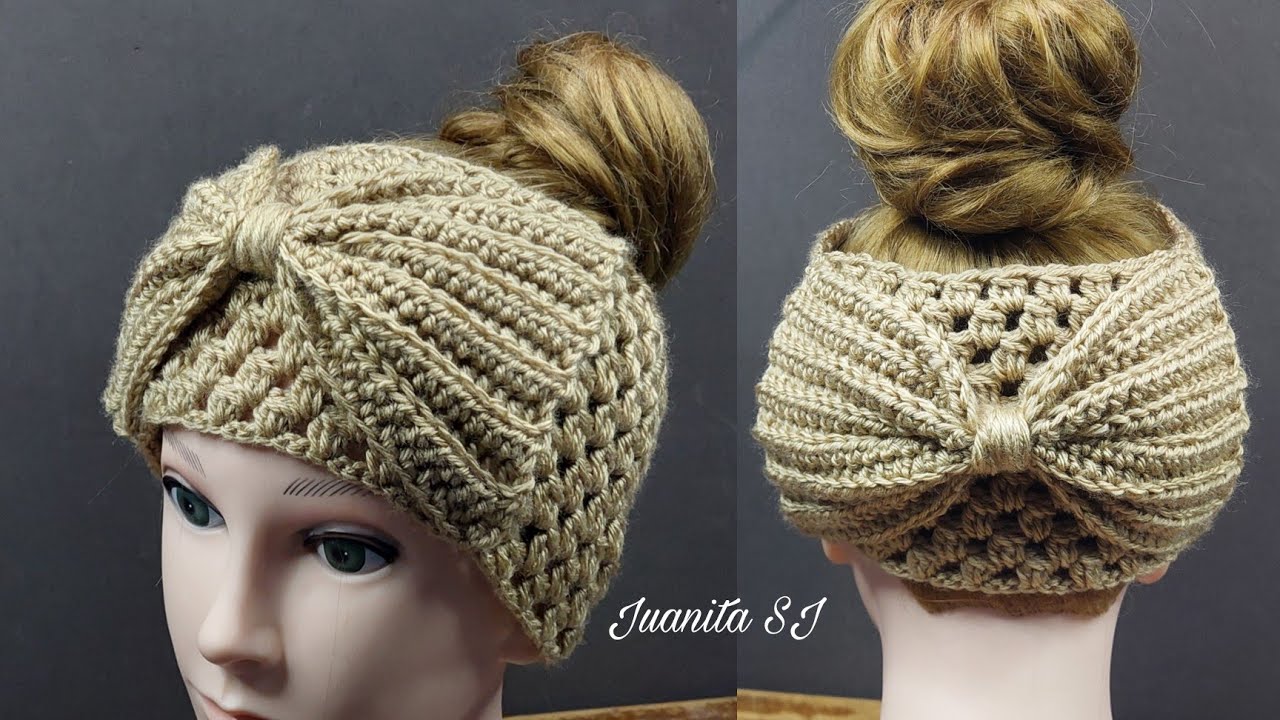
by Absolutely! I’ll give you a step-by-step, detailed guide for crocheting a turban-style headband with a large bow. I’ll break it down into materials, techniques, and step-by-step instructions for clarity.
Materials Needed
- Yarn – Medium weight (#4) or your preferred yarn; soft cotton or acrylic is ideal for headbands.
- Crochet hook – Size recommended for your yarn (usually H/8 – 5mm for medium weight yarn).
- Scissors
- Tapestry needle – For weaving in ends.
- Measuring tape – To ensure proper fit.
- Optional: Stitch markers to keep track of rounds.
Abbreviations
- ch = chain
- sl st = slip stitch
- sc = single crochet
- hdc = half double crochet
- dc = double crochet
- st(s) = stitch(es)
Step 1: Measure Your Head
- Use a measuring tape to measure the circumference of your head where the turban/headband will sit. Usually 18–22 inches for adults.
- Decide how wide you want the headband/turban to be (e.g., 3–5 inches).
Step 2: Make the Foundation Chain
- Chain a length slightly shorter than your head measurement (it will stretch slightly). For example, if your head is 20 inches, chain 18–19 inches worth of stitches depending on your yarn.
- Ensure your chain is not twisted when joining.
Step 3: Join to Form a Loop
- Join the chain with a slip stitch (sl st) to the first chain to make a loop.
- Make sure it lies flat and isn’t twisted.
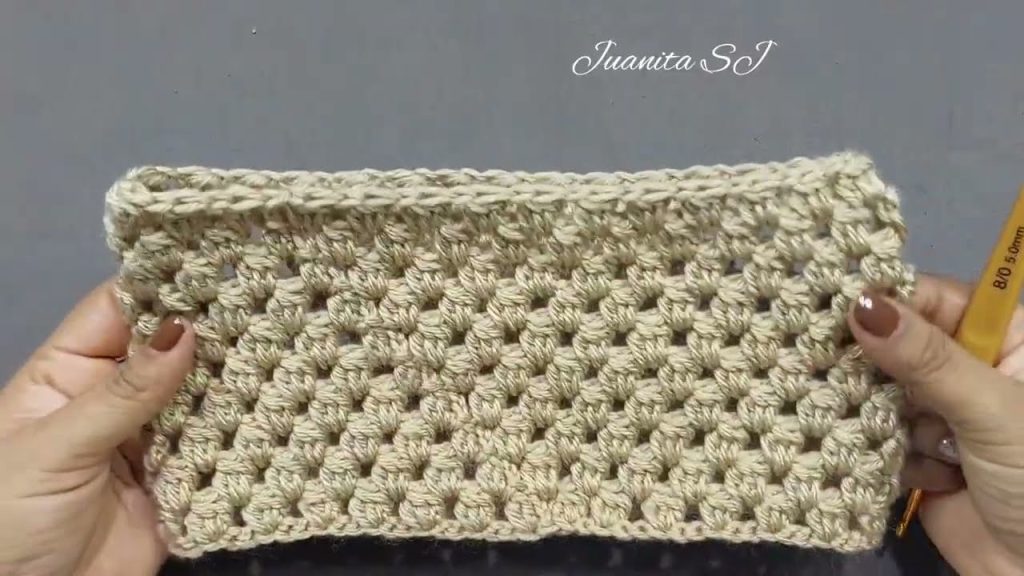
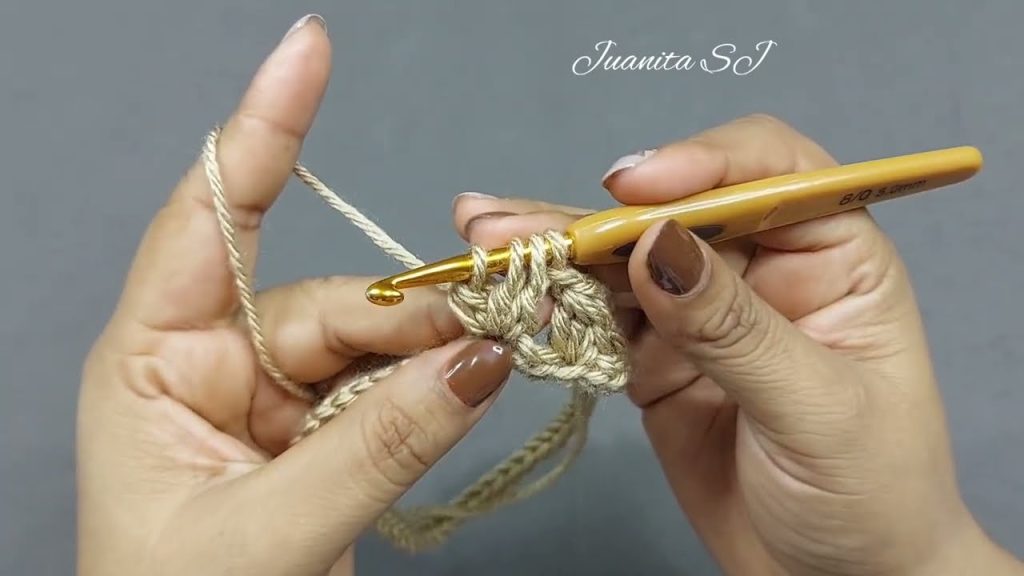
Step 4: Crochet the Band
- Work in rounds (continuous spiral or joined rounds) using your chosen stitch. Common stitches for turbans:
- Single crochet (sc) – for a tight, sturdy fabric.
- Half double crochet (hdc) – for a slightly looser, stretchy fabric.
- Double crochet (dc) – for a soft, airy fabric.
- Continue until the band reaches your desired width (3–5 inches usually).
- Tip: Keep your tension even so the band doesn’t flare or tighten.
Step 5: Create the Twist (Optional)
For the classic turban style:
- Once the band reaches the desired width, fold it in half lengthwise.
- Twist the band in the center to form a crossover (this creates the turban look).
- Sew or crochet the edges together at the back to secure the twist.
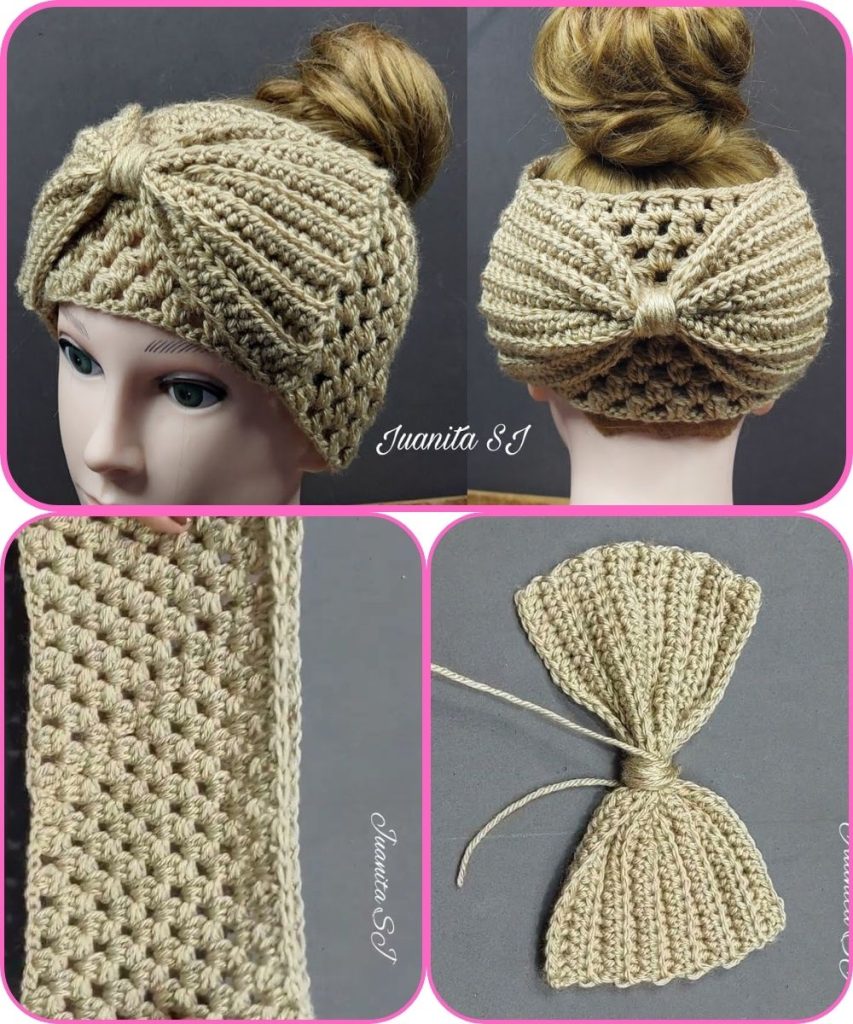
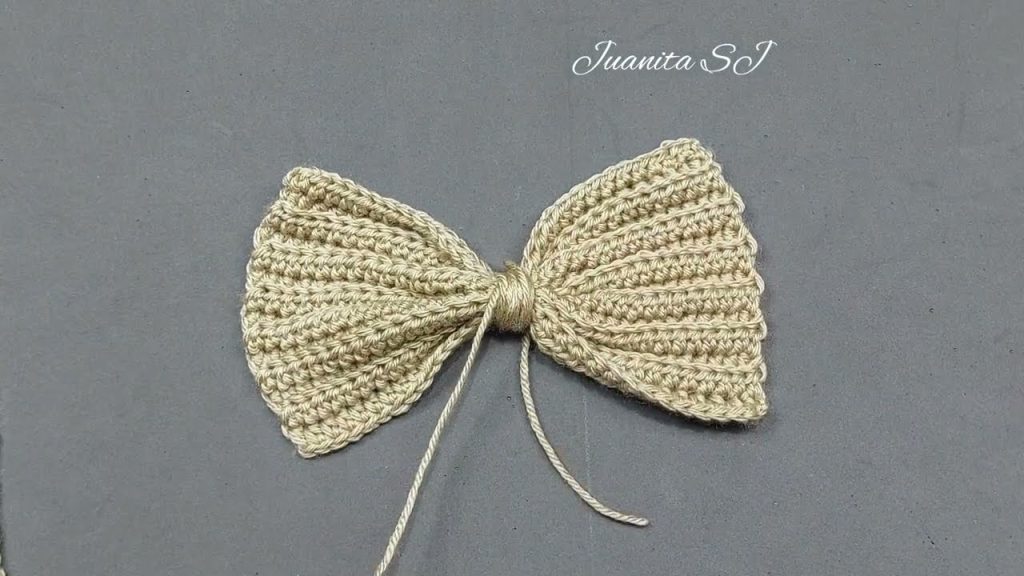
Step 6: Make the Large Bow
Option 1: Crocheted Bow as a Separate Piece
- Chain about 20–25 stitches (adjust based on your preferred bow size).
- Work in rows with single crochet or hdc until the piece is wide enough for the bow (typically 4–5 inches).
- Fold the rectangle in half and wrap a small piece of yarn around the center to form the bow shape.
- Sew or attach the bow to the turban where desired.
Option 2: Integrated Bow
- Instead of making a separate bow, make the center portion of the band slightly gathered using a tighter stitch or elastic wrap. Then crochet the rest as usual.
Step 7: Finishing
- Weave in all ends with a tapestry needle.
- Adjust the bow and twist for symmetry.
- Try it on and adjust the fit if necessary.
Tips for a Polished Look
- Use soft, stretchy yarn for comfort.
- Keep the band slightly smaller than head circumference; crochet fabric stretches.
- For a bulkier bow, use thicker yarn or crochet multiple layers.
- Adding a decorative stitch (like a shell or puff stitch) can make the turban stand out.
If you want, I can also make a detailed step-by-step diagram with stitch placement and measurements for this exact turban with a large bow—it would make it much easier to follow visually.
Watch tutorial: