 by
by Absolutely! Here’s a detailed, beginner-friendly guide for making an unusual and beautiful crochet clutch bag — all from just one skein of yarn. This project is perfect if you want something elegant, practical, and creative without needing a ton of supplies.
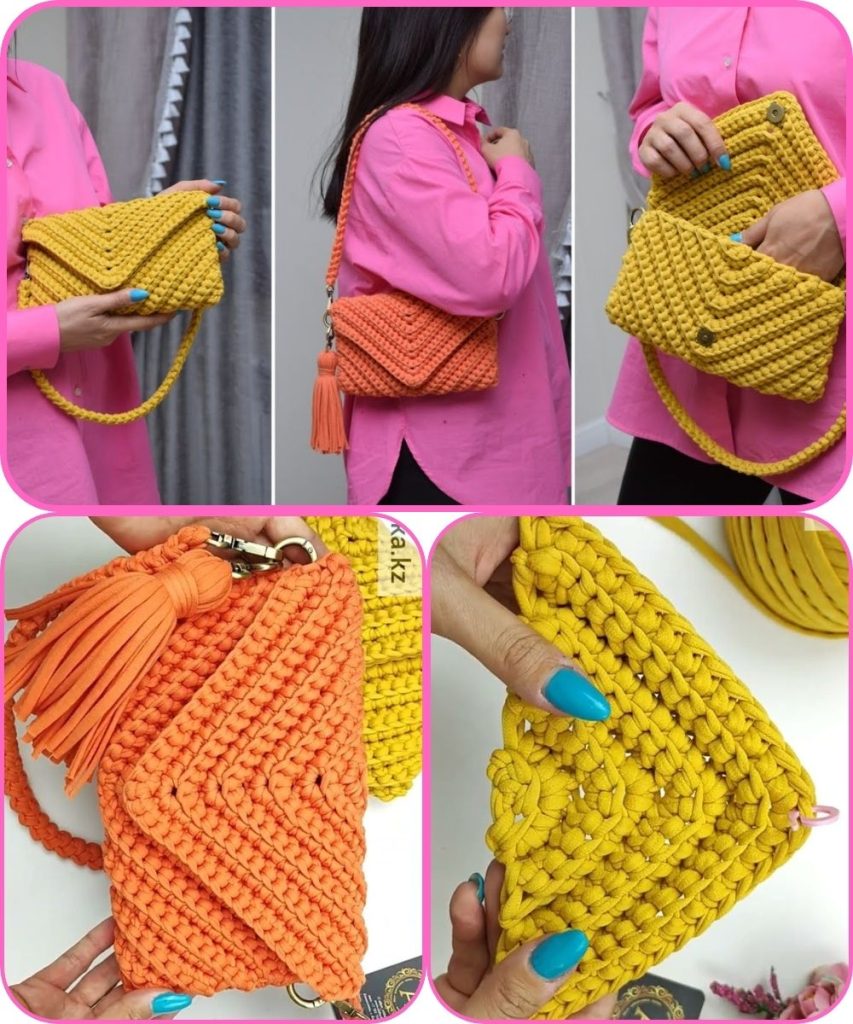
🧶 How to Make an Easy Crochet Pattern: The Most Unusual and Beautiful Clutch Bag from One Skein of Yarn
🌸 Overview
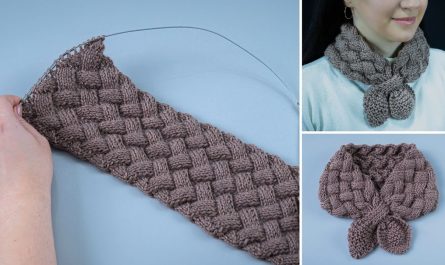
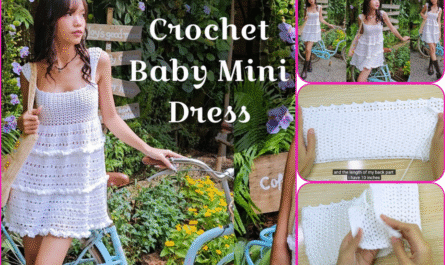
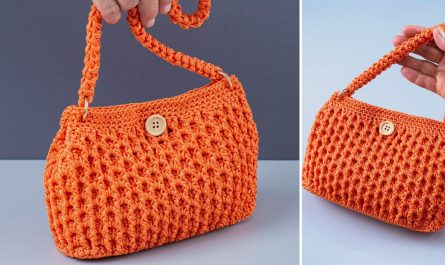
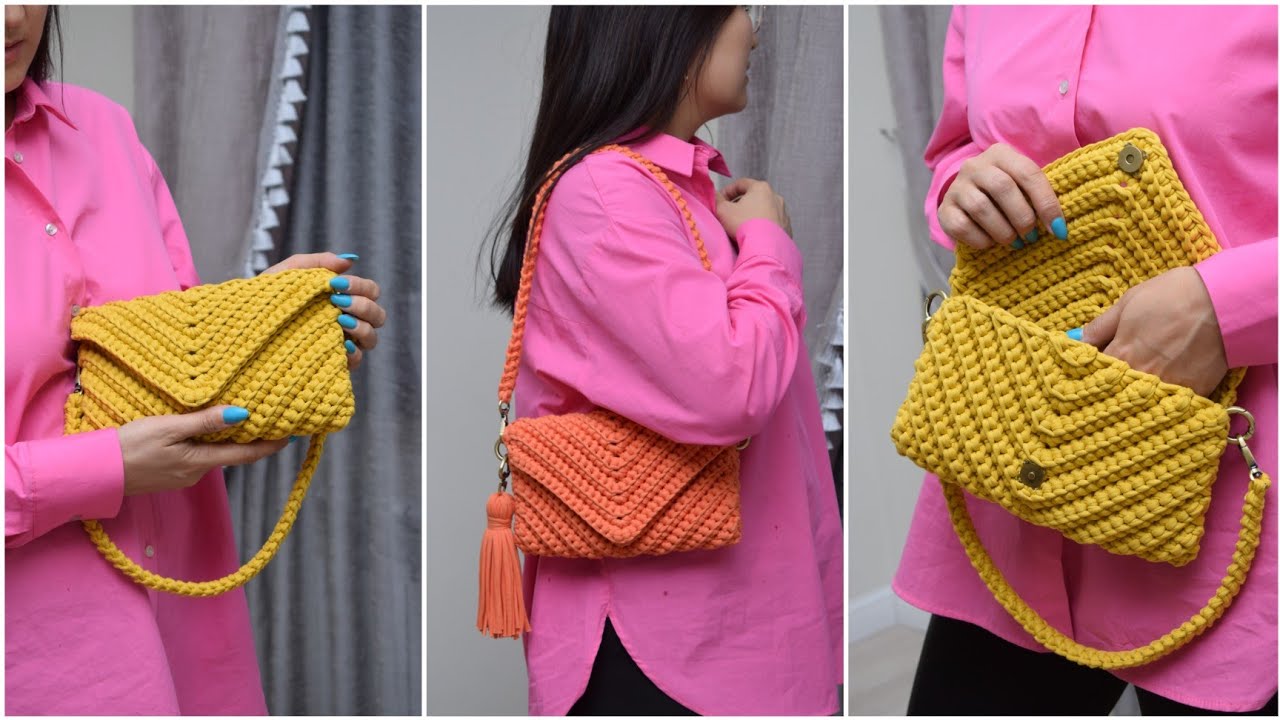
This one-skein clutch bag features a textured body and a modern, structured shape. You can use any medium-weight yarn (like cotton or raffia) for a sturdy result. The magic lies in a combination of simple stitches that create an intricate-looking fabric.
✨ Materials Needed
- Yarn: 1 skein (100g–150g) of medium-weight yarn (category 4)
Recommended: cotton, bamboo, or raffia-style yarn for durability and style - Crochet Hook: 4 mm (G/6) or as recommended on your yarn label
- Yarn Needle: for weaving in ends
- Scissors
- Button or Magnetic Snap: for closure
- Optional: Lining fabric & sewing needle/thread for a professional finish
📏 Finished Size
Approx. 10 inches (25 cm) wide x 6 inches (15 cm) tall
(You can easily adjust the size by changing the starting chain length or number of rows.)
🪡 Abbreviations (US Terms)
- ch – chain
- sc – single crochet
- dc – double crochet
- hdc – half double crochet
- sl st – slip stitch
- st(s) – stitch(es)
- rep – repeat
🧵 Step-by-Step Instructions
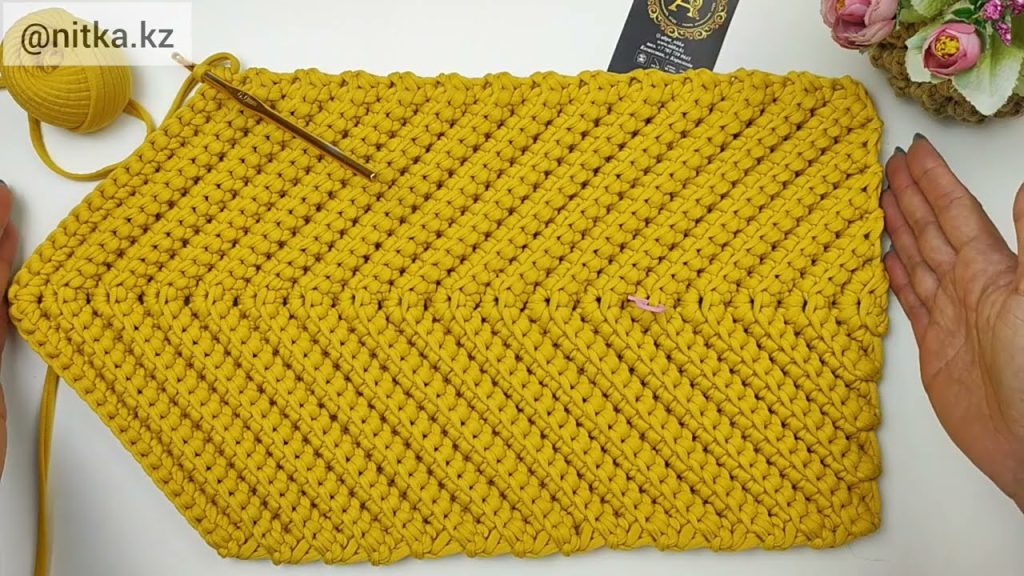
1️⃣ Base (Main Body)
- Foundation:
Ch 36 (or a multiple of 2 for your desired width). - Row 1:
Sc in 2nd ch from hook and in each ch across. (35 sc)
Ch 1, turn. - Row 2:
[Texture Row] Sc in first st, dc in next st — repeat (sc, dc) across the row.
Ch 1, turn. - Row 3:
Repeat Row 2. (Always place sc in dc from previous row and dc in sc from previous row — this creates a woven, “moss-like” texture.) - Continue:
Repeat Row 2 until your rectangle measures about 14 inches (35 cm) long.
Fasten off and weave in ends.
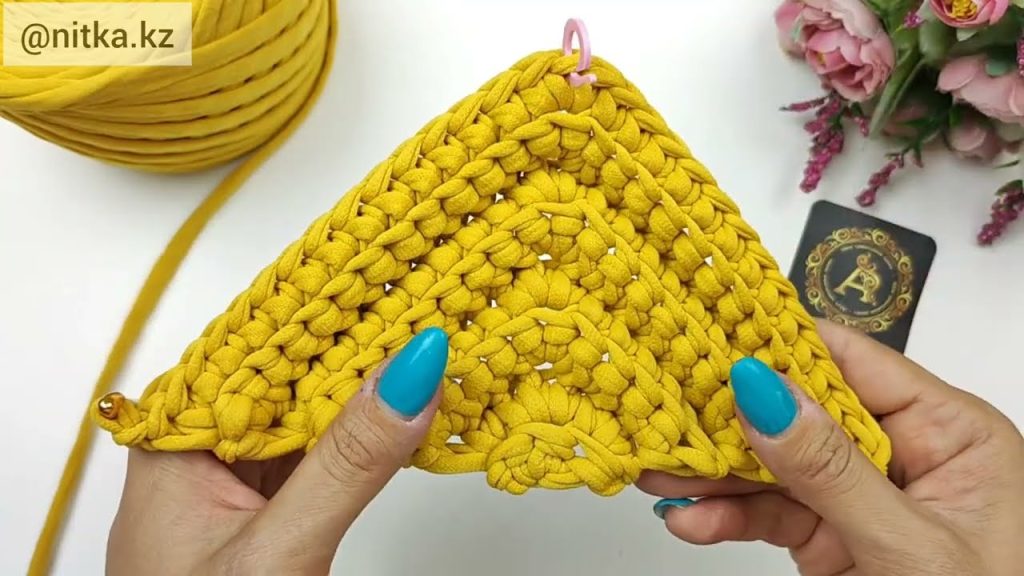
2️⃣ Folding & Seaming
- Lay the rectangle flat.
Fold the bottom up about 6 inches (15 cm) to form the bag body, leaving the top flap (about 4 inches / 10 cm) to fold over as a closure. - Seam sides:
Using slip stitches or whip stitch, seam both sides neatly. - Turn inside out so seams are hidden.
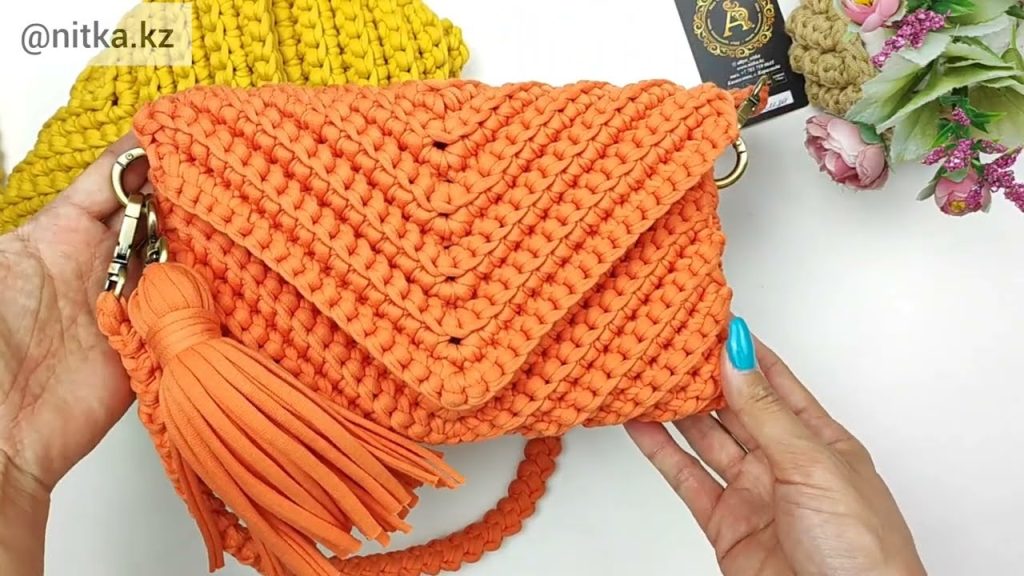
3️⃣ Finishing Touches
- Edge of flap:
Work a round of single crochet evenly around the opening and flap for a neat border.
Optional: Add a decorative picot or crab stitch edge. - Closure:
- Sew on a button and make a small loop from chains for the closure.
- OR attach a magnetic snap for a sleek look.
- Optional Lining:
Cut a piece of fabric to fit the inside, fold and sew with small hand stitches.
💡 Design Variations
- Use metallic thread or gradient yarn for a luxurious look.
- Add beads to stitches on the flap for a statement piece.
- Try a chunky yarn for a boho texture or raffia yarn for a summer beach clutch.
🌼 Care Tips
- Hand wash gently and air dry flat.
- Store flat to maintain shape.
🧺 Summary Pattern (Quick Reference)
Ch 36
Row 1: Sc in 2nd ch from hook, sc across. Ch 1, turn.
Row 2: *Sc in next st, dc in next st*; repeat across. Ch 1, turn.
Row 3: Repeat Row 2 until piece measures 14".
Fold bottom up 6", seam sides.
Add edging and closure.
Done!
Would you like me to turn this into a printable, step-by-step crochet pattern PDF (with layout, stitch chart, and photo placeholders)? I can format it beautifully for download or Etsy listing.
Watch tutorial: