 by
by Sure, I can definitely help you with information on making a crochet panda! However, when you say “Amazing Crochet Panda Patterns at Another Level 🐼,” it suggests a desire for something beyond a basic beginner amigurumi. This could imply:
- More Complex Techniques: Such as color changes, shaping, embroidery details, or even combining crochet with other crafts.
- Unique Poses or Features: Pandas in different poses (sitting, standing, crawling), with accessories, or expressing different emotions.
- Realistic Details: Patterns that aim for a more lifelike representation rather than a simplistic cartoonish one.
- Larger or Smaller Scales: Beyond the typical palm-sized amigurumi.
To give you the most “another level” advice, I’ll provide a comprehensive guide that covers the fundamentals and then delves into techniques and considerations for creating truly amazing and unique crochet pandas.
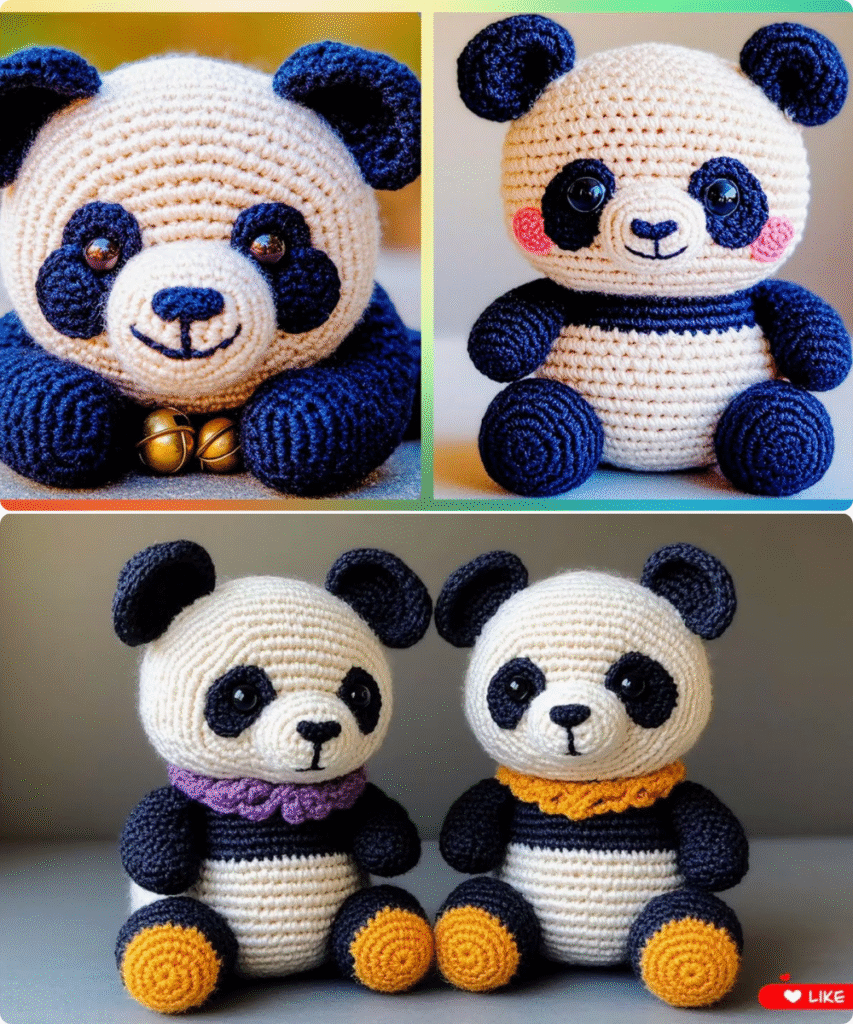
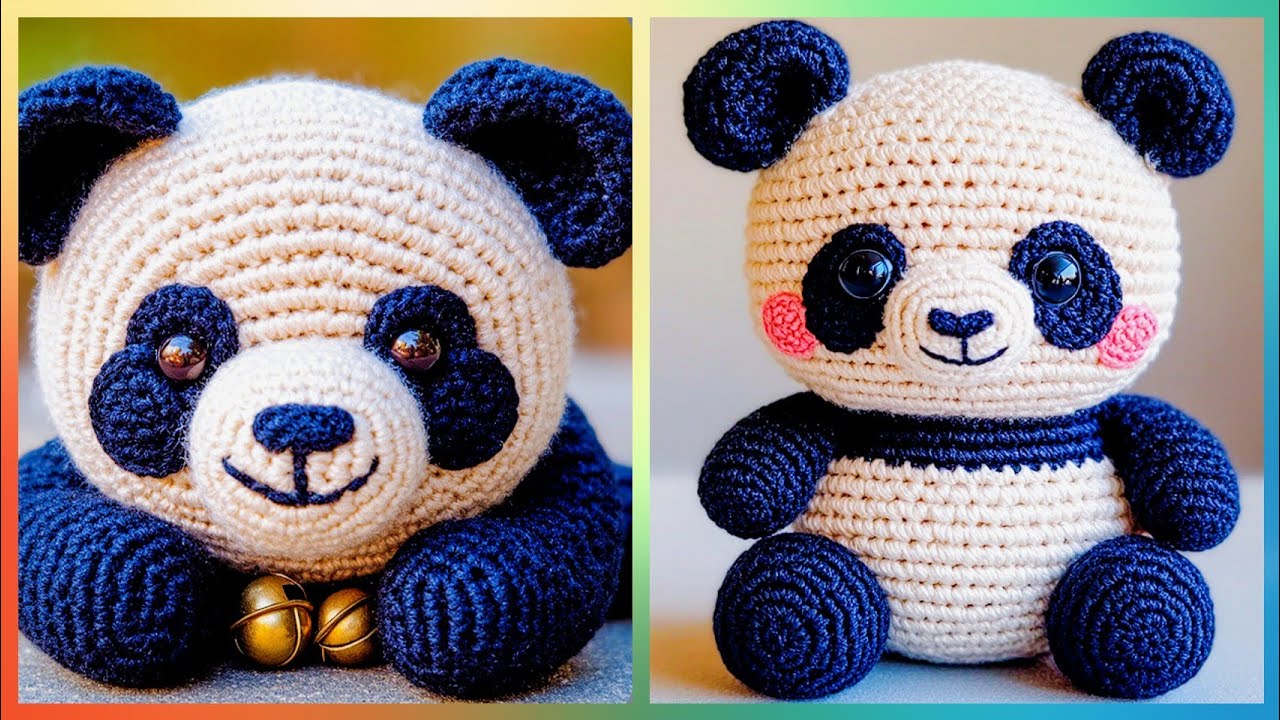
How to Make a Crochet Panda: Amazing Crochet Panda Patterns at Another Level 🐼
Crocheting a panda is a delightful project, and while the basic amigurumi techniques are accessible, taking your panda to “another level” involves mastering details, understanding shaping, and perhaps even designing your own unique features.
This guide will cover the essentials and then provide insights into creating more intricate and impressive panda designs.
I. The Fundamentals (The “Basic Level” Building Blocks)
Before we jump to “another level,” let’s ensure you’re solid on the basics. Most crochet pandas, even complex ones, are built upon these foundational techniques:
A. Essential Materials:
- Yarn:
- Black & White: The iconic panda colors. You’ll need more white than black.
- Accent Color (Optional): For a scarf, bow, or blush (e.g., pink, red, green).
- Yarn Weight: Worsted weight (4) is common for amigurumi, but you can go thinner (DK) for smaller, more detailed pandas, or bulkier for larger, cuddlier ones.
- Fiber: Acrylic is popular for its durability and affordability. Cotton provides good stitch definition.
- Crochet Hook: Size to match your yarn weight (usually 2.5mm – 4.0mm for amigurumi, aiming for tight stitches to prevent stuffing from showing).
- Stuffing: Polyester fiberfill is standard.
- Safety Eyes: Black (common sizes: 6mm-12mm, depending on your panda’s size).
- Embroidery Floss (Black & Pink/Red): For nose, mouth, and cheek details.
- Yarn Needle (Tapestry Needle): For weaving in ends and assembling parts.
- Stitch Markers: Essential for working in continuous rounds.
- Scissors: For cutting yarn.
- Pinking Shears (Optional): If you’re adding felt details.
- Pet Slicker Brush (Optional): To fuzz up your panda for a realistic look.
B. Essential Amigurumi Stitches & Techniques:
- Magic Ring (MR) / Magic Circle (MC): To start in the round without a hole. Crucial for heads, bodies, and limbs.
- Single Crochet (sc): The most common stitch for amigurumi, creating a dense fabric.
- Increase (inc): Usually 2 sc in one stitch. Used to expand shapes.
- Invisible Decrease (invdec or dec): A method to decrease stitches without creating a noticeable bump. Essential for smooth shaping.
- Slip Stitch (sl st): To join rounds or finish off.
- Chain (ch): For starting chains or small loops.
- Working in Continuous Rounds: Most amigurumi is worked without joining at the end of each round, creating a seamless spiral. Use a stitch marker to mark the beginning of each round.
- Color Changes: Seamless color changes are vital for pandas (e.g., white body to black legs/arms). Learn how to do an invisible color change or a standing sc.
- Stuffing: Stuff firmly but evenly, adding small amounts at a time.
- Assembly: Strategically sewing parts together for proper proportions and posture.
- Weaving in Ends: Neatly hiding all loose yarn tails.
II. Amazing Crochet Panda Patterns at Another Level 🐼
This section goes beyond the basics, focusing on techniques and considerations for elevating your panda projects.
A. Mastering Shaping & Proportions:
- Realistic vs. Chibi: Decide on your aesthetic.
- Chibi/Cartoonish: Larger head, smaller body, exaggerated features. Easier to start with.
- Realistic/Proportional: More balanced head-to-body ratio, closer to actual panda anatomy. Requires more careful shaping.
- Advanced Shaping with Increases/Decreases:
- Instead of just uniform increases/decreases, learn to place them strategically to create:
- Defined Cheeks/Snout: More increases in the front of the face, then decreases.
- Curved Back/Belly: Shaping the body to have a natural curve.
- Joints: Slight decreases/increases around knee/elbow areas for subtle articulation.
- Instead of just uniform increases/decreases, learn to place them strategically to create:
- Head Sculpting (Optional): After stuffing, use a yarn needle and a piece of yarn to pull through the head and cinch certain areas (e.g., eye sockets, nose bridge) to create more defined facial features. This is an advanced technique but incredibly impactful.
B. Intricate Colorwork:
Panda’s unique markings are key to their identity.
- Seamless Color Changes: Practice methods like the “invisible join” for a cleaner transition when switching from white to black (e.g., for legs, arms, ears, eye patches).
- Intarsia Crochet (for larger areas): If a panda has a complex patch that isn’t a separate piece (e.g., a large chest marking), intarsia allows you to work with multiple bobbins of yarn for different color blocks within a single row/round. This is more common in flat pieces but can be adapted.
- Surface Crochet: Use surface slip stitches or single crochets to add thin lines or small details (like a smile line or eyebrow) on top of the finished fabric without changing the base color.
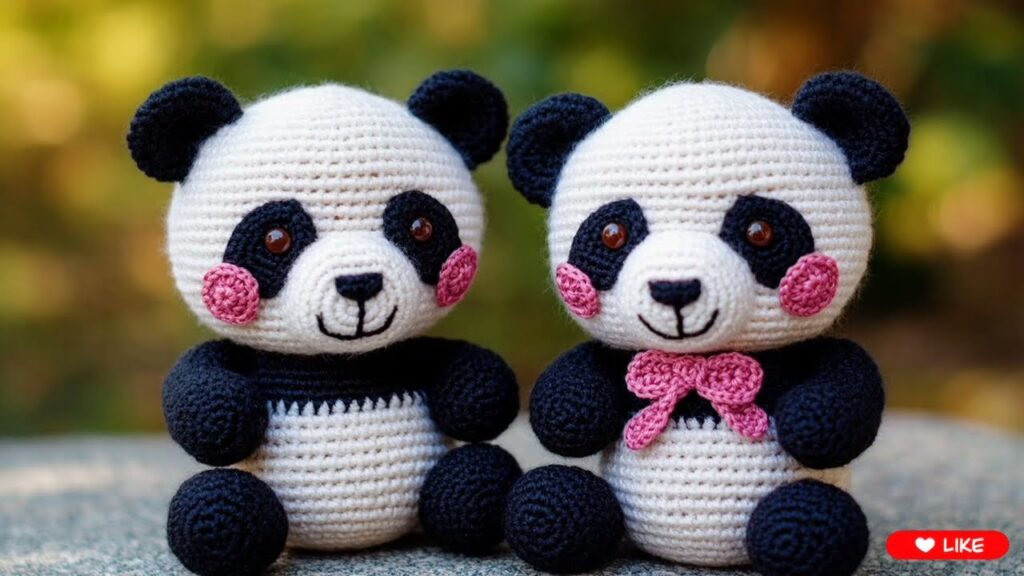
C. Expressive Faces & Details:
This is where your panda truly comes to life!
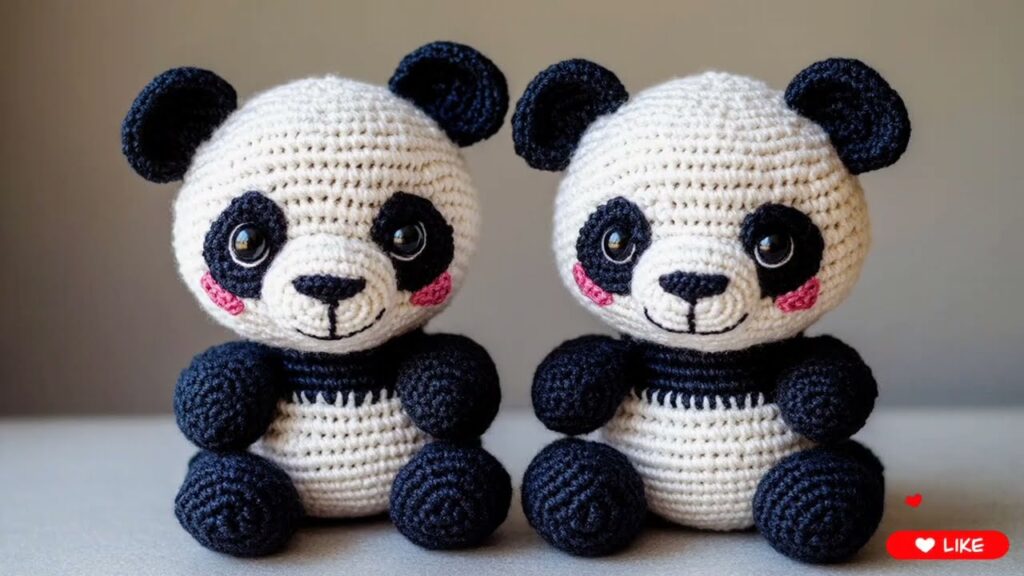
- Safety Eyes with Eyelids/White Felt:
- Instead of just inserting safety eyes, crochet small black “eyelids” to sew around the top of the eye for a more expressive look.
- Cut small white felt circles to place behind the safety eyes before securing them, to mimic the white around a panda’s eyes.
- Detailed Embroidery:
- Nose: Use black embroidery floss. Instead of a simple triangle, try a rounded “M” shape or a slightly upturned nose. Fill it in with satin stitch.
- Mouth: A simple straight line is fine, but a slightly curved “U” or a tiny “V” for the philtrum (area between nose and mouth) can add charm.
- Eyebrows: Short, straight stitches above the eyes can convey emotion (curved for happy, angled for mischievous).
- Blush: Use pink embroidery floss for small circular cheek blushes, or apply actual makeup blush with a Q-tip.
- Needle Felting (Advanced Option): If you’re comfortable with needle felting, you can use wool roving to add incredibly realistic details like a fuzzy muzzle, softer eye patches, or even subtle shading. This combines two crafts beautifully.
D. Articulation & Poses:
Move beyond a static sitting panda.
- Wire Armatures (Advanced): For pandas that can hold specific poses (standing, crawling, hugging). Use craft wire (like floral wire) to create a skeleton inside the stuffed body and limbs. Caution: Not suitable for toys for young children due to wire hazards.
- Thread Jointing: A simpler way to make limbs movable without wire. Sew limbs to the body through a central point, allowing them to swivel.
- Disk Jointing: Similar to traditional teddy bear making. Uses plastic disks and cotter pins/washers to create fully rotating limbs. (Requires specialized parts).
- Varying Poses: Even without complex joints, patterns can be designed for specific poses by:
- Sewing Limbs Differently: Sewing arms forward for a hugging pose, or legs bent for a sitting pose.
- Shaping Limbs: Crocheting limbs with slight bends or curves.
E. Textures & Finishing Touches:
- Fuzzing: Use a pet slicker brush or a wire brush to gently brush the surface of your finished panda. This pulls up the fibers, creating a soft, fuzzy, “fur-like” texture, especially good for a more realistic look. Be gentle not to damage the stitches.
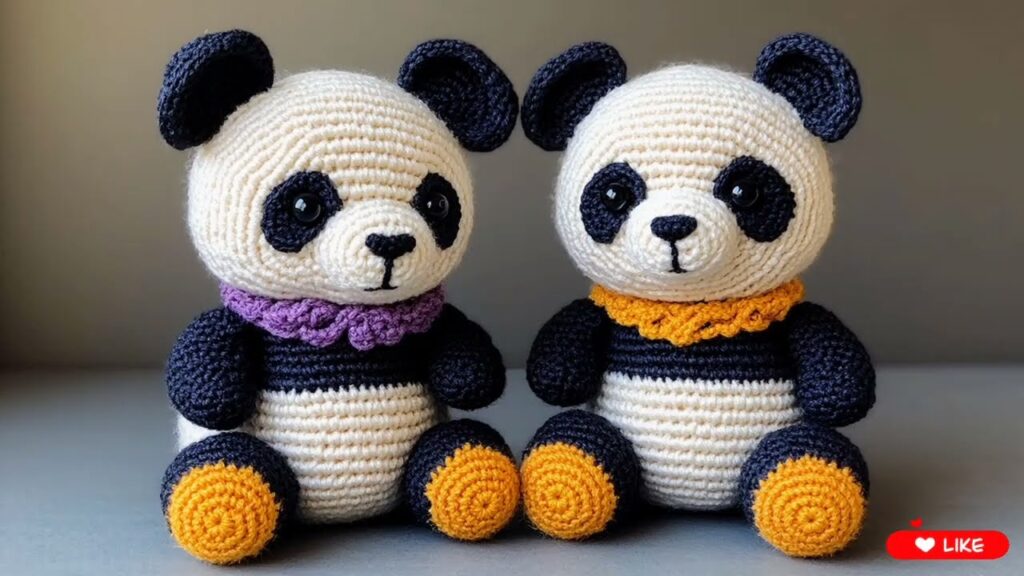
- Accessories:
- Bamboo Stalk/Leaf: Crochet small green bamboo accessories for your panda to hold.
- Scarf/Bow: A simple chained scarf or a small crocheted bow adds character.
- Hat: A tiny crocheted hat can be adorable.
- Weighing (for stability): Add plastic pellets or rice (in a sealed bag) to the bottom of the body or feet to give the panda a more substantial feel and help it sit or stand better. Again, be mindful if it’s for a child, as pellets could be a choking hazard if the bag breaks.
III. Finding “Another Level” Patterns & Inspiration:
- Etsy: Search for “advanced crochet panda pattern,” “realistic crochet panda,” or “poseable crochet panda.” Many talented designers sell their unique patterns here.
- Ravelry: A vast database of crochet patterns. Use filters to search for skill level, specific features, or “amigurumi panda.”
- Pinterest/Instagram: Visually search for “crochet panda ideas,” “amigurumi panda advanced,” to see what others are creating and get inspiration.
- YouTube: Look for tutorials on specific advanced techniques like “amigurumi head sculpting,” “invisible color change crochet,” or “thread jointing amigurumi.”
- Paid Pattern Designers: Often, the most intricate and well-designed patterns come from paid sources, as they reflect the designer’s time, skill, and testing. Support independent designers!
Key to “Another Level”: Attention to Detail
The difference between a basic panda and an “amazing” one often lies in the small details: how you place the eyes, the subtle curve of the body, the neatness of your color changes, and the expressiveness of the embroidery. Take your time with each step, and don’t be afraid to experiment!
Happy crocheting your amazing panda! 🐼
Watch video: