 by
by Sure! Here’s a detailed, beginner-friendly tutorial you can use for a blog post, pattern description, or step-by-step guide.
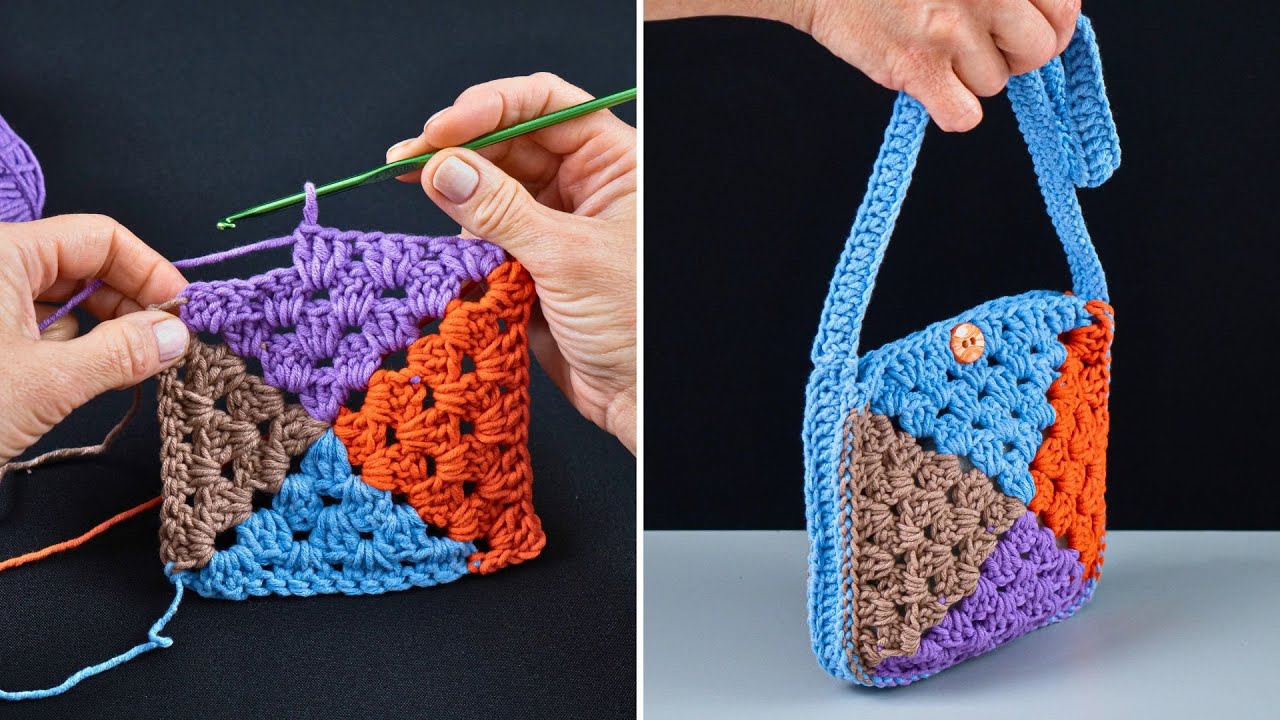
How to Crochet a 4-Coloured Granny Square Bag 🧶👜
A 4-coloured granny square bag is a classic crochet project that’s stylish, colorful, and perfect for beginners. It’s made from simple granny squares, easy color changes, and basic stitching. This bag is sturdy enough for everyday use and fun to customize with your favorite color combinations!
🧵 Materials You’ll Need
- Yarn in 4 different colors (cotton yarn is best for bags)
- Crochet hook (4–5 mm, depending on yarn)
- Scissors
- Yarn needle
- Stitch markers (optional)
- Fabric lining (optional but recommended)
💡 Choose colors that contrast well so each round of the granny square stands out.
📘 Basic Crochet Stitches Used
This project is beginner-friendly and uses classic stitches:
- Magic ring (or chain ring)
- Chain (ch)
- Slip stitch (sl st)
- Double crochet (dc)
- Single crochet (sc) (for joining and borders)
🌼 Step 1: Crochet the 4-Colour Granny Squares
Each granny square uses one color per round.
Round 1 – Color A
- Make a magic ring.
- Chain 3 (counts as first dc).
- Work 2 dc, chain 2.
- 3 dc, chain 2 — repeat 3 more times.
- Join with slip stitch and fasten off.
Round 2 – Color B
- Attach Color B in any corner space.
- Chain 3, work 2 dc, chain 2, 3 dc in the same corner.
- In each remaining corner: 3 dc, ch 2, 3 dc.
- Join and fasten off.
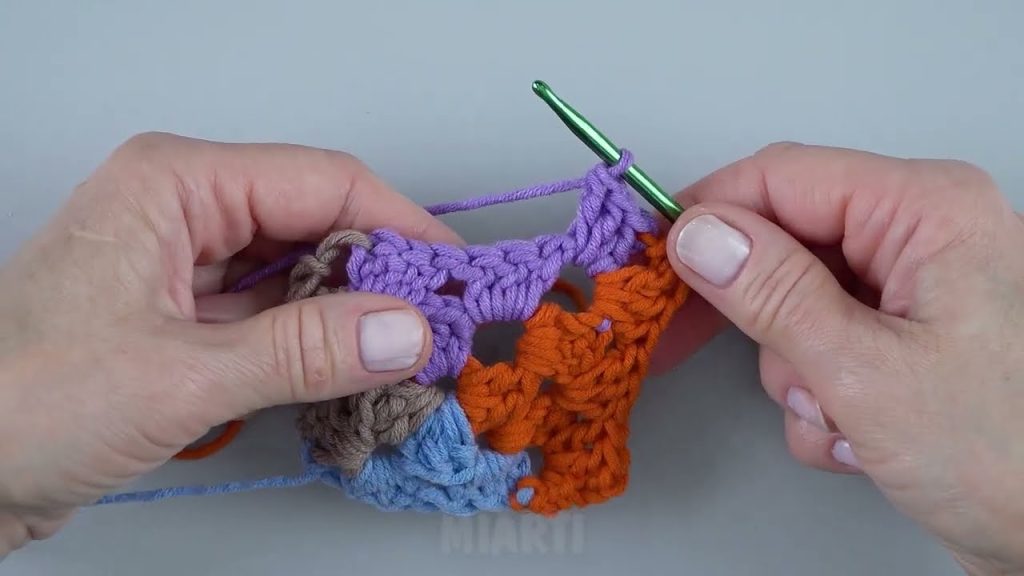
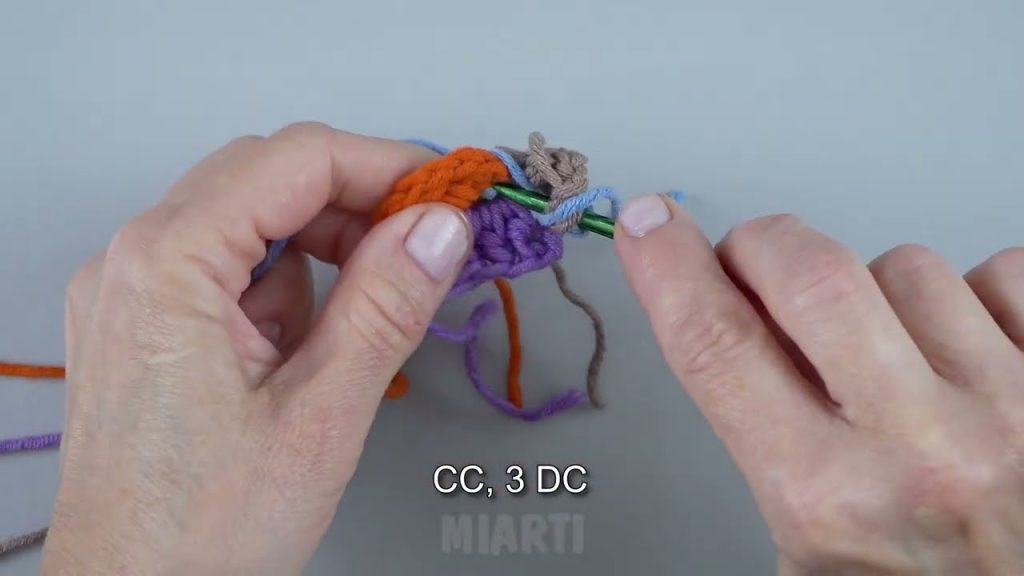
Round 3 – Color C
- Attach Color C in a corner.
- Work the same granny pattern:
- Corners: 3 dc, ch 2, 3 dc
- Sides: 3 dc in each space
- Join and fasten off.
Round 4 – Color D
- Attach Color D.
- Repeat the granny stitch pattern.
- Join and fasten off.
👉 Make 8–12 squares, depending on the bag size you want.
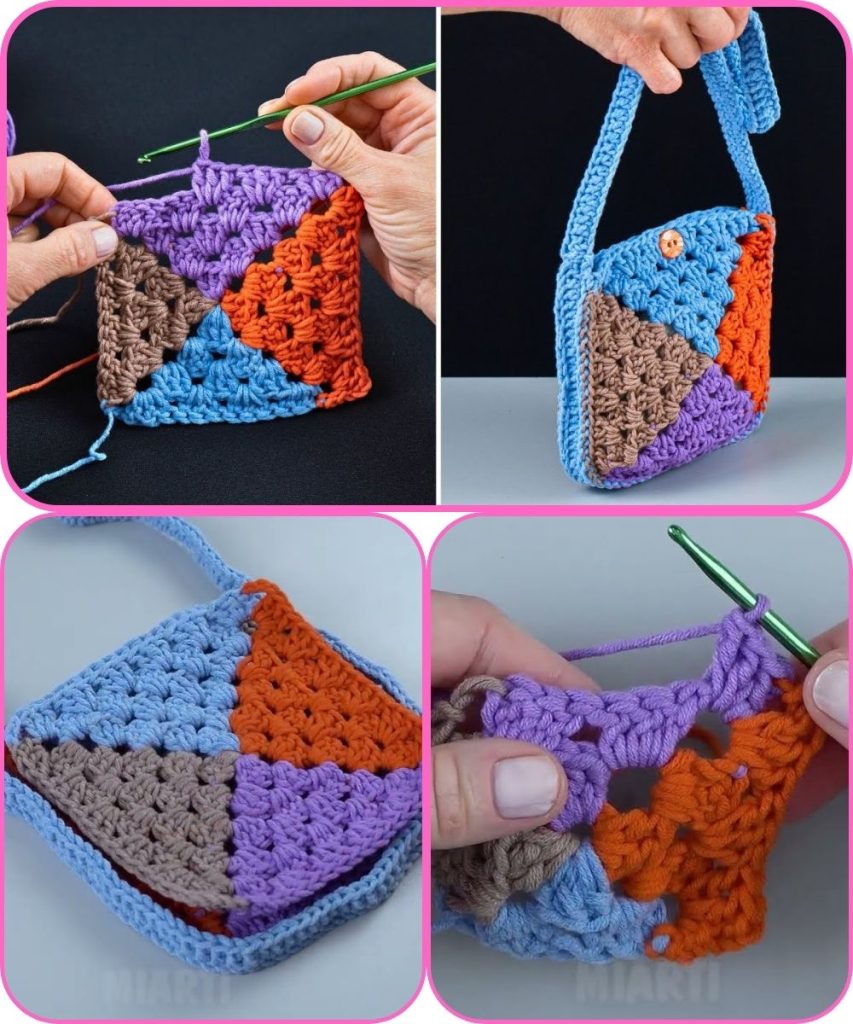
🧩 Step 2: Arrange & Join the Squares
- Lay out squares in your preferred layout:
- Front: 2 × 2 squares
- Back: 2 × 2 squares
- Join squares using:
- Slip stitch join
- Single crochet join
- Whip stitch with a yarn needle
Fold and join sides and bottom to form the bag shape.
👜 Step 3: Crochet the Bag Opening
- Attach yarn (Color D or a neutral color).
- Crochet single crochet evenly around the top edge.
- Add 2–3 rounds for structure.
Optional:
- Add a drawstring row
- Insert a lining
- Attach a button or magnetic snap
🪢 Step 4: Make the Handles
Option 1: Crocheted Handles
- Attach yarn to one side of the bag.
- Chain 40–60 stitches.
- Attach to the opposite side.
- Single crochet along the chain for strength.
Option 2: Short Handles
- Crochet 10–15 stitches directly onto the bag edge.
- Work back and forth for 4–6 rows.
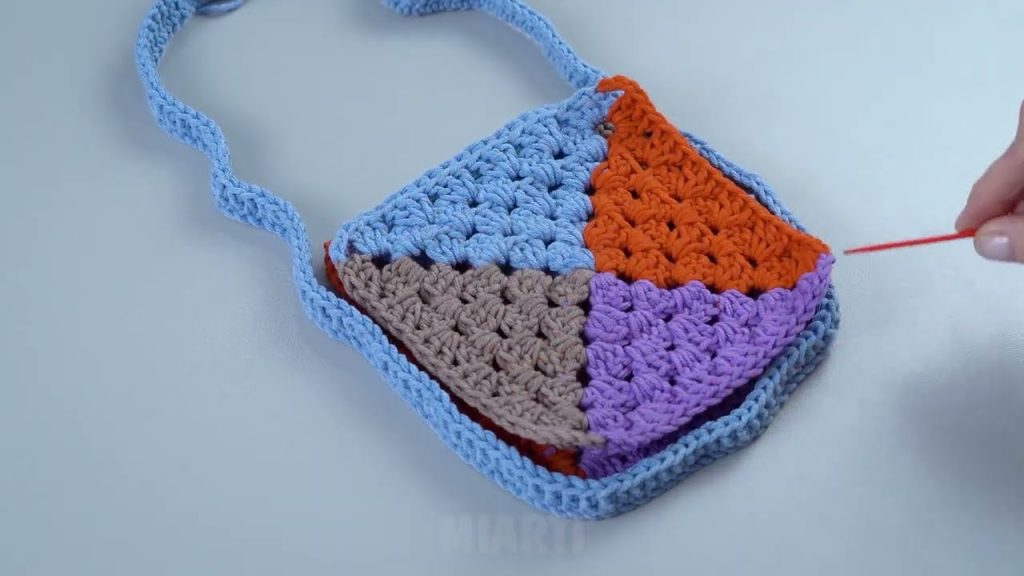
✨ Step 5: Finishing Touches
- Weave in all loose ends securely.
- Block lightly for a neat shape.
- Add extras:
- Tassels
- Wooden handles
- Decorative label
🌸 Beginner Tips
- Keep color changes neat by tightening ends.
- Use stitch markers to align squares evenly.
- Use cotton yarn for durability.
- Don’t worry if squares aren’t perfect—blocking helps!
🎉 Final Thoughts
This 4-coloured granny square bag is a fun, colorful, and beginner-friendly crochet project that never goes out of style. Once you finish one, you’ll want to experiment with different color combinations and sizes.
If you’d like, I can:
- Turn this into a short printable pattern
- Create a video tutorial outline
- Adjust it for tote bags or mini bags
Watch tutorial:


