 by
by (Step-by-Step Guide)
Here’s a clear, beginner-friendly, step-by-step guide to making a very beautiful pattern for a shopper bag. This version uses a fabric pattern design that works for tote or shopper bags made from cloth.
How to Make a Very Beautiful Pattern for a Shopper Bag
(Step-by-Step Guide)
Materials You Will Need
- Plain fabric shopper bag (cotton or canvas works best)
- Pencil and eraser
- Ruler
- Fabric paints or fabric markers
(or colored fabric pieces if you prefer sewing) - Paintbrushes (small and medium)
- Cardboard (to put inside the bag)
- Paper for sketching
- Optional: stencils, beads, buttons, embroidery thread
Step 1: Choose Your Pattern Style
Decide what kind of design you want. Popular beautiful patterns include:
- Floral patterns 🌸
- Geometric shapes (triangles, circles, lines)
- Nature designs (leaves, vines, sun, waves)
- Mandala or repeated motifs
👉 Tip: Simple repeated designs often look more elegant than very crowded ones.

Step 2: Plan the Design on Paper
- Draw the shape of your shopper bag on paper.
- Sketch your pattern lightly inside it.
- Decide:
- Where the main design will be (center or corners)
- Whether the pattern will repeat or stay in one area
This helps you avoid mistakes on the actual bag.
Step 3: Prepare the Bag
- Place cardboard inside the bag so paint doesn’t bleed through.
- Lay the bag flat on a table.
- Smooth out wrinkles.
Step 4: Lightly Draw the Pattern on the Bag
- Use a pencil to gently sketch your design.
- Use a ruler for straight lines and symmetry.
- Keep lines light so they don’t show after painting.
✨ Pro tip: Start from the center and work outward.
Step 5: Add Color Carefully
- Start with light colors first.
- Use small brushes for details and bigger brushes for large areas.
- Let each color dry before adding another to avoid smudging.
🎨 Color idea:
- Use 2–3 main colors and 1 accent color (gold, white, or black looks classy).
Step 6: Enhance the Pattern
Once the base colors are dry, you can:
- Add dots, outlines, or borders
- Use white or gold paint to highlight edges
- Add tiny details like leaves, lines, or patterns inside shapes
This step makes the design look professional and elegant.
Step 7: Let It Dry Completely
- Leave the bag flat for 24 hours
- Avoid touching or folding it
If using fabric paint, follow the instructions (some need heat setting with an iron).
Step 8: Optional Decorative Touches
For extra beauty, you can:
- Sew small buttons or beads
- Add embroidery details
- Attach fabric patches or lace
Step 9: Final Check
- Make sure everything is dry and secure
- Gently erase any visible pencil lines
- Your beautiful shopper bag is ready to use 🌟
Simple Pattern Idea for Beginners
Center floral motif + repeated dots around the edges
This design is easy, balanced, and looks very stylish.
If you want, I can also:
- Design a specific pattern idea (floral, geometric, modern)
- Explain how to make a crochet or knitted bag pattern
- Help you write this as a school project or assignment
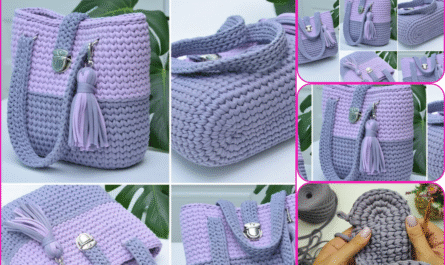
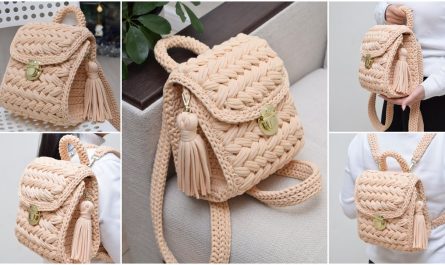
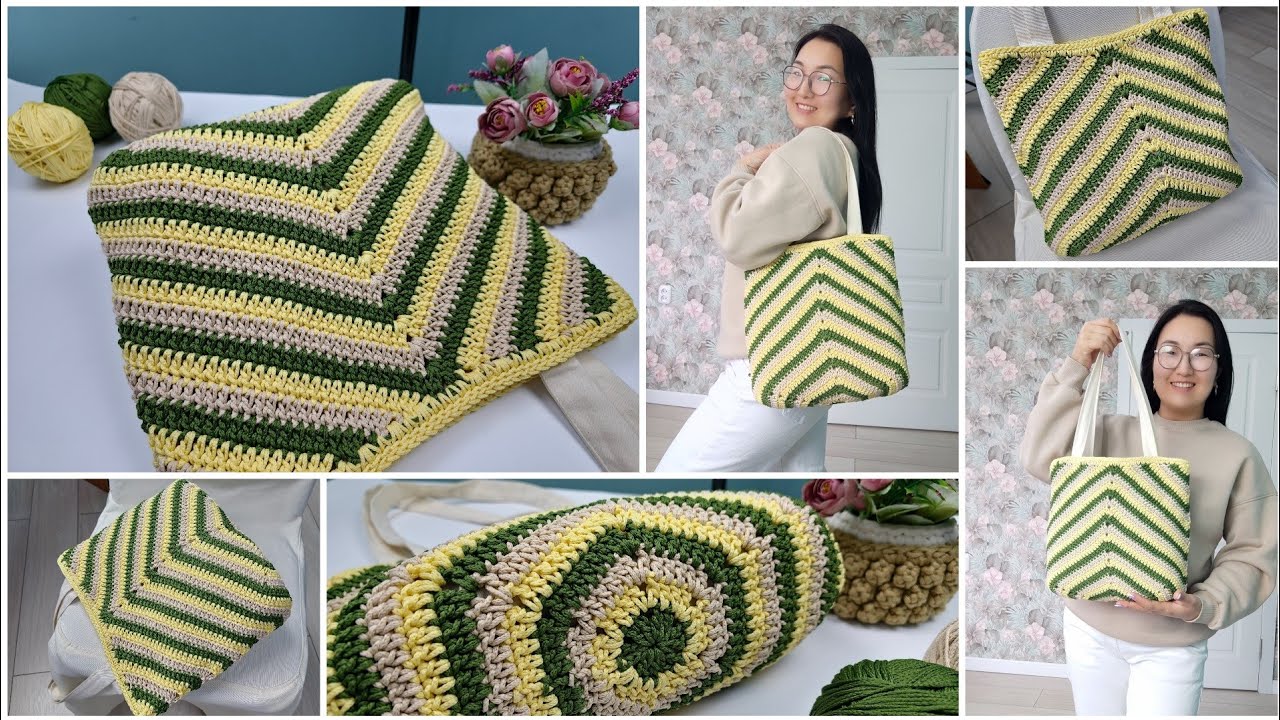
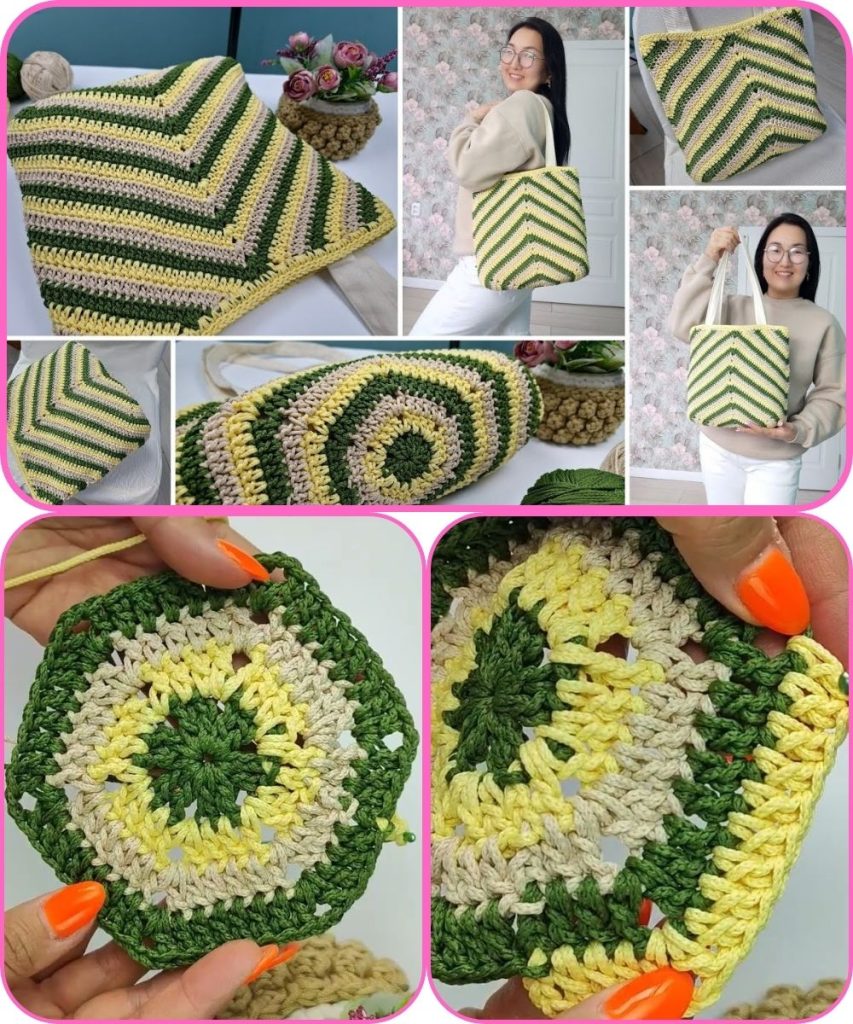
Watch tutorial: