 by
by Here’s a clear, detailed, beginner-friendly guide you can use for a project, blog post, or craft assignment.
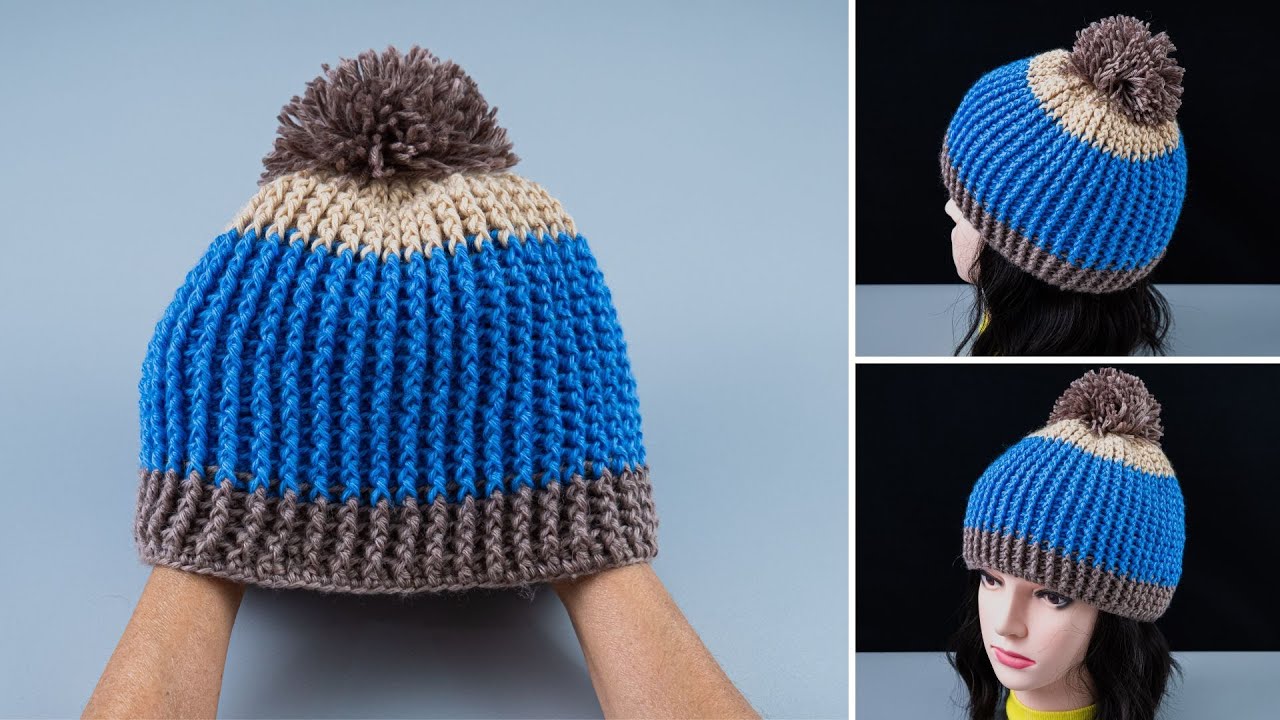
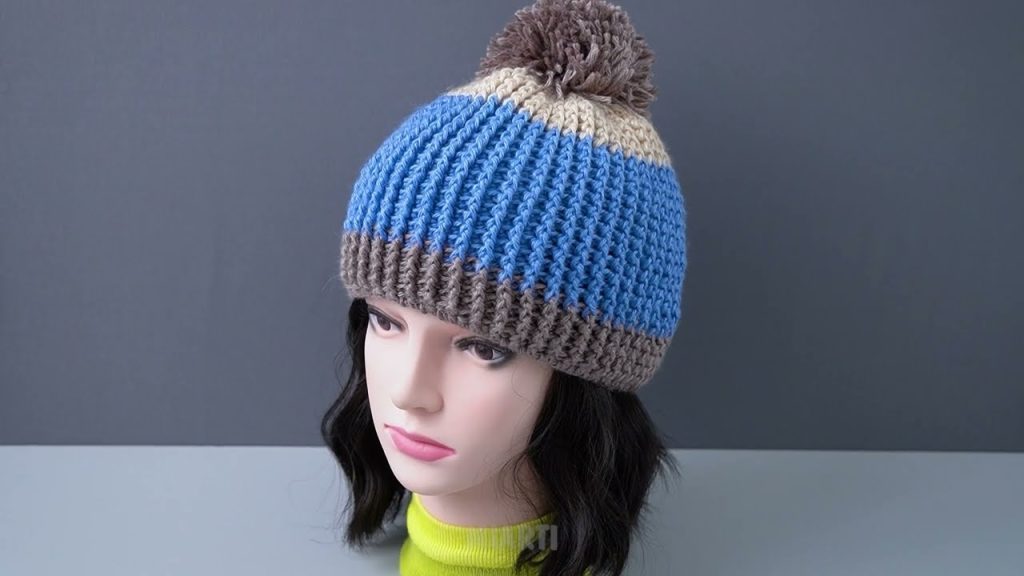
How to Make a Crochet Hat Out of Leftover Yarn (Simple Stitch Pattern)
Making a crochet hat from leftover yarn is a great way to reduce waste, save money, and create something unique. This project is beginner-friendly and uses a simple stitch pattern, making it perfect even if you’re new to crochet.
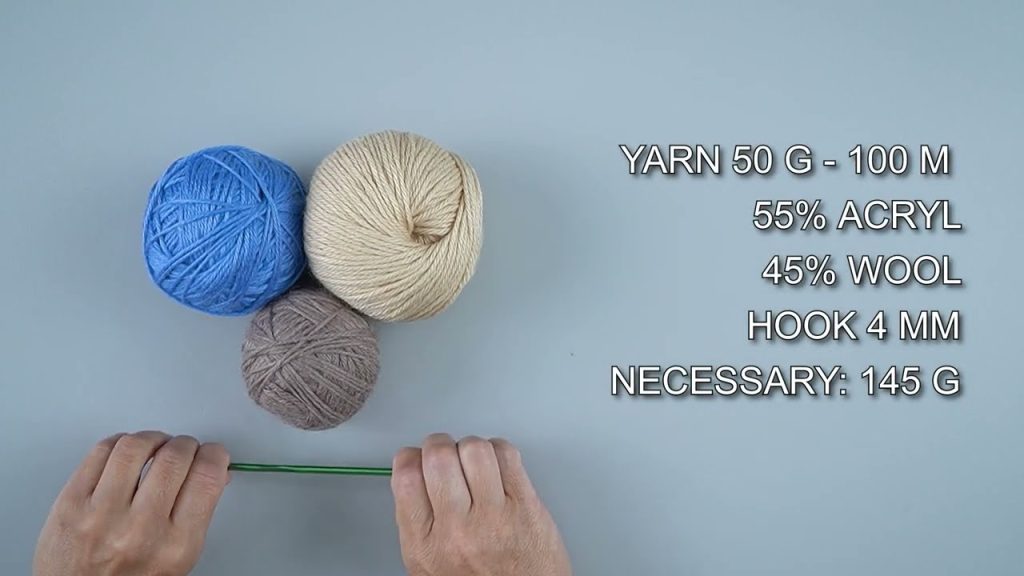
Materials Needed
- Leftover yarn (any color or combination; similar weights work best)
- Crochet hook (size recommended on your yarn label, usually 5–6 mm for medium yarn)
- Scissors
- Yarn needle (for weaving in ends)
- Stitch marker (optional, but helpful)
Choosing Your Yarn
Using leftover yarn allows you to mix colors creatively. Try:
- Using the same yarn weight for the whole hat
- Changing colors every few rows for a striped look
- Using scraps of the same color family for a cohesive design
If your yarn weights vary slightly, that’s okay—just keep your stitches relaxed and consistent.
Simple Stitch Pattern
This hat uses single crochet stitches, which are easy to learn and create a warm, sturdy fabric.
Basic stitches used:
- Magic ring (or chain 4 and join)
- Single crochet (sc)
- Slip stitch (sl st)
- Increase (2 single crochets in one stitch)
Step-by-Step Instructions
1. Start the Crown
- Make a magic ring
- Work 6 single crochets into the ring
- Pull tight and join with a slip stitch
2. Increase the Circle
- Round 2: 2 single crochets in each stitch (12 stitches)
- Round 3: 1 single crochet, increase (repeat around – 18 stitches)
- Round 4: 2 single crochets, increase (24 stitches)
Continue increasing evenly until the circle fits the top of your head (about 6–7 inches across for most sizes).
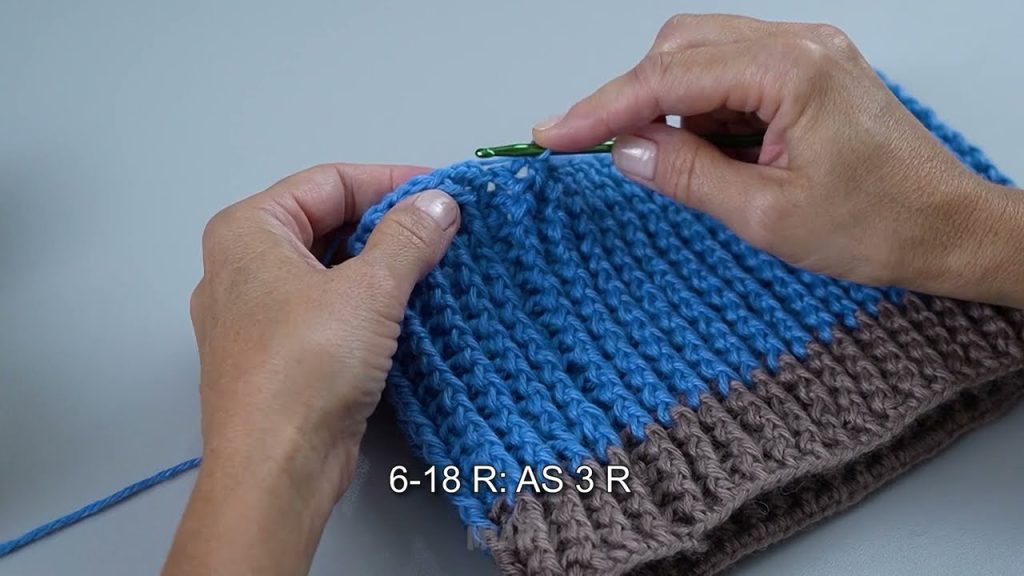
3. Build the Sides
- Stop increasing
- Crochet one single crochet in each stitch
- Continue working in rounds to form the sides of the hat
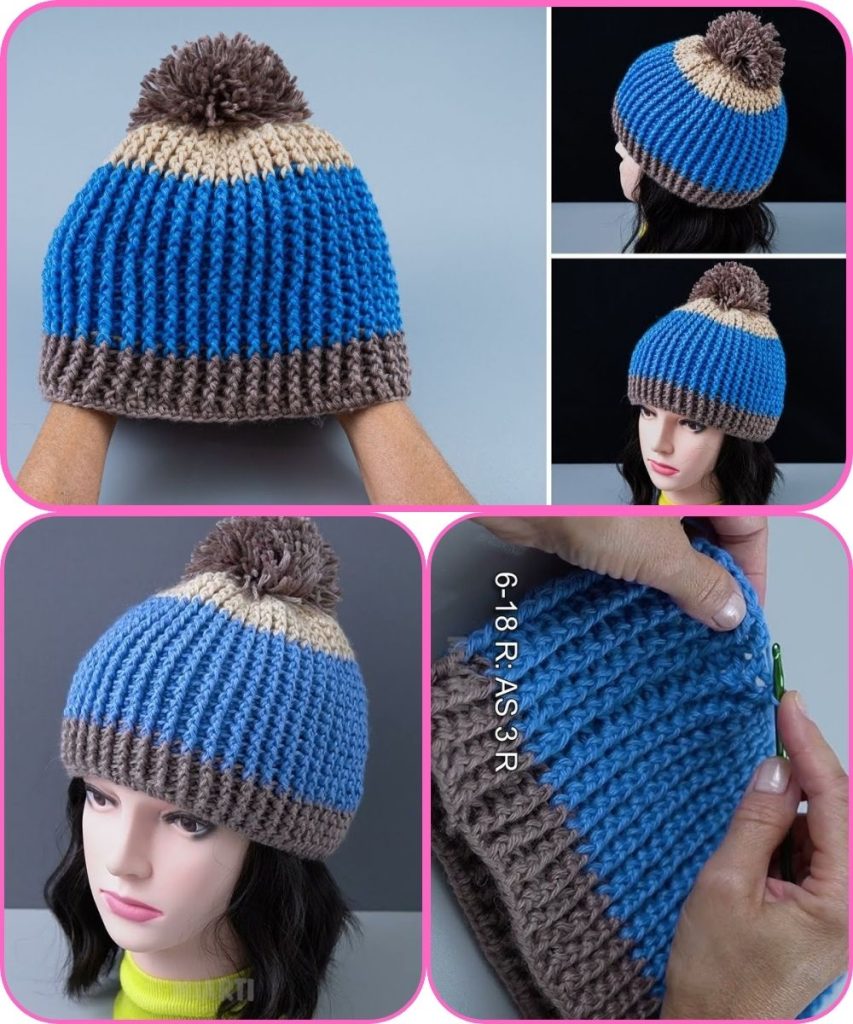
This is where you can change yarn colors using your leftover yarn. Simply switch colors at the start of a new round.
4. Adjust the Length
- Keep crocheting until the hat reaches your desired length
- Try it on as you go to check the fit
For a folded brim, crochet a few extra rows.
5. Finish the Hat
- Slip stitch to close the final round
- Cut yarn and pull through
- Use a yarn needle to weave in all loose ends
Tips for Success
- Keep your tension consistent, especially when switching yarns
- Weave in ends as you go to avoid tangles later
- Don’t worry if the hat isn’t perfect—scrap yarn projects are meant to be fun and creative
Why This Project Is Great
- Uses up leftover yarn
- Beginner-friendly
- Customizable colors and size
- Makes a practical, handmade item
If you want, I can:
- Simplify this for a school assignment
- Adjust it for kids or adults
- Turn it into a step-by-step checklist
- Add pictures descriptions or diagrams
Just tell me 😊
Watch tutorial: