 by
by Here’s a clear, detailed, and beginner-friendly guide you can use as a tutorial, blog post, or video script.
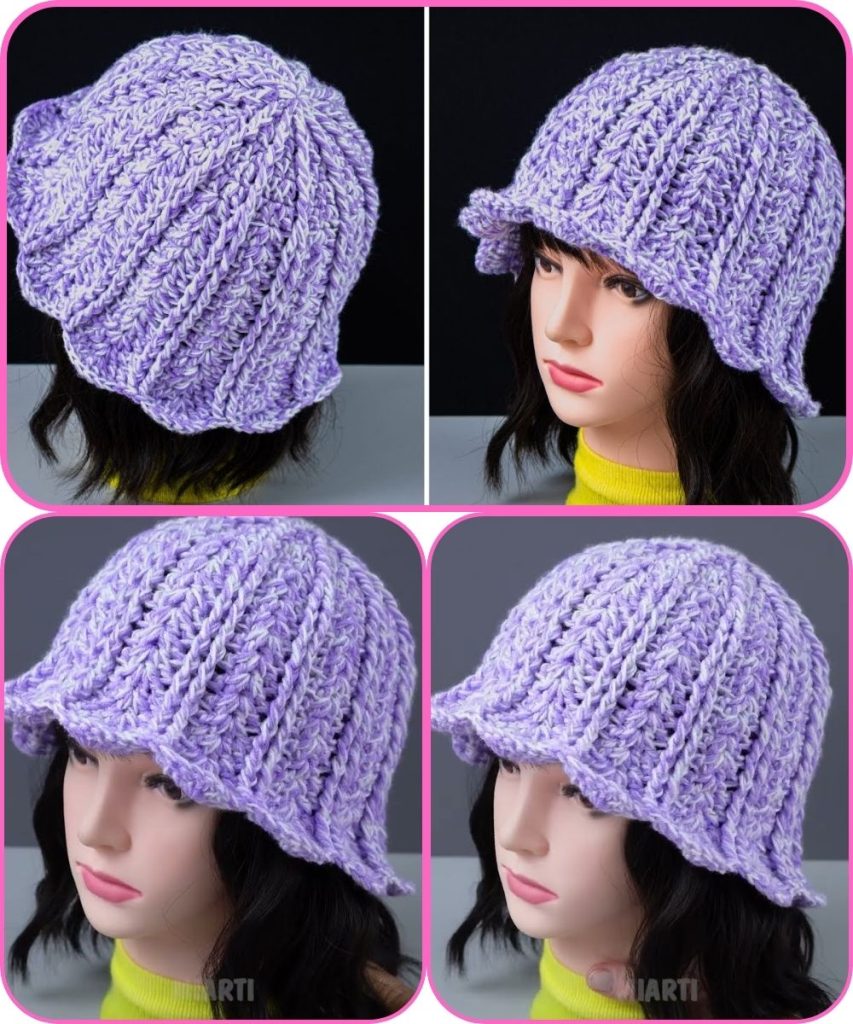
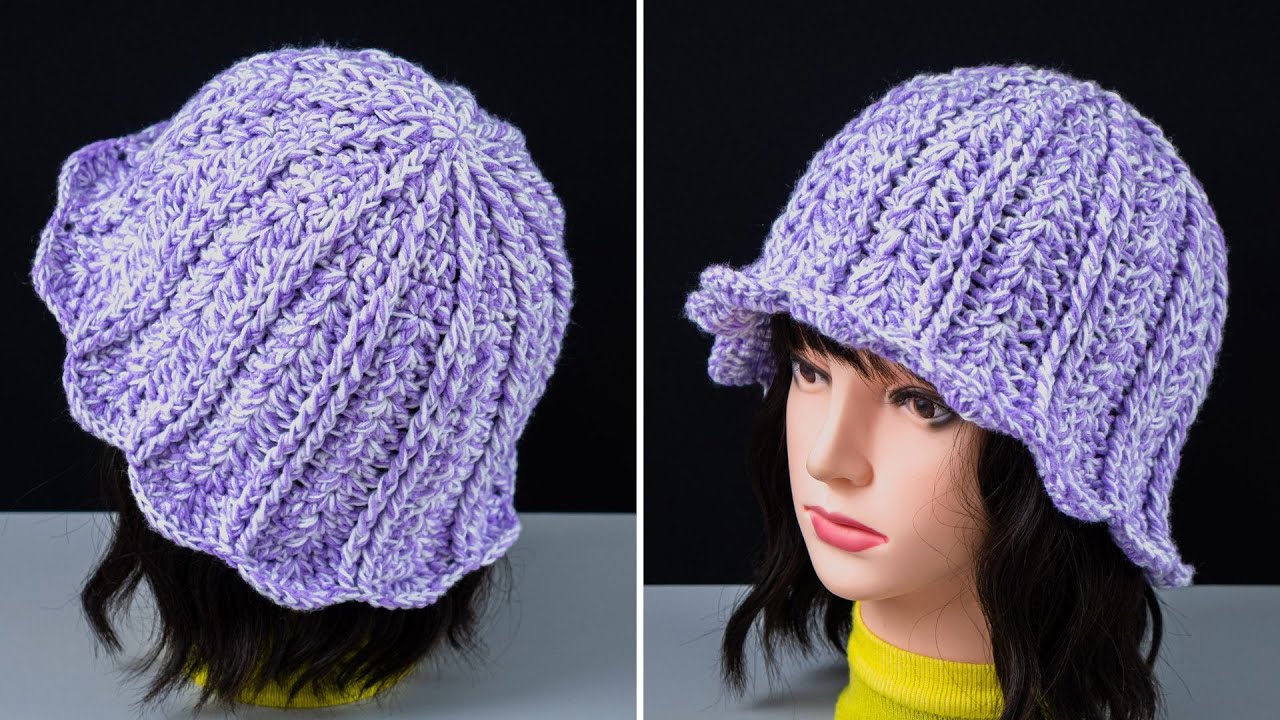
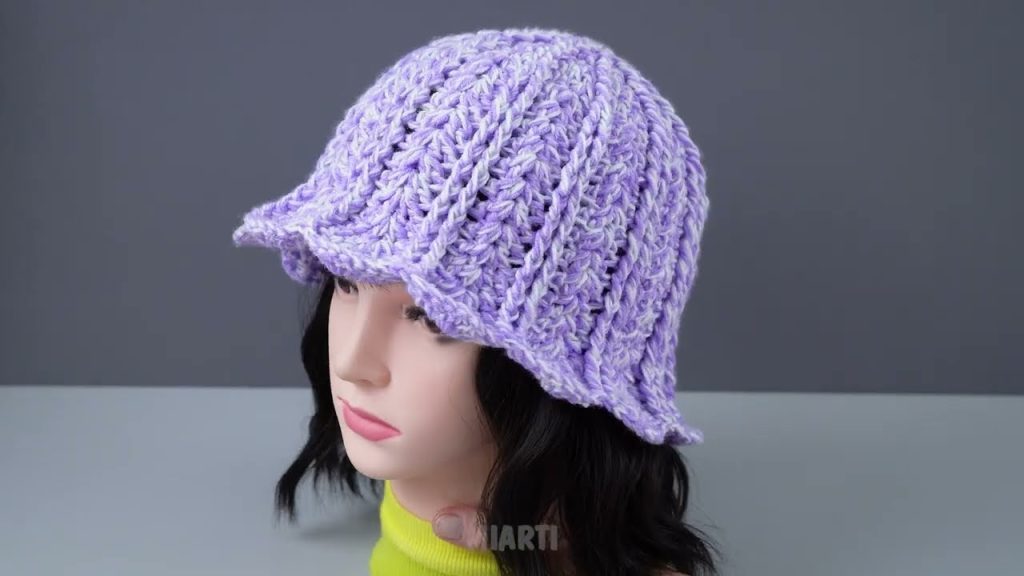
How to Make a Quick and Easy Crochet Bucket Hat (Beginner Friendly)
Crochet bucket hats are trendy, fun to make, and perfect for beginners because they use simple stitches and work up quickly. This tutorial explains how to crochet a basic bucket hat using easy techniques, with tips to customize the size and style.
Materials Needed
- Yarn: Medium-weight yarn (Category 4) cotton or acrylic
- Hook: 5.0 mm (H/8) crochet hook
- Other tools:
- Yarn needle
- Scissors
- Stitch marker (optional but helpful)
Stitches Used
- Magic Ring (MR)
- Chain (ch)
- Single Crochet (sc)
- Slip Stitch (sl st)
- Increase (2 sc in one stitch)
👉 All stitches are beginner-friendly.
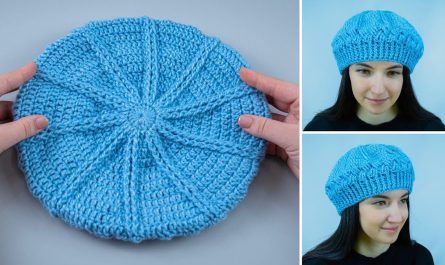
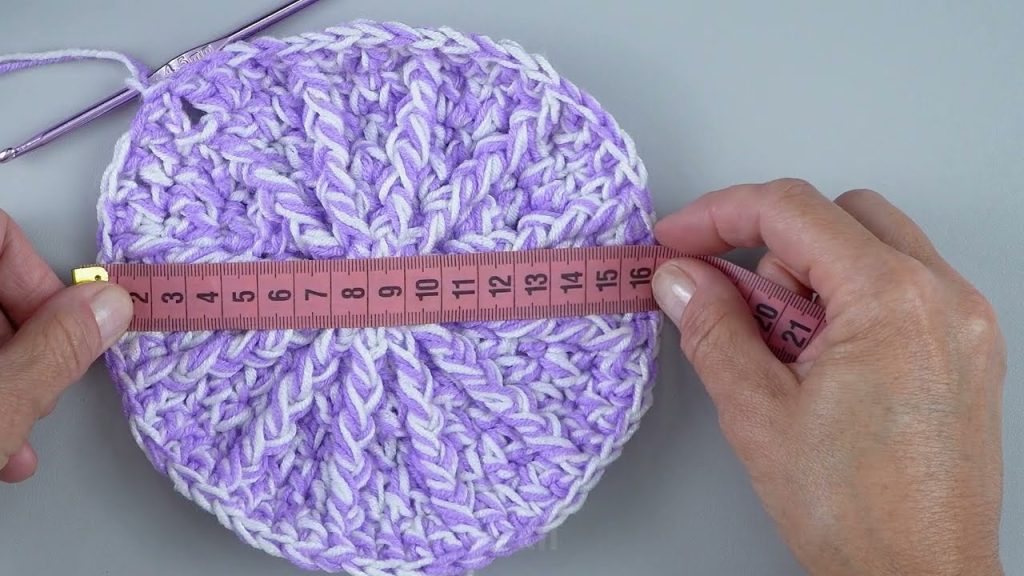
Step 1: Crochet the Crown (Top of the Hat)
This part creates the flat circle at the top.
- Round 1:
- Make a magic ring
- Crochet 6 single crochet (sc) into the ring
- Join with a slip stitch
- Round 2:
- Increase in every stitch (2 sc in each stitch)
- Total: 12 stitches
- Round 3:
- 1 sc, increase around
- Total: 18 stitches
- Round 4:
- 2 sc, increase around
- Total: 24 stitches
- Continue increasing each round until the circle fits the top of the head.
- For an average size, stop when the circle is 6–7 inches wide.
💡 Tip: Lay the circle flat—if it curls, add more increases.
Step 2: Crochet the Sides (Hat Body)
Now the hat starts forming its bucket shape.
- Crochet 1 sc in each stitch around
- Do not increase in this section
- Continue for 5–7 rounds, depending on how deep you want the hat
👉 Try the hat on as you go to check the fit.
Step 3: Crochet the Brim
The brim gives the bucket hat its signature look.
- Start increasing again:
- 2 sc, increase around
- For the next round:
- 3 sc, increase around
- Repeat 2–4 rounds until the brim reaches your desired width
💡 For a stiff brim, use cotton yarn or a smaller hook.
Step 4: Finish the Hat
- Slip stitch to close the final round
- Fasten off and cut yarn
- Weave in all loose ends with a yarn needle

Customization Ideas
- Use striped colors or variegated yarn
- Add a decorative edge (crab stitch or slip stitch border)
- Stitch a flower, patch, or label onto the hat
- Adjust size by adding or reducing crown rounds
Final Tips
- Cotton yarn is best for summer bucket hats
- Acrylic yarn is softer and warmer
- Always check fit as you crochet
- Practice on scrap yarn first if you’re new
This quick and easy crochet bucket hat is perfect for beginners and can be completed in 1–2 hours. With simple stitches and endless customization options, it’s a fun project for all skill levels.
If you want, I can also:
- Simplify this into a short YouTube script
- Adjust it for kids or adults
- Turn it into a PDF-style pattern
Just tell me 😊
Watch tutorial: