 by
by Here’s a detailed, beginner-friendly guide on how to make a chic spring crochet beret easily. This tutorial focuses on simple stitches while creating a stylish, lightweight accessory perfect for spring.
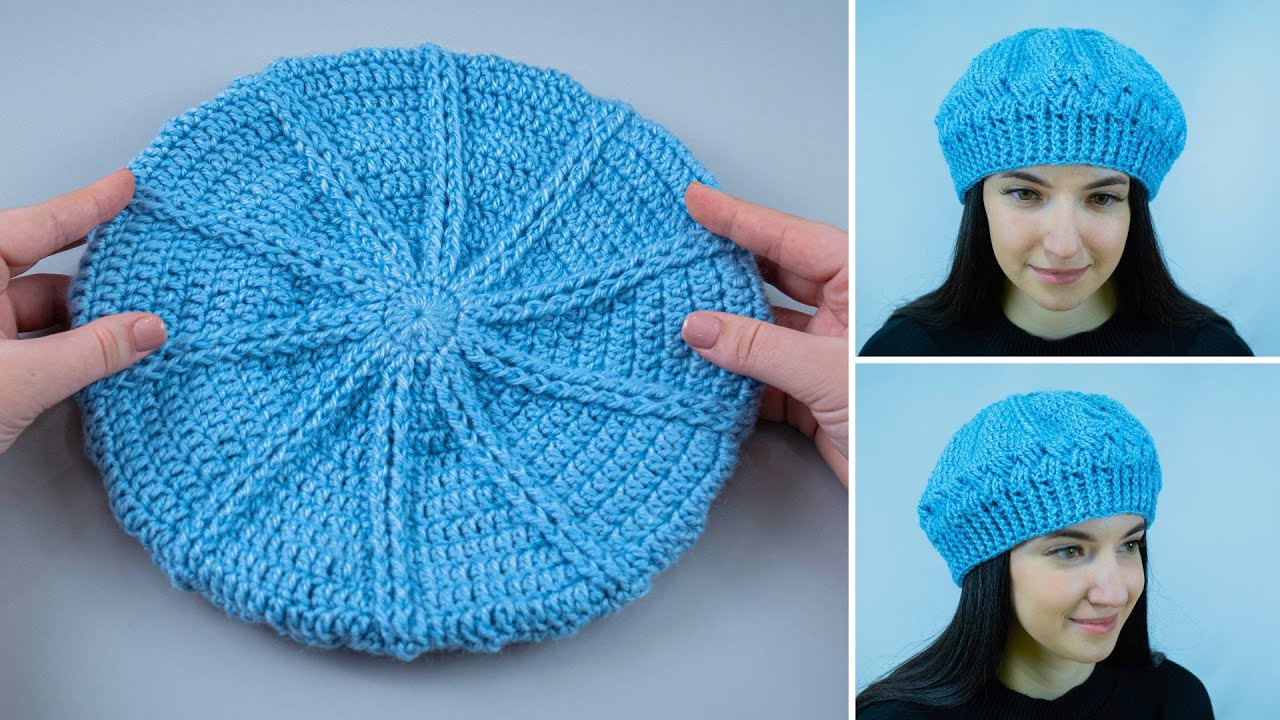
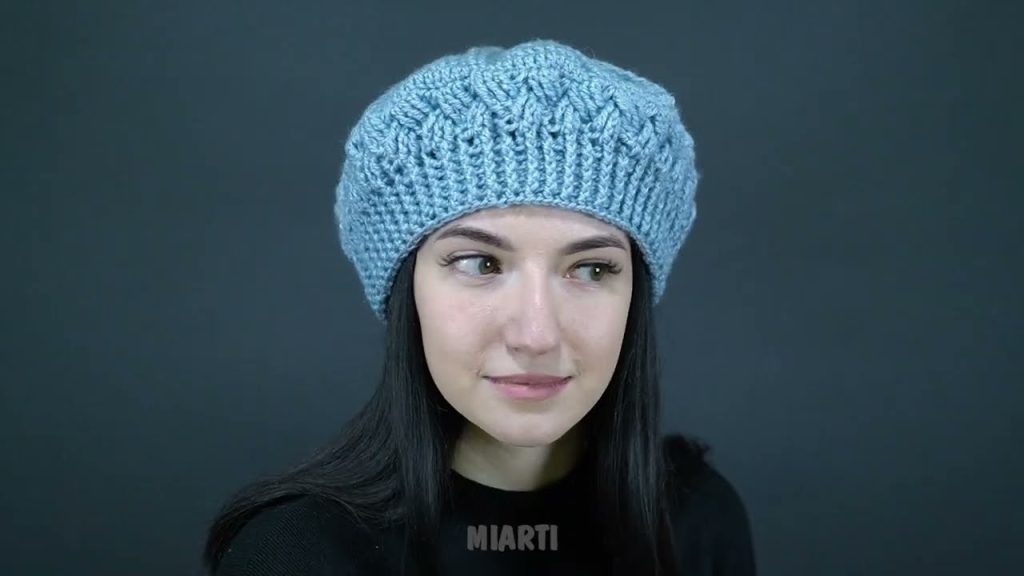
How to Make a Spring Crochet Beret with a Chic Pattern – Easily!
A crochet beret is a fashionable and practical accessory that can instantly elevate your spring outfits. Lightweight yarn and airy stitches make it perfect for the season, while a simple chic pattern ensures that even beginners can create it without difficulty. This step-by-step guide will help you crochet a stylish spring beret with ease.
Materials Needed
- Yarn: Light or DK weight cotton, bamboo, or cotton-blend yarn
- Crochet Hook: 4 mm – 4.5 mm (check yarn label)
- Scissors
- Yarn Needle: For weaving in ends
- Stitch Marker (optional)
Basic Crochet Stitches Used
- Magic Ring or chain 4 and join
- Chain (ch)
- Single Crochet (sc)
- Double Crochet (dc)
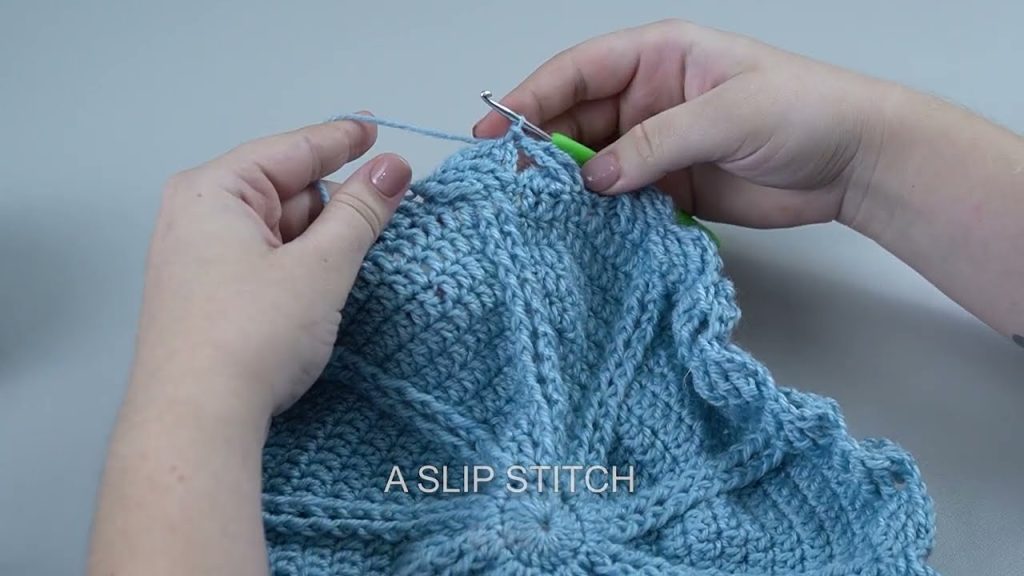
- Slip Stitch (sl st)
- Front Post Double Crochet (fpdc) or Back Post Double Crochet (bpdc) – optional for texture
Step 1: Make the Top of the Beret (Crown)
- Make a magic ring.
- Chain 2 (counts as first double crochet).
- Work 10 double crochets into the ring.
- Join with a slip stitch to the top of the chain 2.
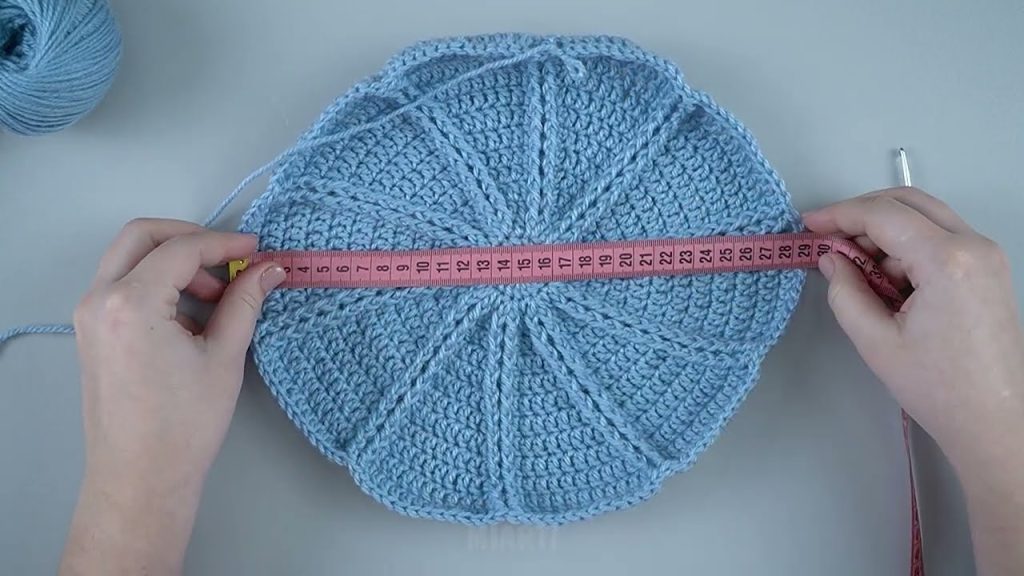
Increase Rounds to Form the Circle:
- Round 2: 2 dc in each stitch (20 dc)
- Round 3: 1 dc, 2 dc in next stitch around (30 dc)
- Round 4: 2 dc, 2 dc in next stitch around (40 dc)
- Round 5: 3 dc, 2 dc in next stitch around (50 dc)
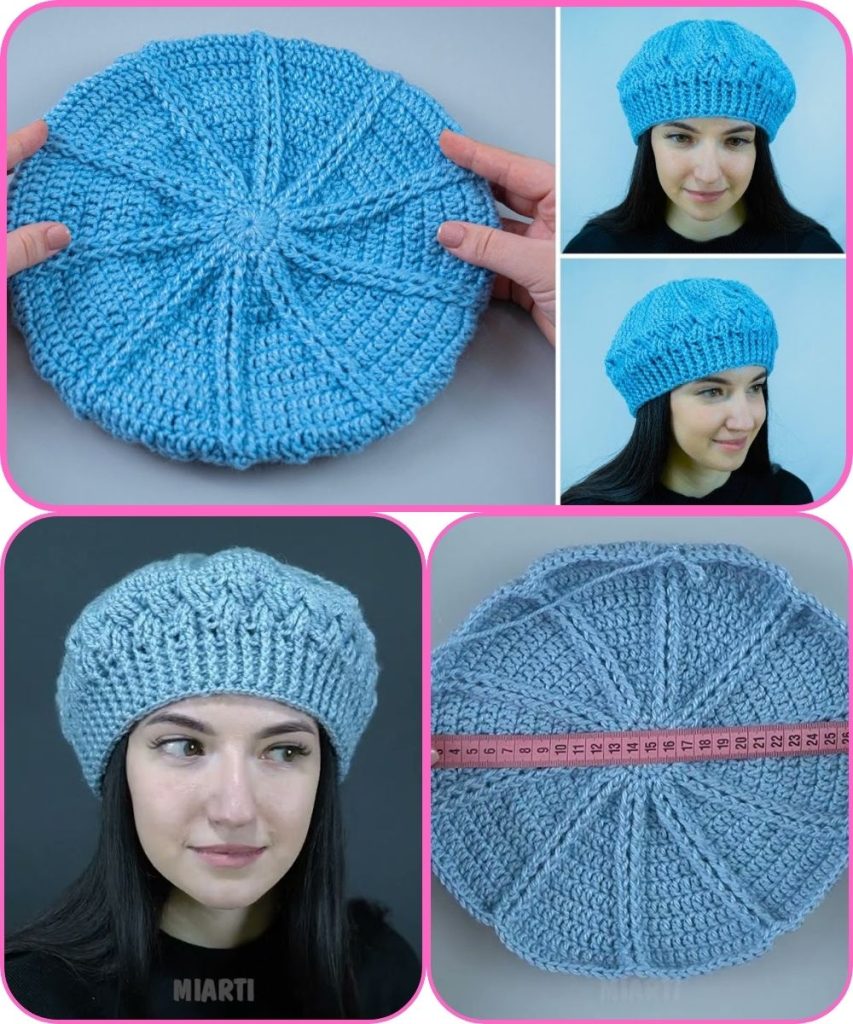
Continue increasing until the circle reaches the size of the top of your head (approx. 15–17 cm diameter for adults).
Step 2: Crochet the Body of the Beret
- Stop increasing.
- Work 1 dc in each stitch around.
- Repeat for 8–12 rounds, depending on the desired depth.
Tip: Use front post or back post stitches in alternating rounds for a subtle textured pattern that makes the beret look chic and airy.
Step 3: Shape the Beret Edge (Band)
- To create a snug but soft band, switch to single crochet (sc).
- Crochet 2–4 rounds evenly around.
- Optionally, work sc in back loop only to make the band slightly stretchy.
This ensures the beret sits comfortably on your head without slipping.
Step 4: Finish the Beret
- Fasten off the yarn.
- Weave in all loose ends using a yarn needle.
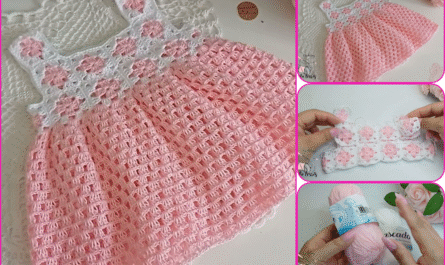
- Optional: Add small embellishments such as a tiny crochet flower or button at the center for a more stylish look.
Tips for a Chic Spring Beret
- Use light, breathable yarn for a perfect spring accessory.
- Light pastel or neutral shades give a sophisticated spring vibe.
- Keep tension loose for an airy, soft beret.
- Experiment with textured stitches (like fpdc) for added style.
Size Adjustment
- Children’s beret: Stop increasing earlier and reduce rounds for the body.
- Adult large size: Add extra increase rounds and a few more body rounds.
Final Thoughts
A spring crochet beret is a stylish, lightweight accessory that’s easy enough for beginners to make. By combining basic stitches with a subtle textured pattern, you can create a chic, wearable piece for the season. Once mastered, you can experiment with colors, textures, and small decorative details to personalize your beret.
If you want, I can also:
- Simplify this into a beginner-friendly step-by-step diagram
- Provide a printable PDF crochet pattern
- Suggest 5 chic variations for spring berets
Watch tutorial: