 by
by Here’s a detailed, beginner-friendly guide you can use as a tutorial or blog-style explanation.
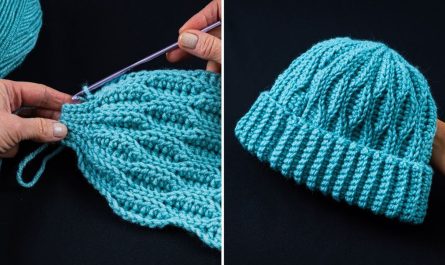
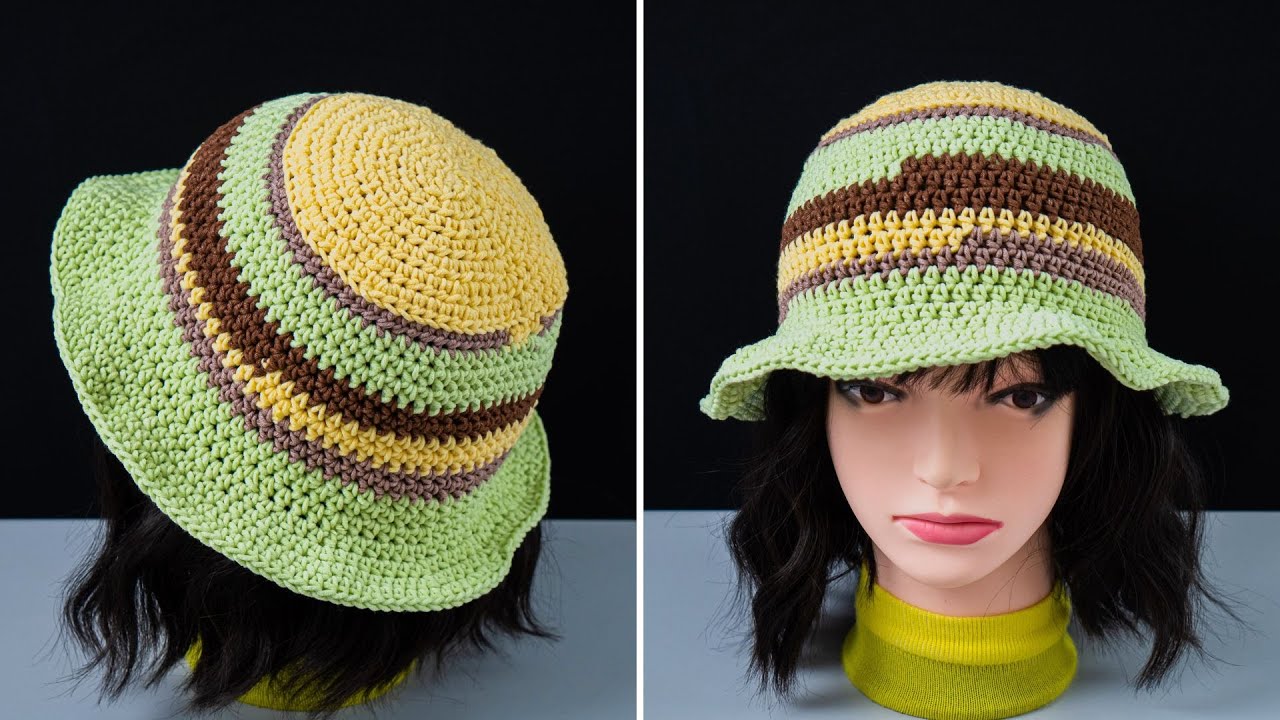
How to Make a Quick and Easy Crochet Bucket Hat (Beginner Tutorial)
Crochet bucket hats are trendy, practical, and surprisingly easy to make—even for beginners. With simple stitches and basic shaping, you can create a stylish hat in just a few hours. This tutorial explains the process step by step so you can confidently crochet your own bucket hat.
Materials You’ll Need
- Yarn: Medium-weight yarn (Category 4) works best. Cotton yarn is great for summer hats.
- Crochet hook: Size 4.5–5.5 mm (check your yarn label for recommendations)
- Scissors
- Yarn needle (for weaving in ends)
- Stitch marker (optional, but helpful)
Basic Stitches Used
This pattern mainly uses beginner stitches:
- Chain (ch)
- Slip stitch (sl st)
- Single crochet (sc)
- Increase (inc): two single crochets in the same stitch
If you know how to single crochet in the round, you can make this hat.
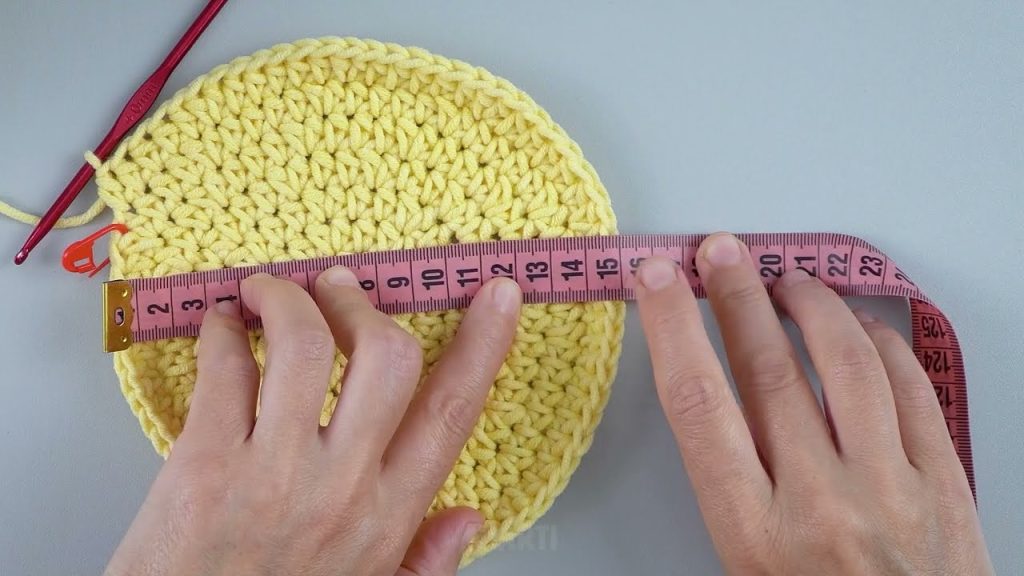
Step 1: Crochet the Crown (Top of the Hat)
- Start with a magic ring (or chain 4 and join into a circle).
- Work 6–8 single crochets into the ring.
- Increase evenly in each round:
- Round 2: 2 sc in each stitch
- Round 3: 1 sc, inc (repeat)
- Round 4: 2 sc, inc (repeat)
- Keep increasing until the circle fits the top of your head comfortably.
💡 Tip: Lay the circle flat as you work. If it starts to ripple, you’re increasing too fast. If it curls, add more increases.
Step 2: Crochet the Sides (Hat Body)
- Once the crown is wide enough, stop increasing.
- Crochet 1 single crochet in each stitch around.
- Continue working in rounds until the hat reaches just above your ears.
This section forms the height of the bucket hat and gives it structure.
Step 3: Crochet the Brim
- To create the brim, start increasing again:
- Work 1 sc in the next few stitches, then increase.
- Spread increases evenly around the round.
- Continue for 2–4 rounds, depending on how wide you want the brim.
💡 Tip: For a stiffer brim, use tighter stitches or cotton yarn.
Step 4: Finish the Hat
- Slip stitch to close the final round.
- Cut yarn and fasten off.
- Use a yarn needle to weave in all loose ends.
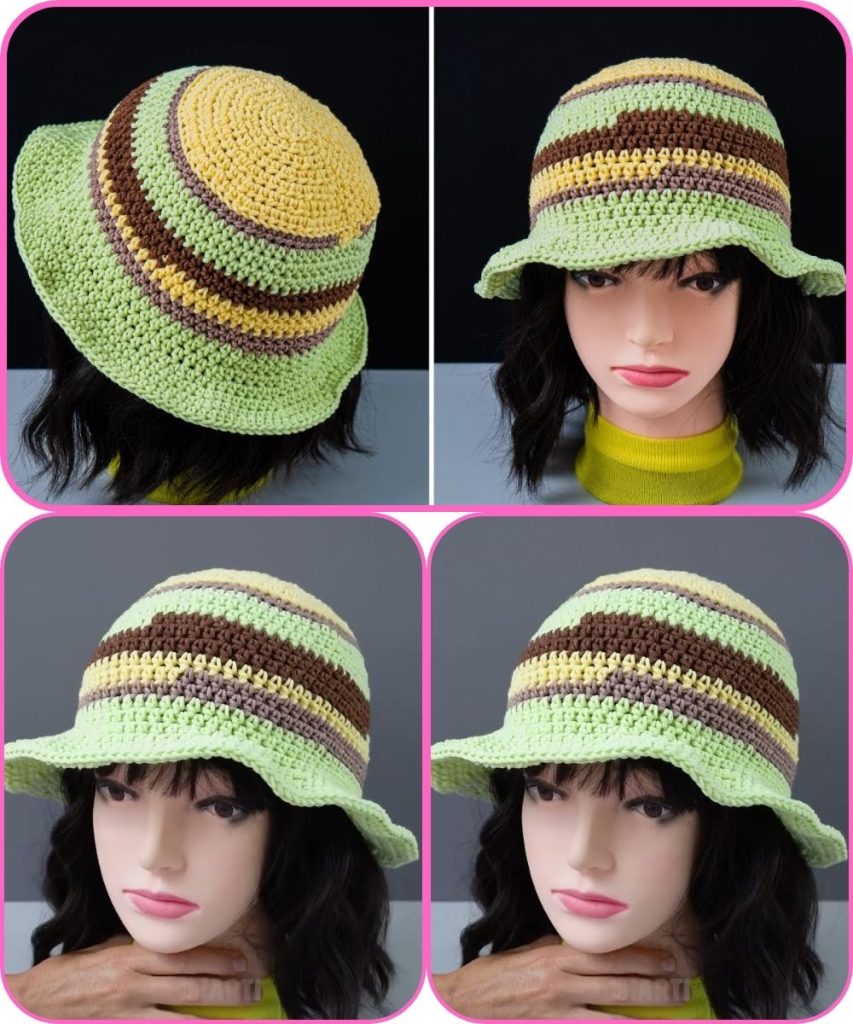
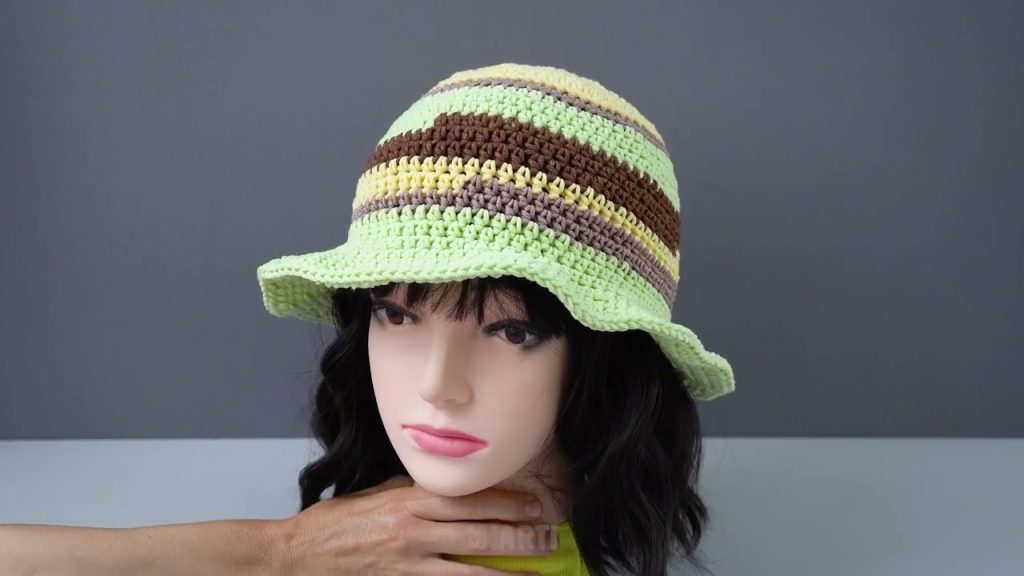
Your crochet bucket hat is now complete!
Customization Ideas
- Add color changes for stripes
- Use textured stitches for a unique look
- Attach a decorative patch or label
- Adjust brim width for a more dramatic style

Why Crochet Bucket Hats Are Great
- Beginner-friendly
- Quick to make
- Stylish and functional
- Perfect handmade gift idea
If you’d like, I can also:
- Simplify this into a short pattern
- Help you write this as a YouTube video script
- Adjust it for kids or different head sizes
Watch tutorial: