 by
by Here’s a clear, beginner-friendly, and detailed guide you can use for a blog post, project description, or craft notes:
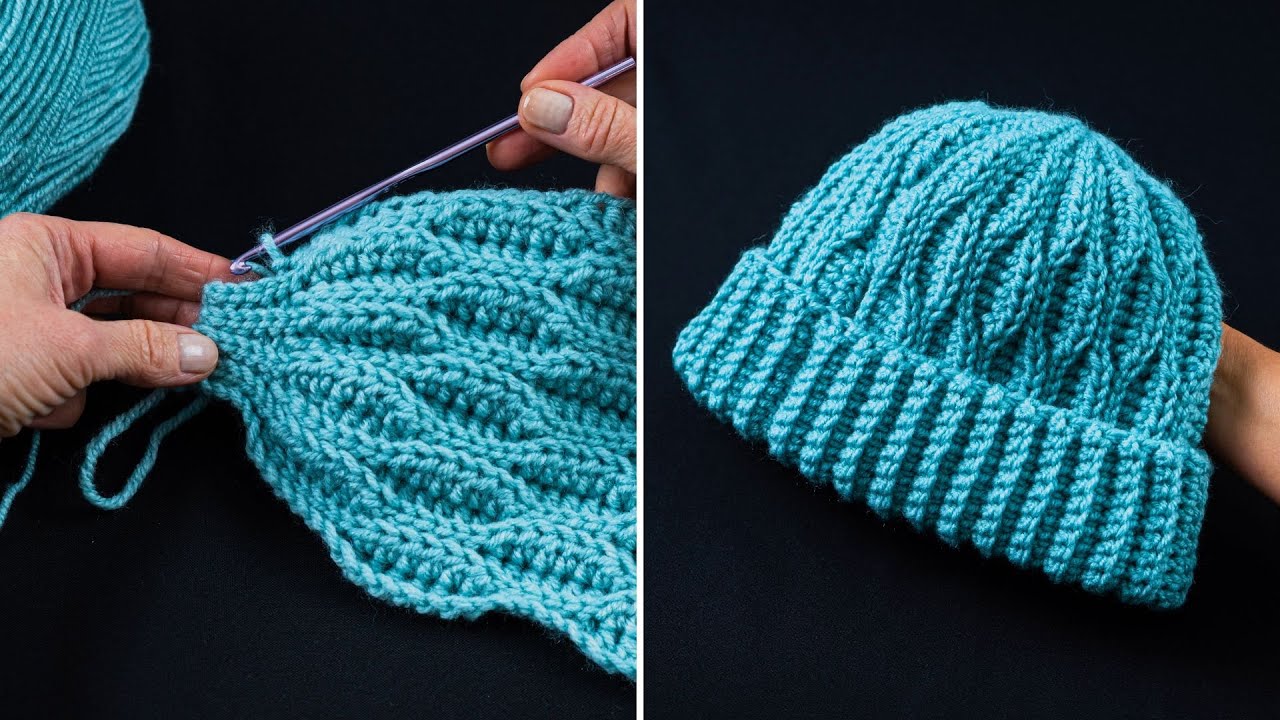
How to Make a Beautiful Crochet Hat Easily with Honeycomb Stitch Pattern
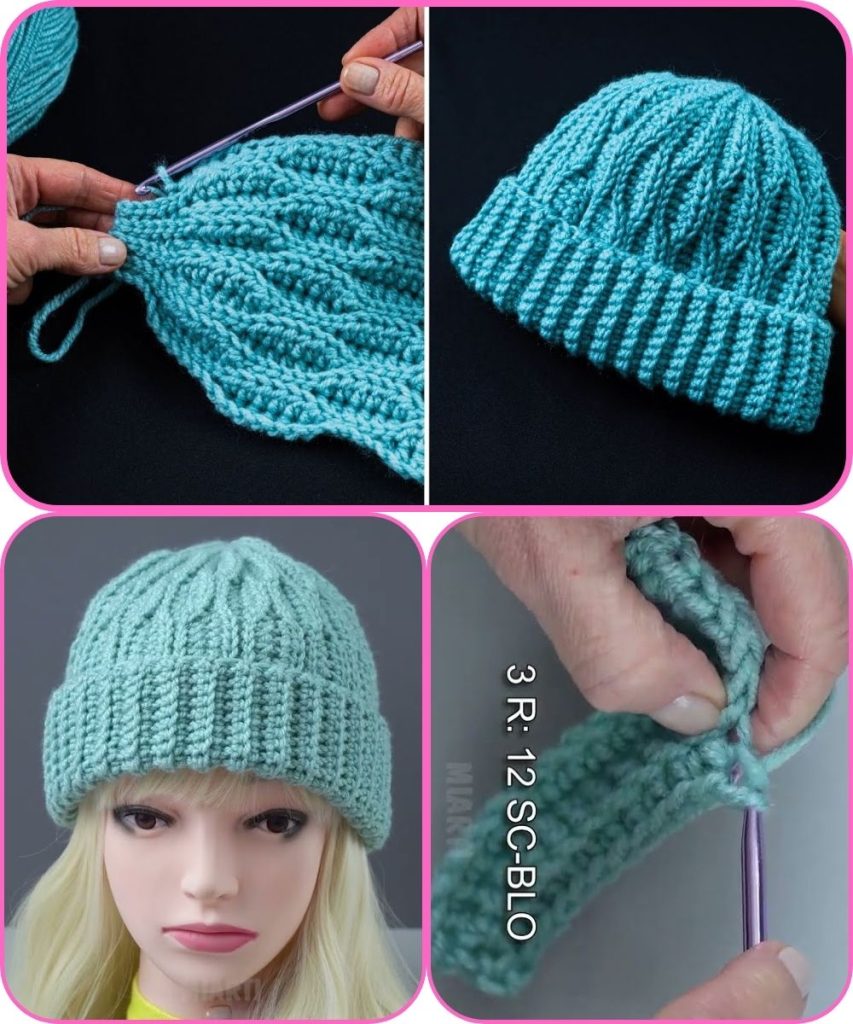
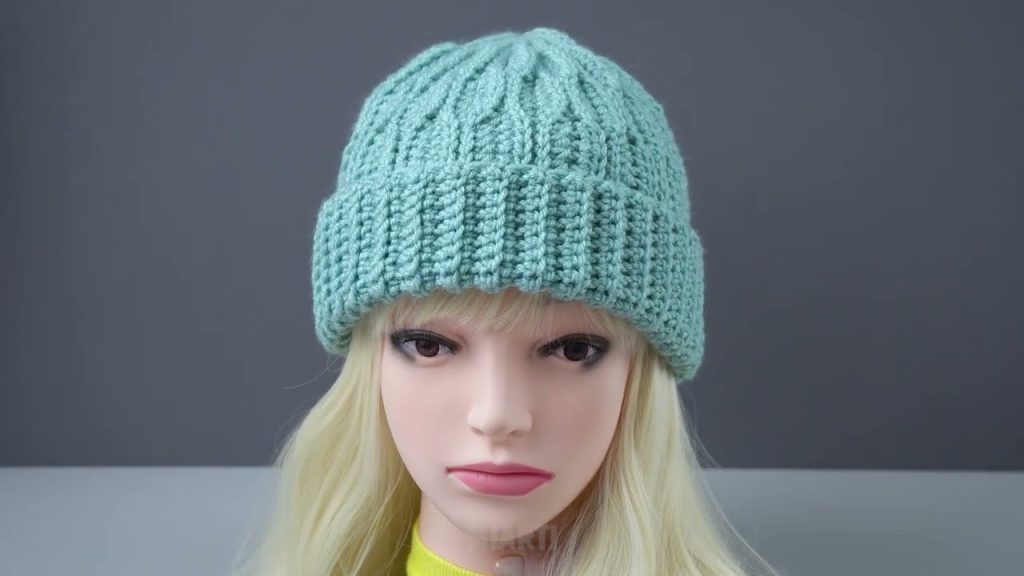
Crocheting a hat with a honeycomb stitch pattern is a wonderful way to create a stylish, textured accessory that looks impressive but is surprisingly easy to make. The honeycomb stitch forms a raised, geometric texture that adds depth and warmth, making it perfect for cozy hats in any season.
This guide walks you through the process step by step, even if you’re still building confidence with crochet.
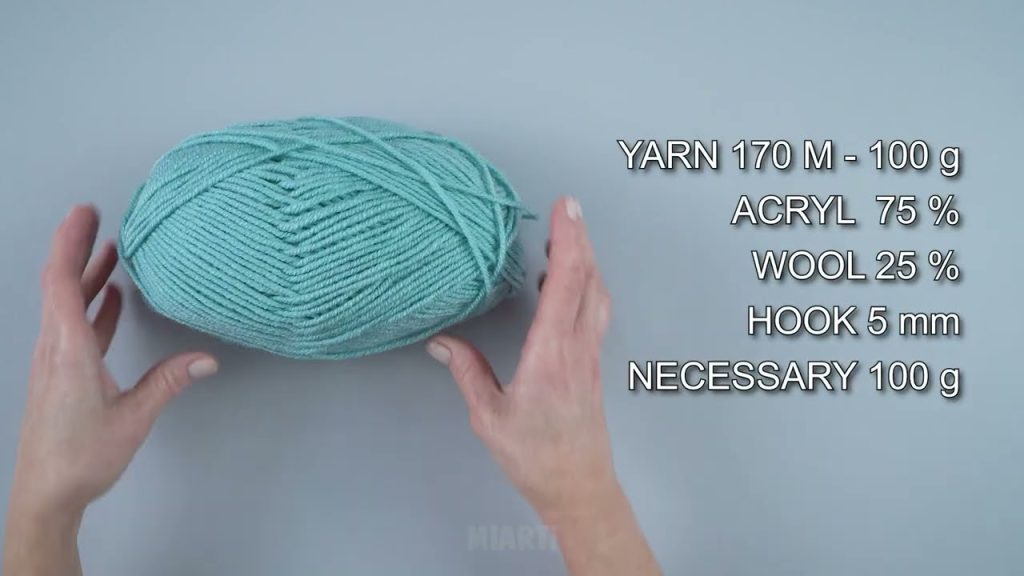
Materials You’ll Need
- Yarn: Medium-weight (worsted) yarn works best for beginners
- Crochet Hook: Size recommended on your yarn label (usually 5–5.5 mm)
- Scissors
- Yarn Needle: For weaving in ends
- Stitch Marker: Helpful for keeping track of rounds
What Is the Honeycomb Stitch?
The honeycomb stitch is a textured crochet pattern made by repeating a small sequence of stitches that creates a raised, cell-like design—similar to a honeycomb. It looks intricate, but once you learn the repeat, it becomes very relaxing and rhythmic to work.
This stitch is ideal for hats because:
- It provides extra warmth
- It gives a professional, handmade look
- It stretches comfortably when worn
Step 1: Create the Hat Base
- Start with a magic ring (or chain 4 and join into a circle).
- Work basic stitches (such as double crochet or half double crochet) into the ring.
- Increase evenly in each round to form a flat circle.
- Continue increasing until the circle matches the width of the hat size you want.
💡 Tip: A standard adult hat base is usually about 6–7 inches in diameter.
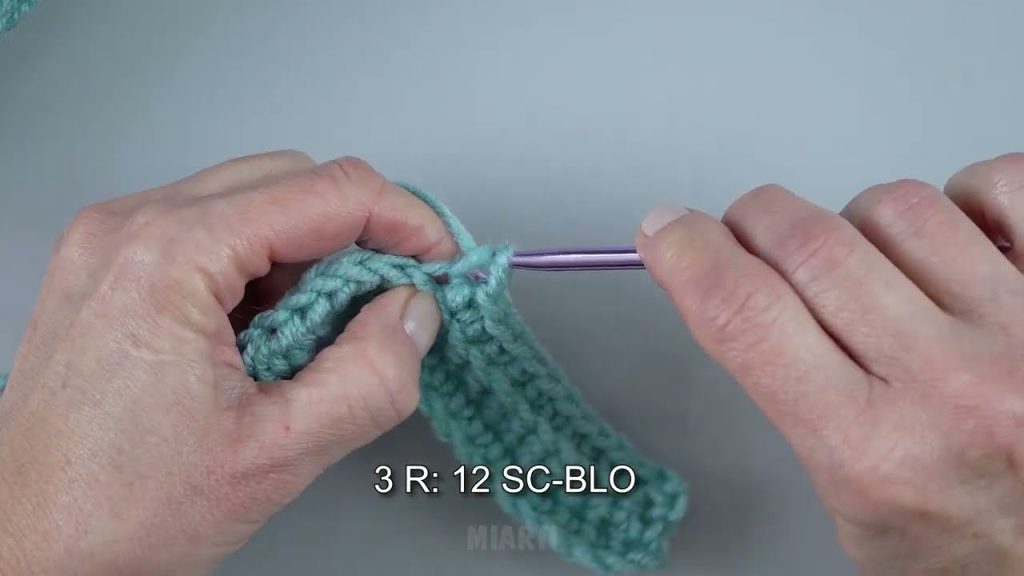
Step 2: Begin the Honeycomb Stitch Pattern
- Once your base is wide enough, stop increasing.
- Start the honeycomb stitch by following a repeating stitch sequence around the circle.
- Work in continuous rounds or joined rounds, depending on your preference.
- Use a stitch marker to keep track of the beginning of each round.
The honeycomb texture will start to appear after a few rows, giving the hat a beautiful 3D effect.
Step 3: Build the Hat Body
- Continue crocheting the honeycomb stitch until the hat reaches the desired height.
- Try the hat on occasionally (or measure) to ensure a comfortable fit.
- Keep your tension even for a clean, consistent texture.
Step 4: Finish the Hat
- Once the hat is tall enough, complete the final round.
- Fasten off and cut the yarn, leaving a small tail.
- Use a yarn needle to weave in all loose ends securely.
Optional finishing touches:
- Add a ribbed brim
- Attach a pom-pom
- Use a contrasting color for the last few rounds
Tips for Success
- Practice the honeycomb stitch on a small swatch first
- Use lighter-colored yarn to see stitch details clearly
- Take breaks to keep your hands relaxed
- Count stitches regularly to maintain the pattern
Final Thoughts
A crochet hat made with a honeycomb stitch pattern is both functional and fashionable. With simple materials and a repeatable stitch pattern, you can create a beautiful handmade hat that looks complex but is easy to achieve. Whether you’re making it for yourself or as a gift, this project is sure to be rewarding and fun.
Happy crocheting! 🧶✨
If you’d like, I can:
- Simplify this for absolute beginners
- Turn it into a blog-ready SEO article
- Add step-by-step stitch instructions
- Write a YouTube video description for this project
Watch tutorial: