 by
by Below is a detailed, beginner-friendly tutorial you can use as a blog post, video script, or written pattern for a Quick and Easy Crochet Bow Bag.
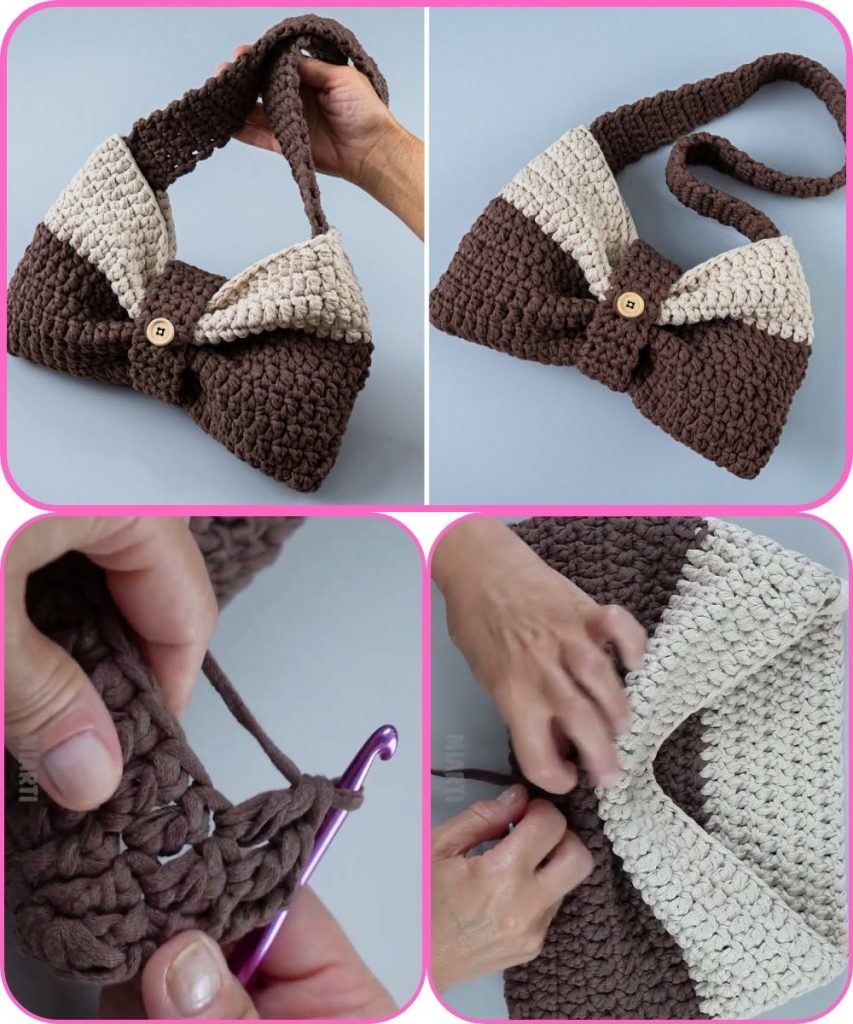
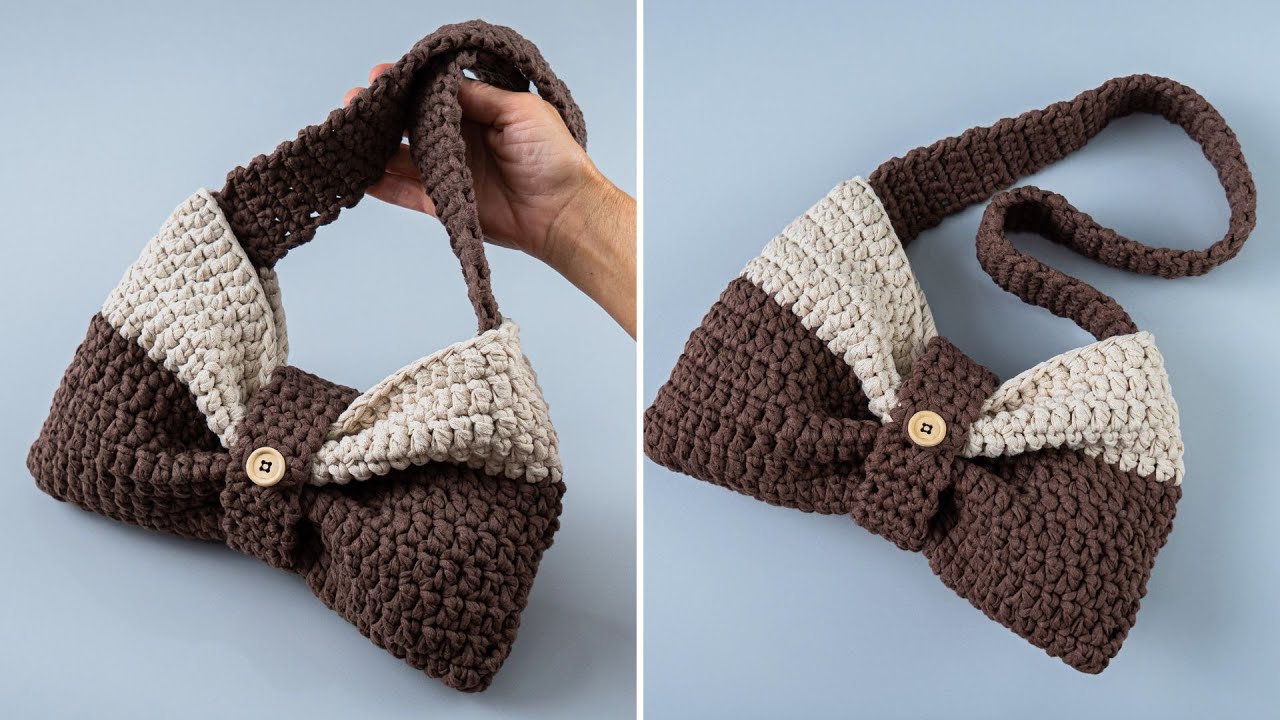
How to Make a Quick and Easy Crochet Bow Bag
A beginner-friendly crochet tutorial
This cute crochet bow bag is a fun and fast project that’s perfect for beginners. It’s small, stylish, and customizable, making it ideal for casual outings, gifts, or even as a trendy accessory. The bag is made using simple stitches and finished with a charming crochet bow for decoration.
Skill Level
Beginner
Materials Needed
- Medium-weight yarn (Category 4 – cotton or acrylic works best)
- Crochet hook (5.0 mm / H-8 recommended)
- Scissors
- Yarn needle
- Stitch marker (optional)
- Button or magnetic snap (optional, for closure)
Crochet Abbreviations (US Terms)
- ch – chain
- sc – single crochet
- hdc – half double crochet
- dc – double crochet
- sl st – slip stitch
- st(s) – stitch(es)
- rep – repeat
Finished Size (Approx.)
- Width: 8–9 inches
- Height: 7–8 inches (excluding strap)
Size can be adjusted by adding more chains or rows.
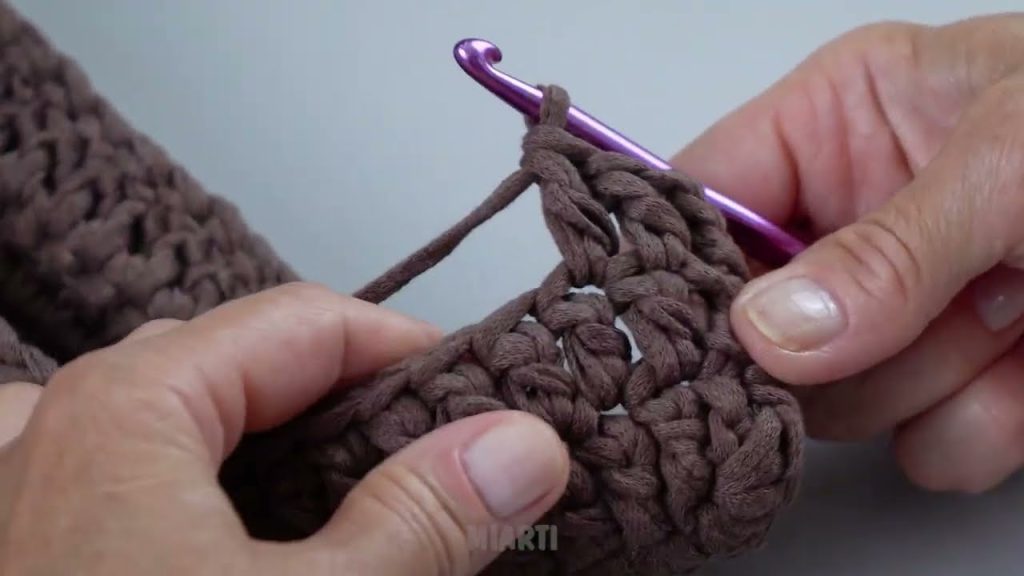
Step 1: Crochet the Bag Body
Foundation Chain
- Chain 31 (or any odd number for width preference).
Row 1
- Hdc in the 2nd chain from the hook.
- Hdc across.
- Ch 1, turn.
Rows 2–20
- Hdc in each stitch across.
- Ch 1, turn at the end of each row.
Continue until the rectangle reaches your desired height.
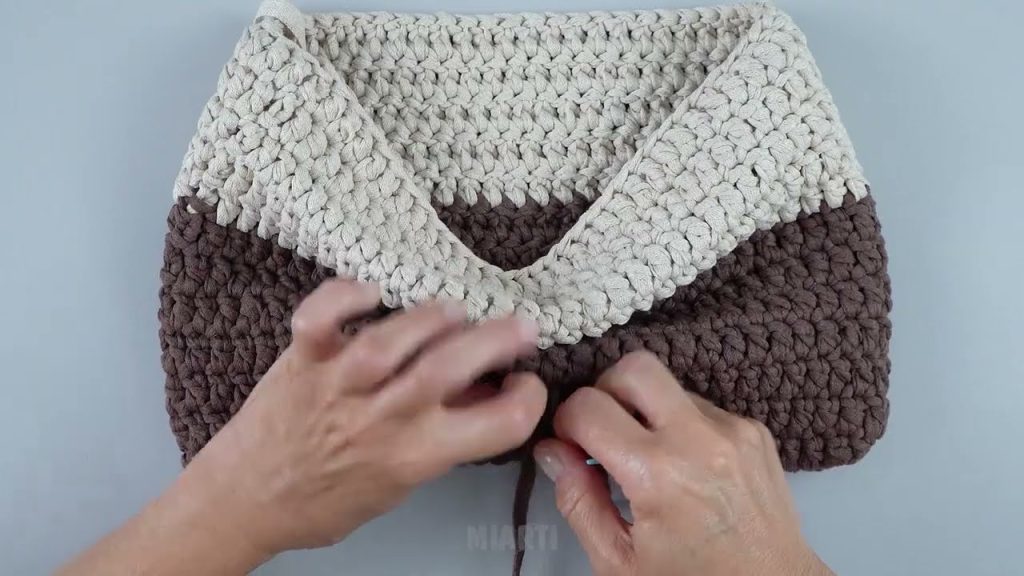
Step 2: Form the Bag Shape
- Fold the rectangle in half (right sides facing together).
- Sl st or sc along both side edges to join.
- Turn the bag right side out.
Step 3: Crochet the Top Border
- Attach yarn at the top edge.
- Sc evenly around the opening.
- Join with sl st.
- Repeat for 2–3 rounds for a clean finish.
Step 4: Make the Strap
- Attach yarn to one side of the bag.
- Ch 60–80 (depending on desired strap length).
- Sc in the 2nd chain from hook and across.
- Attach to the opposite side of the bag with sl st.
- Fasten off and weave in ends.
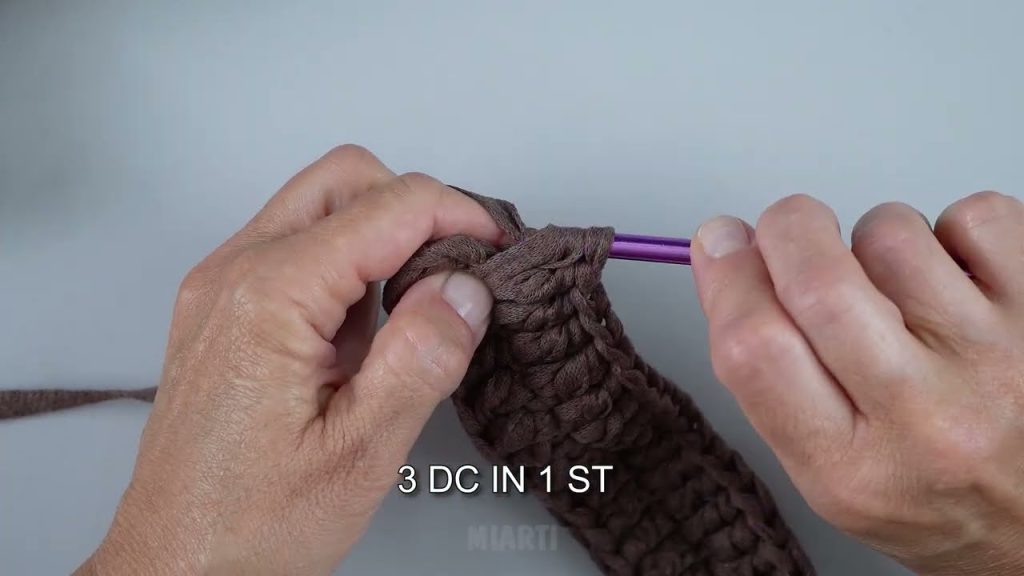
Step 5: Crochet the Bow
Bow Panel
- Ch 16.
- Dc in the 3rd chain from hook and across.
- Ch 2, turn.
- Repeat for 6–8 rows.
Fasten off, leaving a long tail.
Shape the Bow
- Pinch the center of the rectangle.
- Wrap the yarn tail around the center several times.
- Secure tightly and sew the bow onto the front of the bag.
Optional Add-ons
- Add a button or magnetic snap for closure
- Sew in a fabric lining
- Use two colors for a contrast bow
- Add pearls or beads for decoration
Final Touch
Weave in all loose ends, adjust the bow, and your quick and easy crochet bow bag is ready to use!
If you’d like, I can also:
- Simplify this into a short version for beginners
- Turn it into a YouTube video script
- Adjust it for kids or mini bag size
- Rewrite it as a PDF crochet pattern
Watch tutorial: