 by
by Here is a clear, easy, and detailed guide for beginners on how to knit a hat.
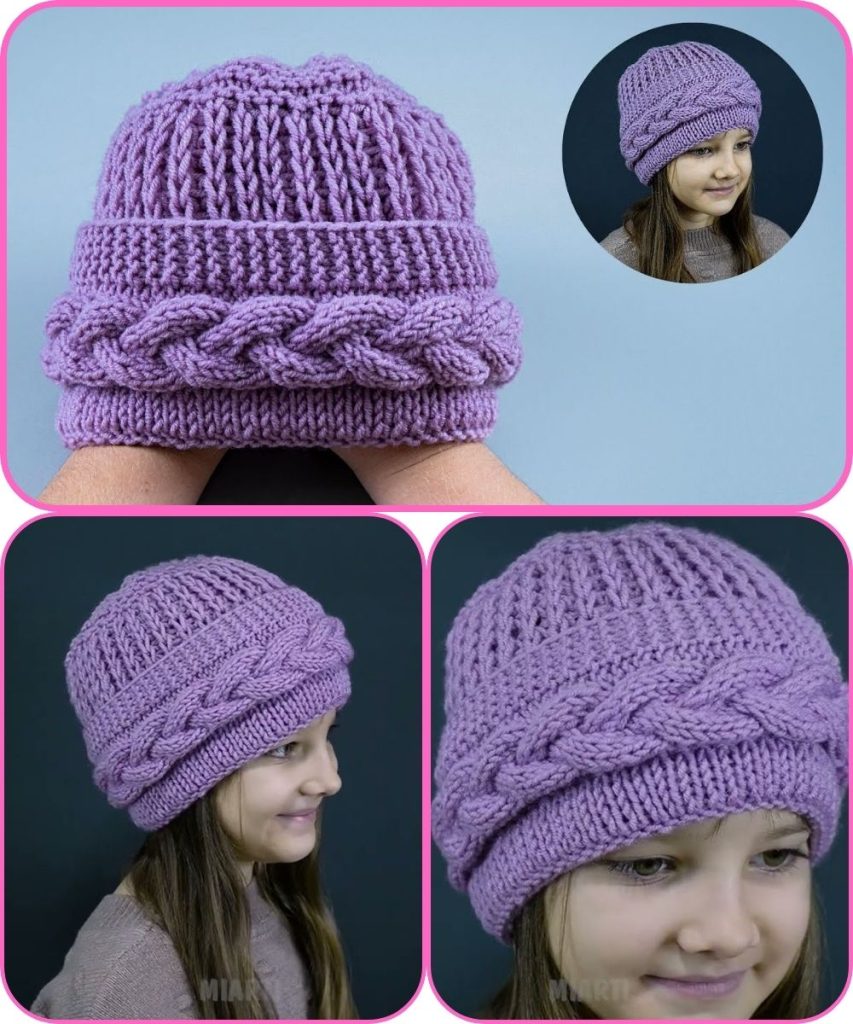
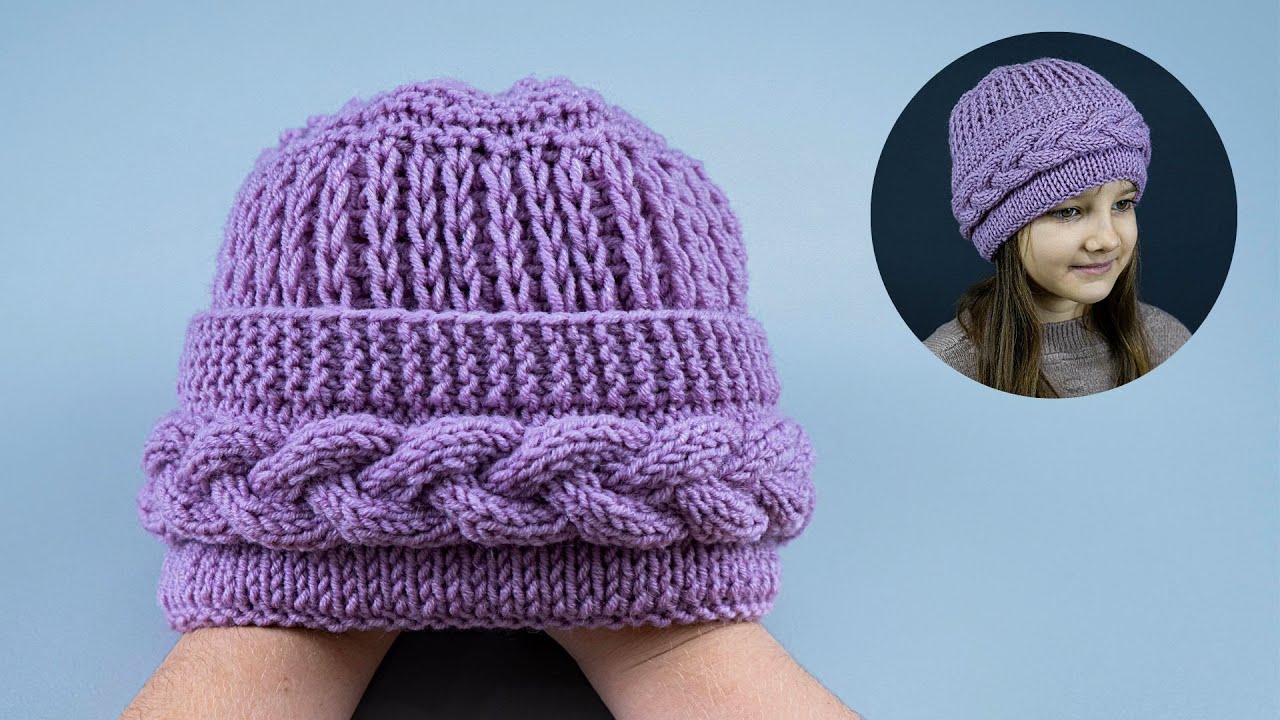
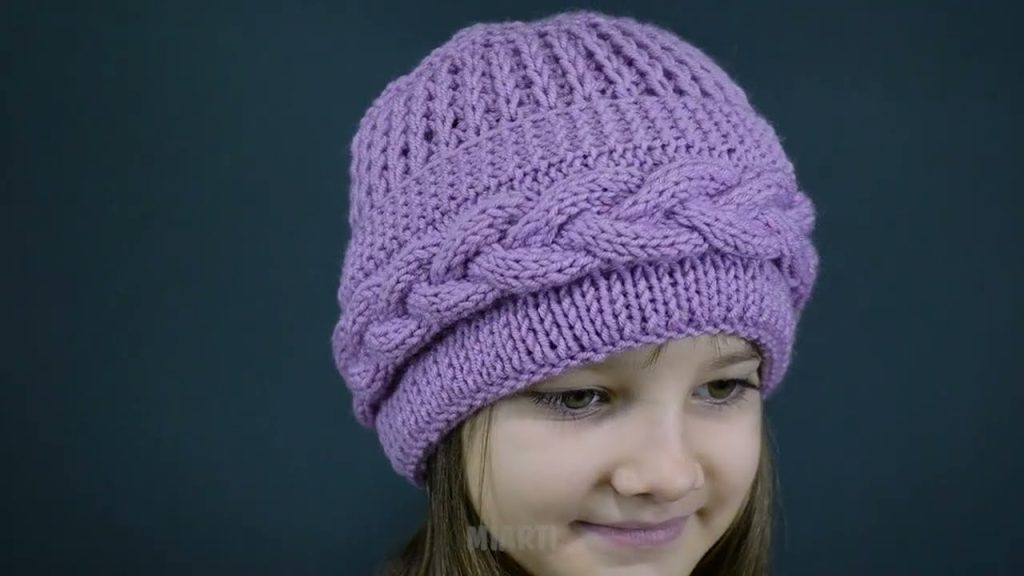
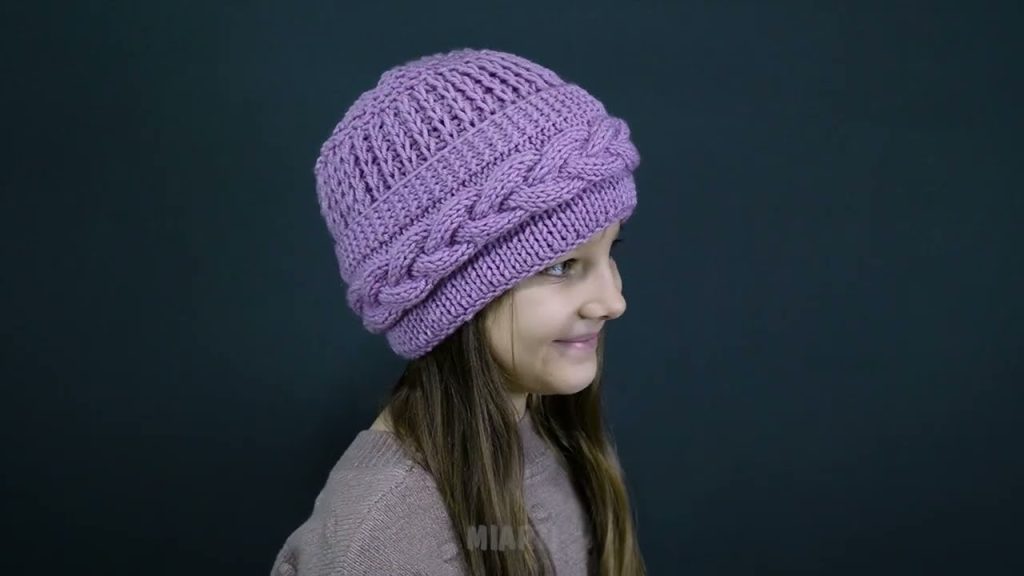
How to Make a Hat Easily (Beginner Knitting Guide)
Knitting a hat is a great project for beginners because it is small, useful, and quick to finish. You only need a few materials and basic knitting skills.
Materials You Need
- Yarn: Medium-weight yarn (often called “worsted weight”) is easiest for beginners
- Knitting needles: Size 8–10 (circular needles or straight needles both work)
- Scissors
- Yarn needle (for sewing and finishing)
- Measuring tape (optional but helpful)
Step 1: Choose Your Hat Style
The easiest hat for beginners is a simple beanie. It can be knit flat (as a rectangle) or in the round. Knitting flat is usually easier if you are new.
Step 2: Cast On Stitches
Casting on creates the first row of stitches.
- Cast on 60–70 stitches for an average adult hat
- If you want a tighter hat, cast on fewer stitches
- Use a simple cast-on method like the long-tail cast-on
Step 3: Knit the Brim
The brim helps the hat fit snugly.
- Knit 1 stitch, purl 1 stitch across each row (this is called ribbing)
- Continue this pattern for about 2–3 inches
- This makes the bottom stretchy and comfortable
Step 4: Knit the Body of the Hat
Now you will knit the main part of the hat.
- Switch to knit every stitch in each row
- Keep knitting until the hat measures about 7–8 inches from the bottom edge
Step 5: Shape the Top (Decrease)
To close the top of the hat:
- Knit 2 stitches together every few stitches across the row
- On the next row, knit normally
- Repeat this process until only 6–8 stitches remain
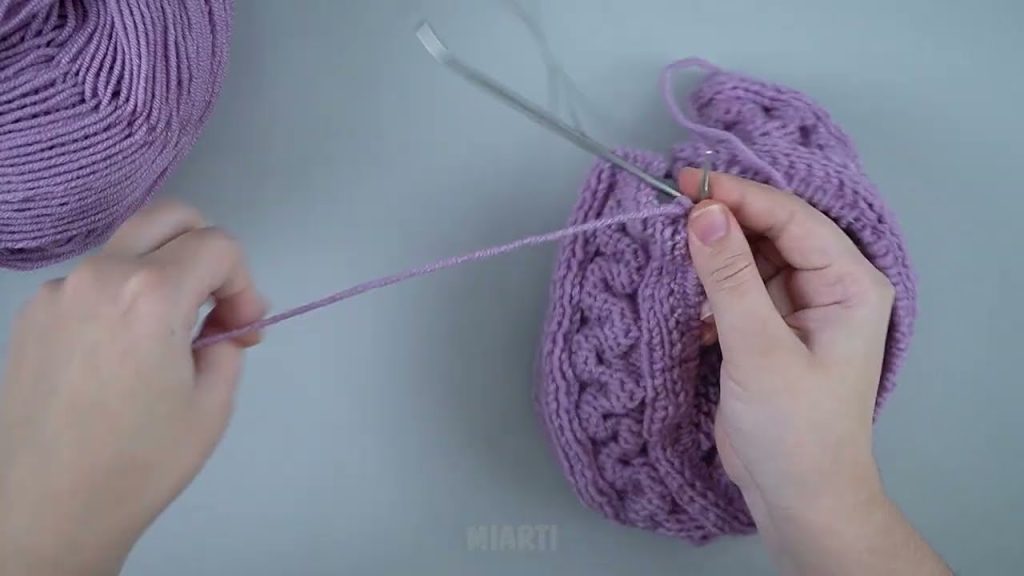
Step 6: Finish the Hat
- Cut the yarn, leaving a long tail
- Thread the yarn through a yarn needle
- Pull the yarn through the remaining stitches tightly
- Sew the side seam if you knit the hat flat
- Weave in any loose ends
Helpful Tips for Beginners
- Use light-colored yarn so you can see stitches clearly
- Practice basic stitches before starting
- Don’t worry about mistakes—small errors won’t ruin your hat
- Take breaks to avoid hand strain
Final Result
Once finished, you will have a warm, handmade hat that you can wear or gift. With practice, you can try different colors, patterns, or add a pom-pom for decoration.
If you’d like, I can also:
- Simplify this even more
- Rewrite it for a school project
- Add pictures or diagrams (described in words)
Watch tutorial: