 by
by Here is a clear, detailed, beginner-friendly guide for making a very simple crochet hat. It uses basic stitches and is perfect if you’re just starting out.

How to Make a Very Simple Crochet Hat (Beginner Friendly)
Crocheting a hat is a great first project because it’s useful, quick, and helps you practice basic stitches. This simple hat is made in the round using only a few easy techniques.
Materials You Will Need
- Yarn: Medium-weight yarn (often called worsted weight or size 4). Acrylic or cotton yarn is easiest for beginners.
- Crochet hook: Size 5 mm (H/8) is a good beginner size.
- Scissors
- Yarn needle (for weaving in ends)
Basic Stitches You Should Know
Before starting, it helps to know these basic stitches:
- Slip knot
- Chain (ch)
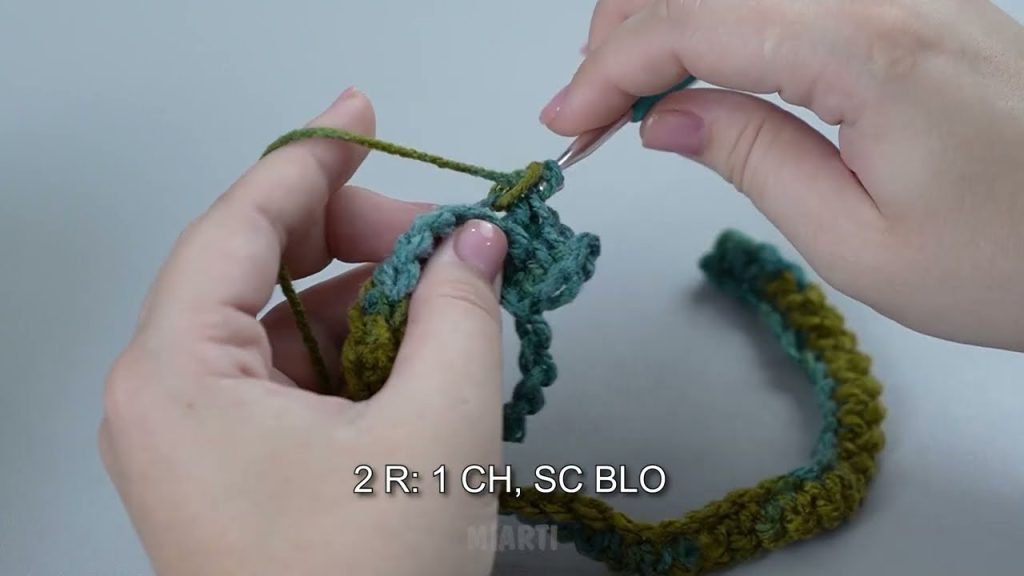
- Single crochet (sc)
- Slip stitch (sl st)
If you know these, you’re ready to go!
Step 1: Make a Magic Ring (or Chain Ring)
- Make a magic ring (also called magic circle).
If this feels tricky, you can chain 4 and join with a slip stitch to form a ring instead. - This ring will be the center top of your hat.
Step 2: Round 1 – Start the Top of the Hat
- Chain 1.
- Make 6 single crochet stitches into the ring.
- Pull the ring tight.
- Join with a slip stitch to the first single crochet.
Step 3: Round 2 – Increase
- Chain 1.
- Make 2 single crochet stitches in each stitch around.
- You should now have 12 stitches.
- Join with a slip stitch.
Step 4: Round 3 – Increase Again
- Chain 1.
- Single crochet in the first stitch, then 2 single crochet in the next stitch.
- Repeat this pattern all the way around.
- You should now have 18 stitches.
- Join with a slip stitch.
Step 5: Keep Increasing the Circle
Continue increasing in each round to make the top flat and round:
- Round 4: 2 sc in one stitch, 1 sc in the next two stitches (24 stitches)
- Round 5: 2 sc in one stitch, 1 sc in the next three stitches (30 stitches)
Stop increasing when the circle is about:
- 16–18 cm (6–7 inches) wide for an adult
- Smaller for a child
Step 6: Build the Sides of the Hat
Now you stop increasing.
- Chain 1.
- Make 1 single crochet in each stitch around.
- Join with a slip stitch.
- Repeat this round until the hat reaches the height you want (about 18–20 cm / 7–8 inches for an adult).
This creates the sides of the hat.
Step 7: Finish the Hat
- Cut the yarn, leaving a small tail.
- Pull the yarn through the last loop to secure it.
- Use a yarn needle to weave in all loose ends.
Optional: Simple Hat Edge
For a neat finish, you can:
- Do one final round of slip stitches, or
- Change color and crochet one round of single crochet.
Beginner Tips
- Go slow and count your stitches.
- Use a stitch marker or paper clip to mark the first stitch of each round.
- Don’t worry if it’s not perfect—practice makes it better every time!
If you want, I can:
- Simplify this even more
- Adjust it for kids or babies
- Add pictures or diagrams
- Change stitches (like half double crochet)
Watch tutorial: