 by
by Here is a clear, detailed, and easy-to-follow guide you can use for an assignment, blog post, or craft project:
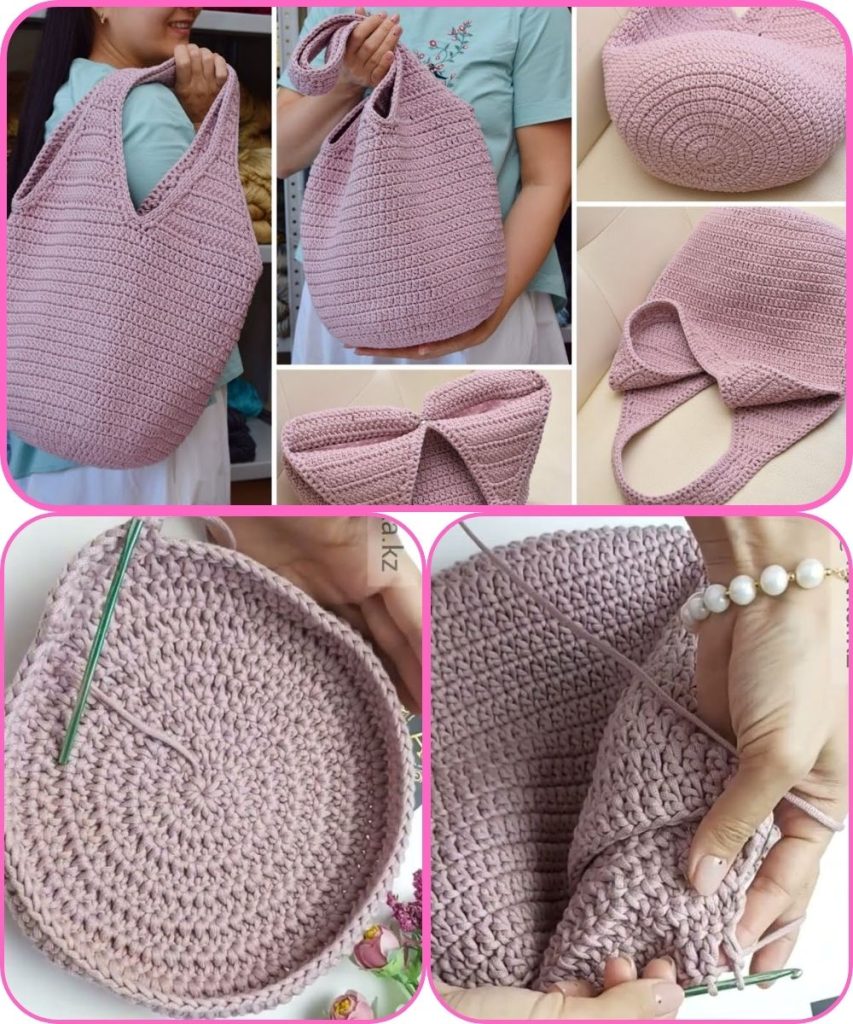
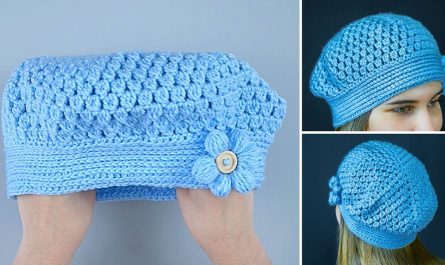
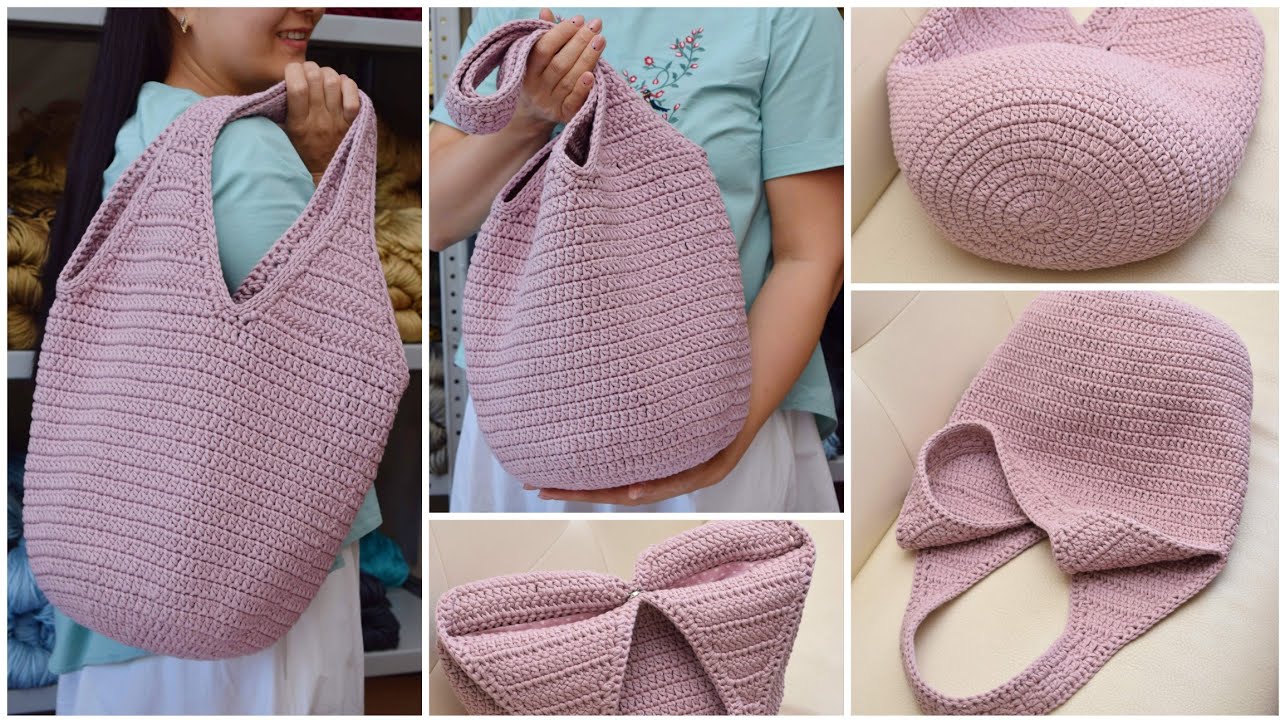
How to Make a Beautiful and Roomy Shopper Bag Made from Cord
A cord shopper bag is a stylish, eco-friendly, and practical accessory that can be used for shopping, school, or everyday outings. Making your own bag allows you to customize the size, color, and design while learning useful crafting skills. Below is a detailed guide on how to create a beautiful and spacious shopper bag using cord.
Materials Needed
- Cotton cord, macramé cord, or nylon cord (3–5 mm thickness works best)
- Scissors
- Measuring tape
- Stitch markers or safety pins
- Large needle or crochet hook (optional, depending on method)
- Fabric for lining (optional)
- Sewing needle and thread (if adding a lining)
Step 1: Plan the Size and Design
Decide how big you want your shopper bag to be. A typical roomy shopper bag is about:
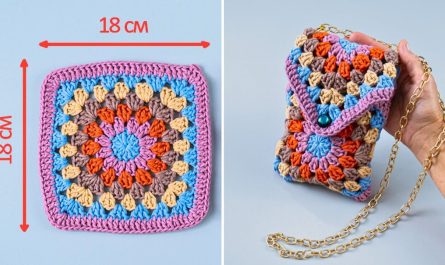
- Width: 35–40 cm
- Height: 35–45 cm
- Handles: 50–60 cm long
Choose a simple pattern such as knotting, weaving, or crocheting. Neutral colors give a classic look, while bright or mixed colors create a bold, modern style.
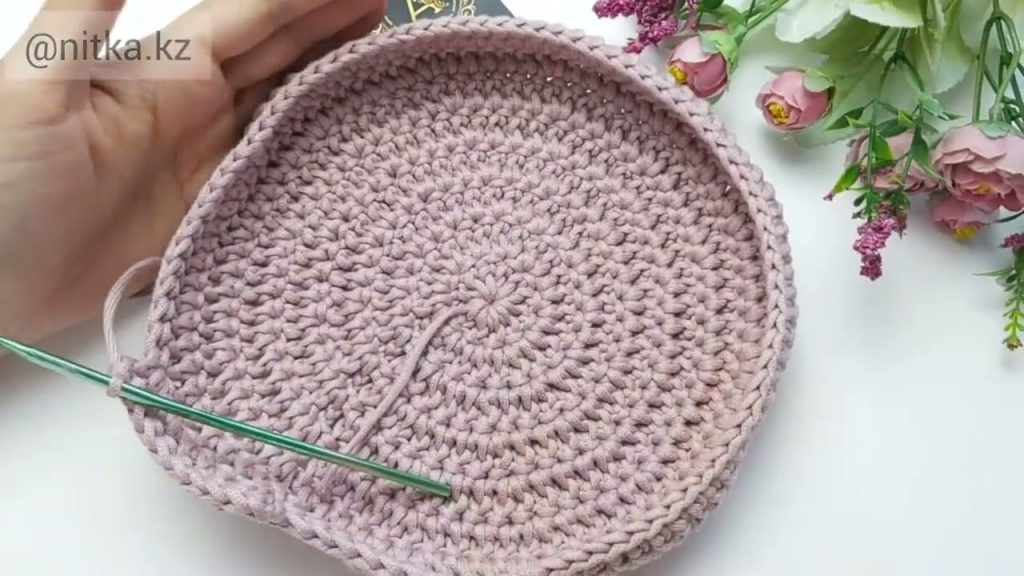
Step 2: Create the Base
Start by forming the base of the bag, which provides strength and structure.
- Cut several equal-length cords.
- Lay them side by side and knot or crochet them together to form a flat oval or rectangle.
- Make sure the base is tight and sturdy, as it will support the weight of items inside the bag.
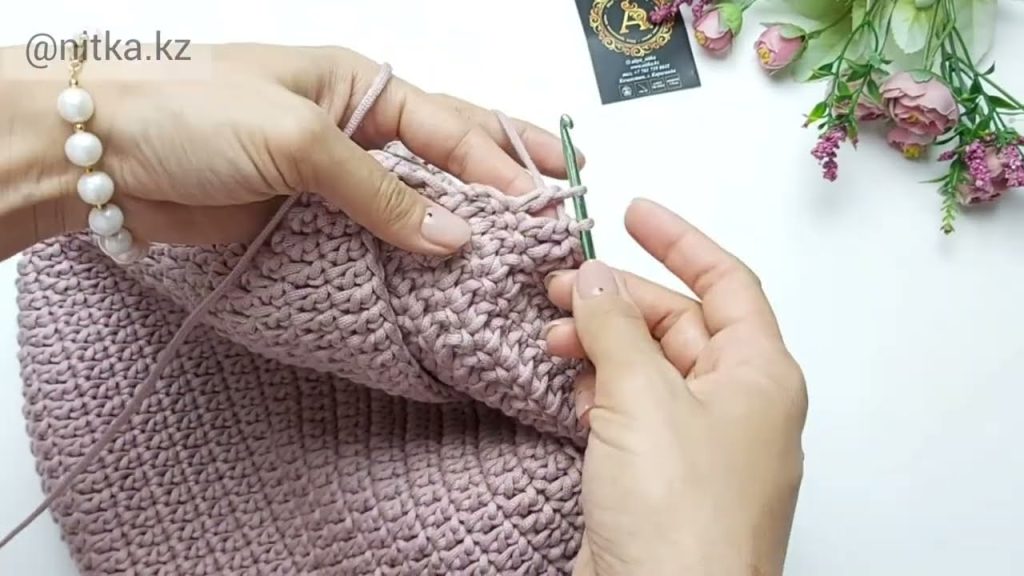
Step 3: Build the Body of the Bag
Once the base is complete, begin working upward to form the sides.
- Use consistent knots or stitches to keep the pattern even.
- Regularly check the shape to ensure the bag remains straight and roomy.
- You can add decorative knots or patterns to enhance the bag’s appearance while keeping it strong.
Step 4: Shape and Reinforce the Sides
As the bag grows taller:
- Keep the tension even so the bag doesn’t shrink or flare outward.
- Add extra rows or tighter knots near the top for durability.
- If desired, attach a fabric lining to prevent small items from falling through.
Step 5: Make the Handles
Handles should be comfortable and strong.
- Use thicker cord or braid several cords together.
- Attach the handles securely to opposite sides of the bag.
- Double-knot or stitch the handle ends for extra strength.
Step 6: Finishing Touches
- Trim any loose ends neatly.
- Check all knots and connections.
- Add decorations like tassels, beads, or labels if desired.
Tips for a Beautiful and Durable Bag
- Choose high-quality cord for better strength and longevity.
- Keep your knots or stitches uniform for a clean look.
- Test the bag by placing weight inside to ensure it is secure.
- Wash gently by hand if needed.

Conclusion
Making a shopper bag from cord is a rewarding and creative project. With careful planning and attention to detail, you can create a beautiful, roomy, and reusable bag that is both fashionable and practical. This handmade bag is not only useful but also a great way to support sustainable living.
If you want, I can also:
- Simplify this for a school project
- Rewrite it in essay form
- Add pictures descriptions or diagrams
- Customize it for crochet or macramé specifically
Watch tutorial: