 by
by Here is a clear, detailed, and beginner-friendly guide you can use for a blog post or tutorial. I’ll focus on crocheting a hat, since crochet and knitting are different techniques—but this will truly be the easiest option for beginners.
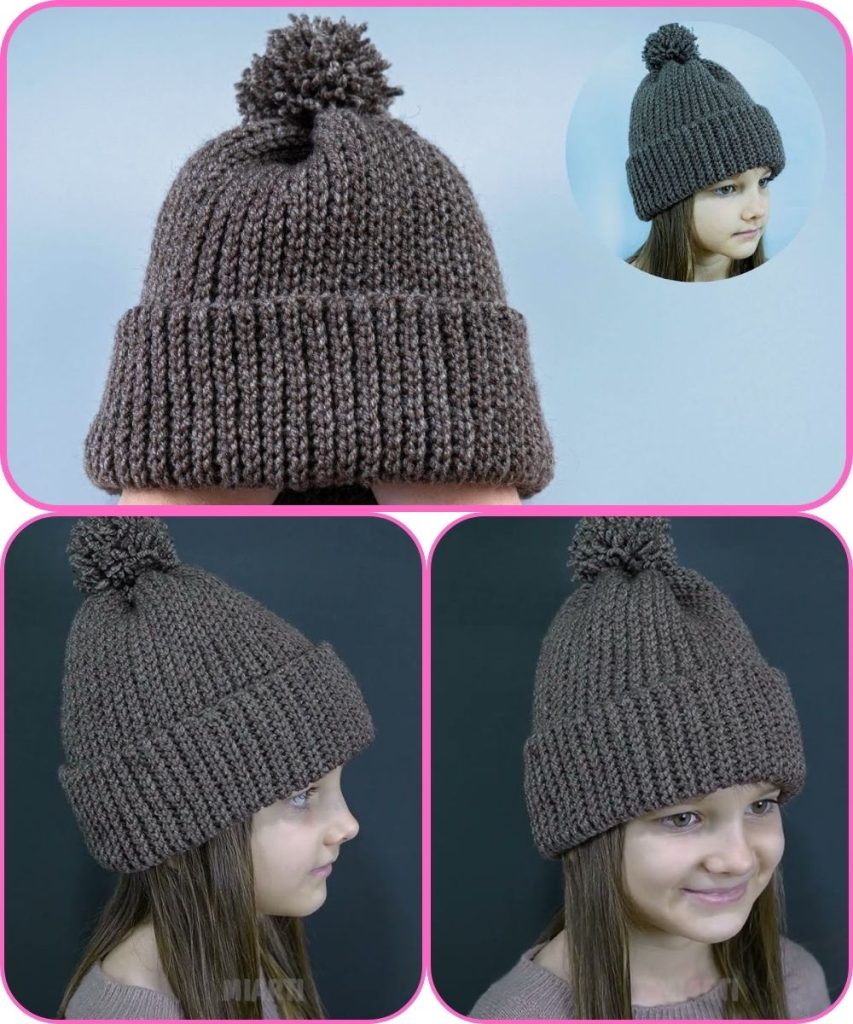
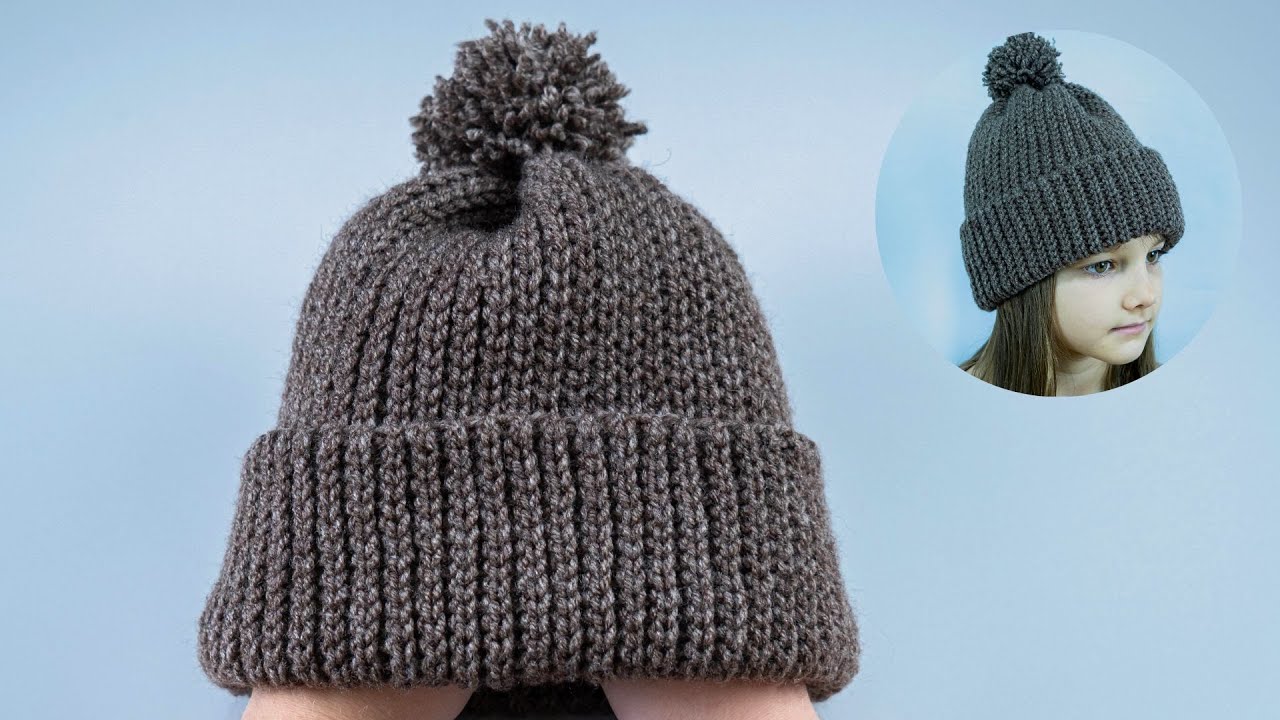
How to Make the Easiest Crochet Hat for Beginners
(A Simple Guide to Making Your First Hat!)
Making a crochet hat is one of the best beginner projects. It’s simple, quick, and very rewarding—and you only need basic stitches to create a warm, stylish hat. Even if you’ve never made a wearable item before, this tutorial will guide you step by step.
This is the easiest method: a basic crochet hat worked in the round.
Why This Crochet Hat Is Perfect for Beginners
- Uses basic stitches only
- Simple, repeatable pattern
- No complicated shaping
- Easy to adjust for any size
- Quick project—great for confidence building
- Looks neat and professional when finished
Materials You’ll Need
Gather these beginner-friendly supplies:
- Yarn: Medium-weight (worsted) yarn
– Acrylic for easy care
– Wool or wool blend for warmth - Crochet Hook: 5–6 mm (check yarn label)
- Scissors
- Yarn Needle
- Stitch Marker (optional but helpful)
Basic Stitches Used
This hat uses only simple crochet skills:
- Chain stitch (ch)
- Slip stitch (sl st)
- Single crochet (sc) or half double crochet (hdc)
- Magic ring (or chain-and-join method)
If you know how to chain and make basic stitches, you can crochet this hat.
Step-by-Step Instructions
Step 1: Start with a Magic Ring
- Make a magic ring
- Crochet 8–10 single crochet stitches into the ring
- Pull tight to close
- Join with a slip stitch
👉 Beginner option: Chain 4 and join with a slip stitch to form a ring.
Step 2: Increase to Form the Crown
You’ll now increase stitches to make the top of the hat flat.
Round 2:
- 2 single crochet in each stitch around
Round 3:
- 1 single crochet, 2 single crochet in next stitch
- Repeat around
Round 4:
- 2 single crochet, 2 single crochet in next stitch
- Repeat around
Continue increasing until the circle measures:
- 16–18 cm (6–7 inches) for an adult
👉 Tip: If the circle curls, add more increases.
Step 3: Crochet the Hat Body
Once the crown is wide enough:
- Crochet one stitch in each stitch (no more increases)
- Continue working in rounds
- Use single crochet for a snug hat or half double crochet for faster progress
- Crochet until the hat reaches desired length (about 18–22 cm)
This is the easiest and most relaxing part!
Step 4: Finish the Hat Edge
For a neat finish:
- Crochet 1–2 rounds of single crochet
- Or use slip stitches for a tight edge
You can also:
- Add ribbing (front-loop/back-loop stitches)
- Fold the edge for a brim
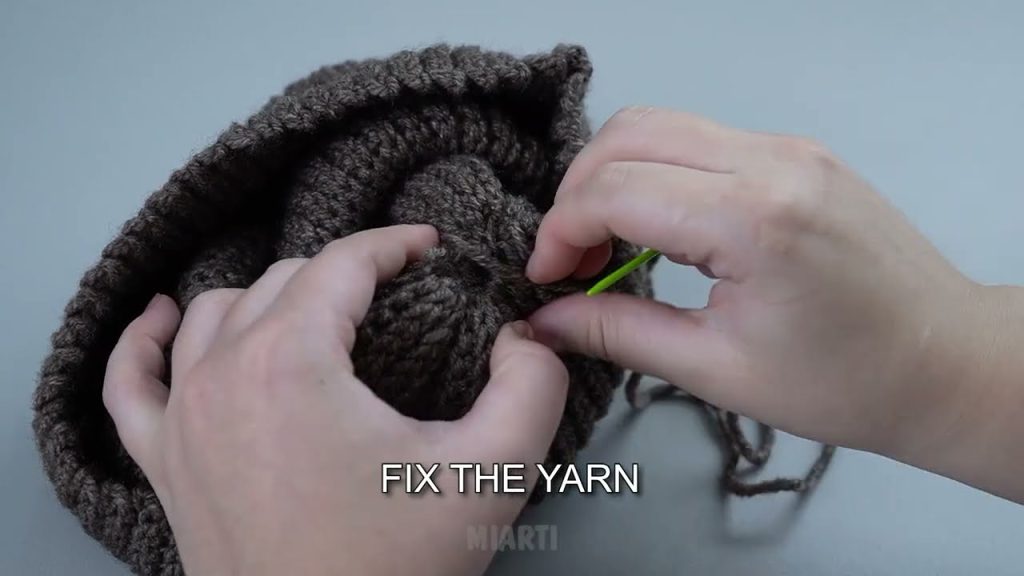
Step 5: Finish Off
- Slip stitch to close
- Cut yarn and fasten off
- Weave in all loose ends
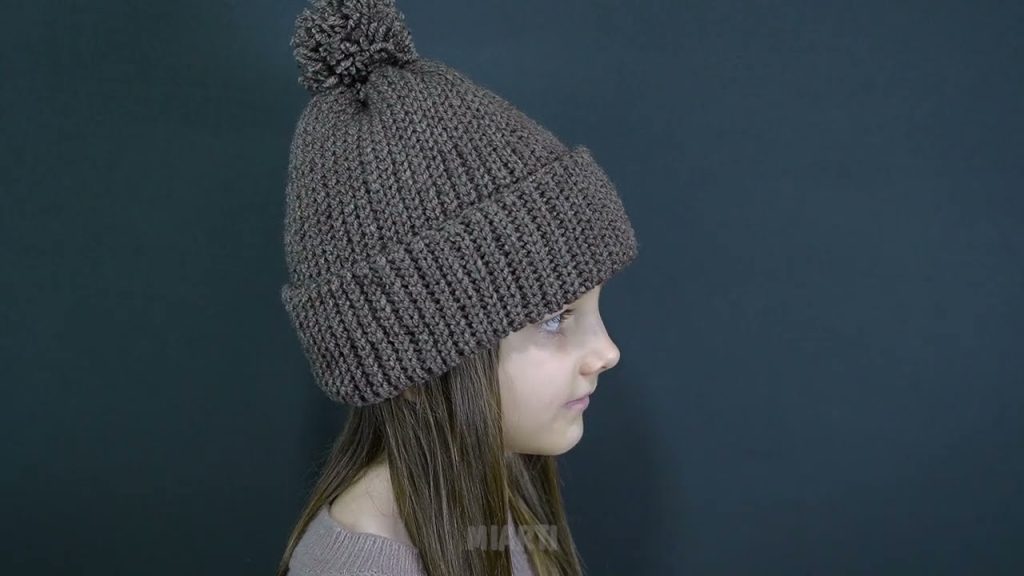
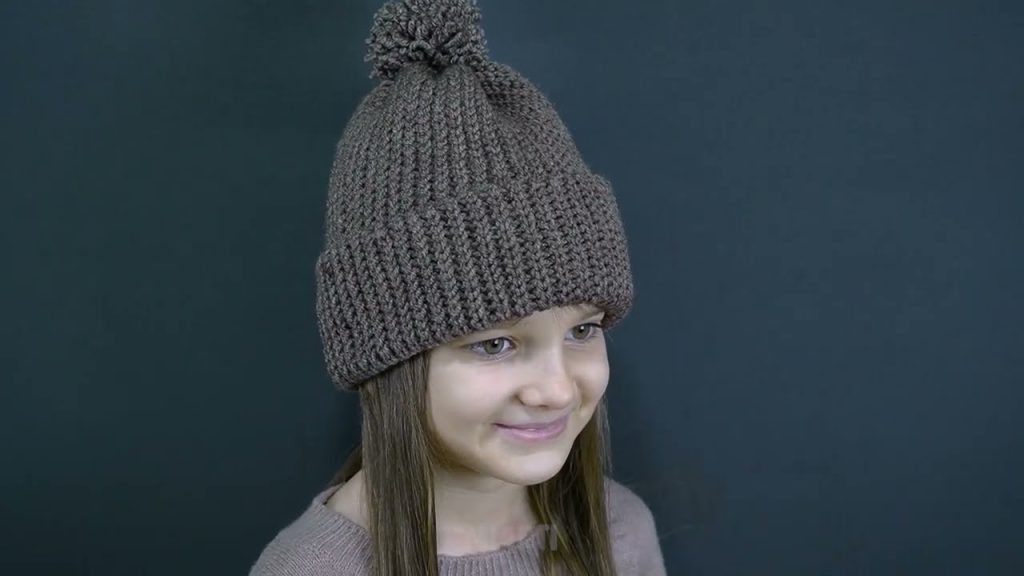
Your crochet hat is now complete!
Easy Customization Ideas
- Add a pom-pom
- Change colors for stripes
- Make it slouchy by adding length
- Add a folded brim
- Use chunky yarn for a cozy winter look
Beginner Tips for Best Results
- Use a stitch marker to track rounds
- Keep tension relaxed
- Try the hat on as you go
- Don’t worry about small mistakes—most won’t be visible
Final Thoughts
Crocheting a hat is one of the easiest and most satisfying beginner projects. With simple stitches and a basic shape, you can confidently create a warm, wearable accessory—even if it’s your first time crocheting in the round.
Once you make one hat, you’ll want to make many more in different colors and styles!
If you’d like, I can also:
- Write a knitted hat version (with needles)
- Create a super-simple pattern card
- Adjust this for baby or child sizes
- Turn it into a printable PDF
Watch tutorial: