 by
by Here’s a clear, beginner-friendly detailed guide you can use as an article, blog post, or school project.
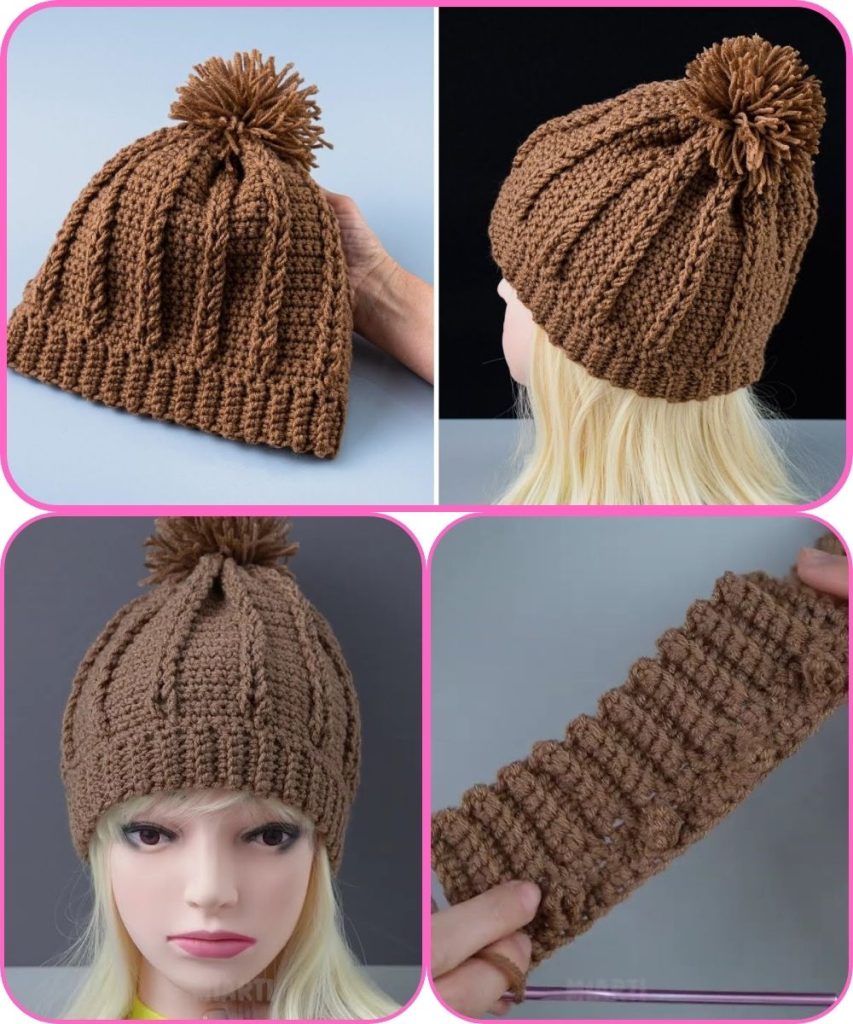
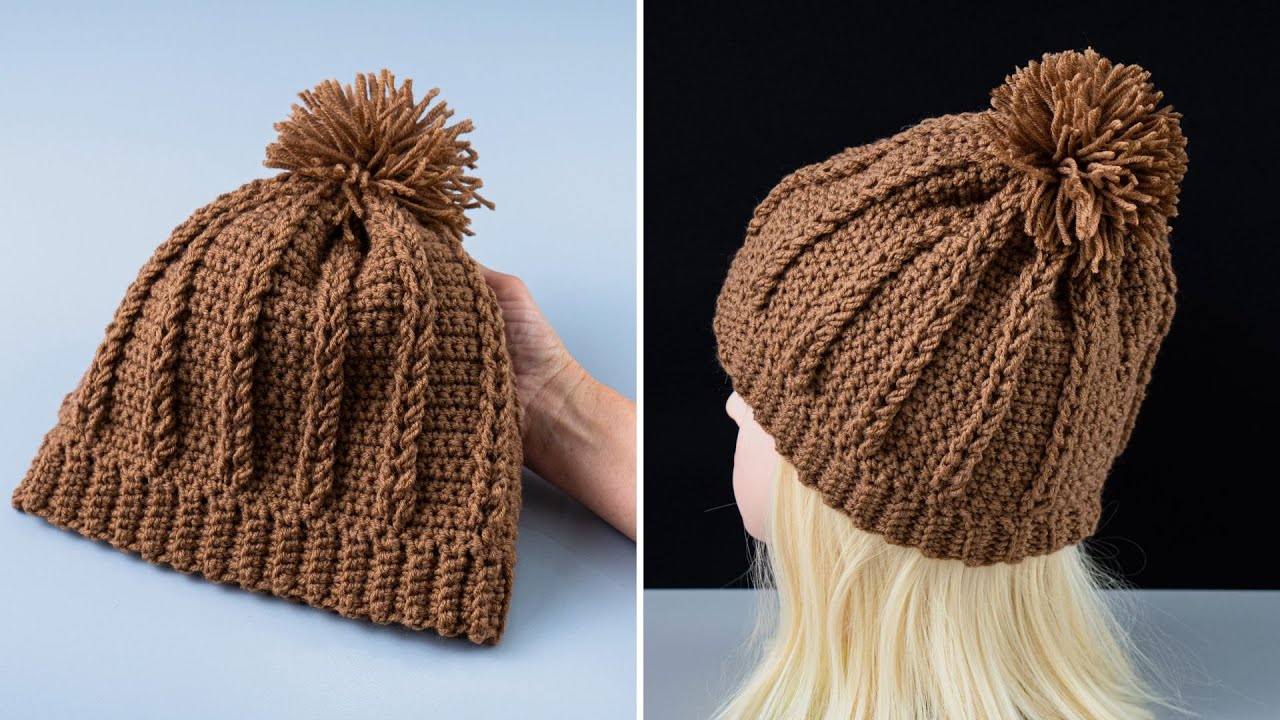
How to Crochet a Beautiful Hat in a Few Hours (Easy Method)
Crocheting a hat is a fun and relaxing project that even beginners can complete in just a few hours. With simple stitches and basic materials, you can create a warm, stylish hat that looks handmade and special. This guide explains each step in an easy way so anyone can follow along.
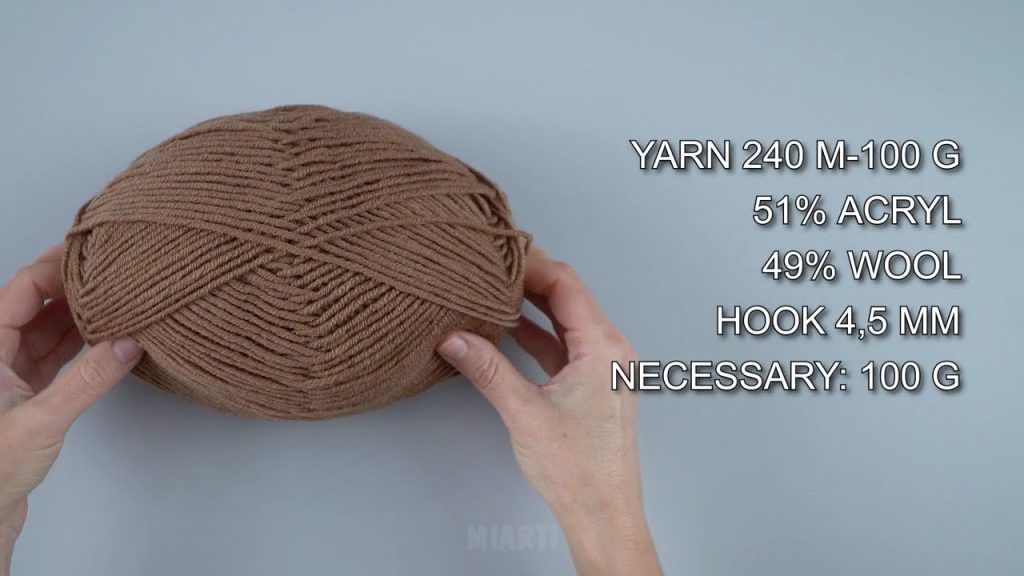
Materials You Will Need
- Yarn: Medium-weight yarn (often called worsted weight) is best for beginners
- Crochet hook: Size 5 mm or 5.5 mm
- Scissors
- Yarn needle (for weaving in ends)
- Measuring tape (optional but helpful)
Step 1: Make a Magic Ring
Start by creating a magic ring (also called an adjustable loop). This allows you to tighten the center of the hat neatly.
- Wrap the yarn around your fingers to form a loop
- Insert the hook into the loop
- Pull up a loop and chain 1 to secure it
This will be the center top of your hat.
Step 2: Crochet the Top of the Hat
Work single or double crochet stitches into the magic ring.
- Crochet 10–12 stitches into the ring
- Pull the yarn tail to close the ring tightly
- Join with a slip stitch
This forms the crown (top) of the hat.
Step 3: Increase Each Round
To make the hat wider, you will increase stitches evenly.
- Round 2: Two stitches in each stitch
- Round 3: One stitch, then two stitches in the next
- Round 4: Two normal stitches, then one increase
Keep increasing until the circle fits the top of your head (about 6–7 inches wide).
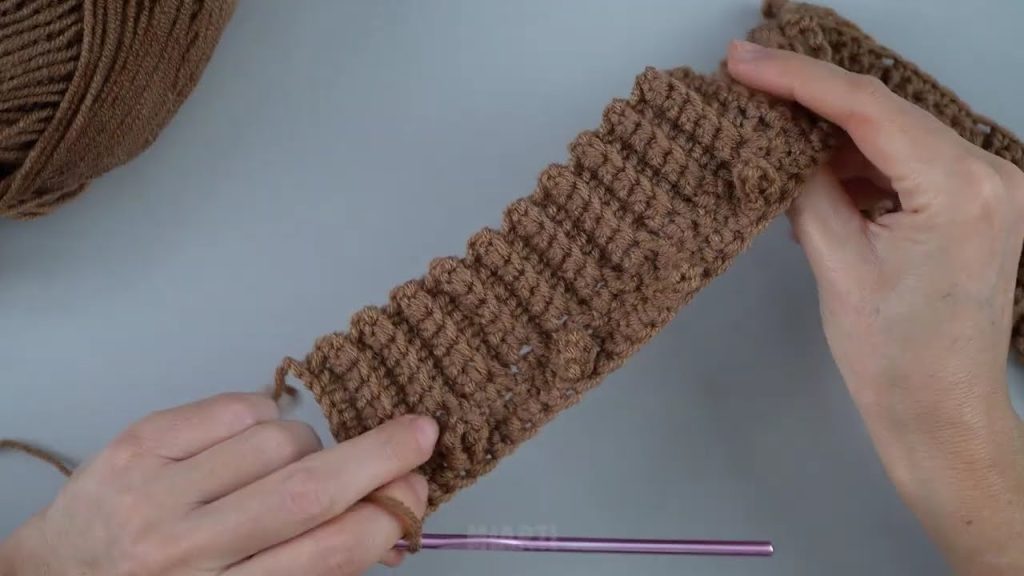
Step 4: Crochet the Body of the Hat
Once the hat is wide enough, stop increasing.
- Crochet one stitch in each stitch around
- Continue in rounds without increasing
- This creates the sides of the hat
Work until the hat reaches your desired length, usually 7–9 inches.
Step 5: Add a Simple Border (Optional)
For a neat finish, add a border at the bottom.
- Use slip stitches or single crochet
- You can also change yarn color for decoration
This gives the hat a polished look.
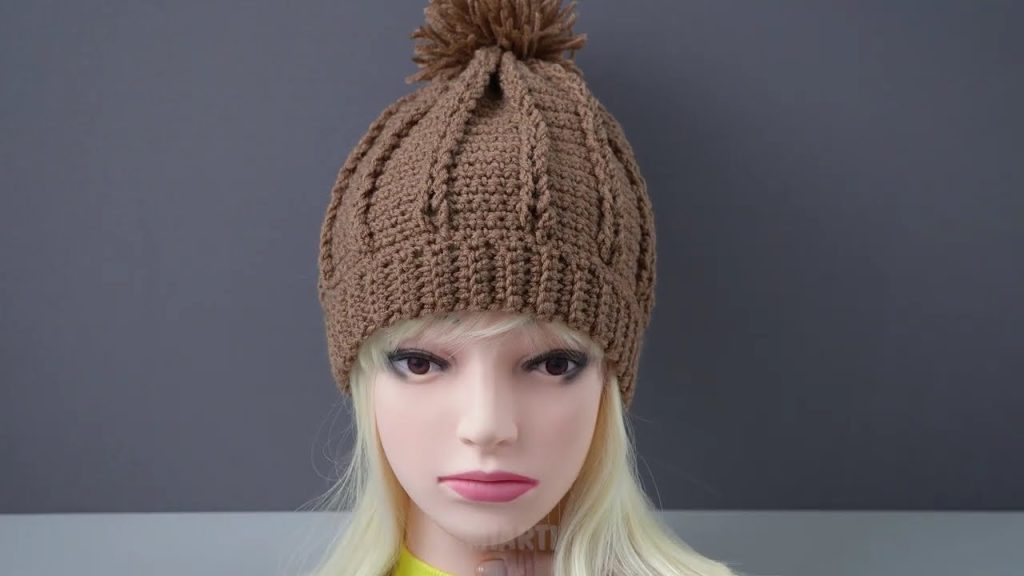
Step 6: Finish Off
- Cut the yarn, leaving a small tail
- Pull it through the last loop to secure
- Use a yarn needle to weave in loose ends
Your hat is now complete! 🎉
Tips for Success
- Choose soft yarn for comfort
- Keep stitches loose and even
- Try the hat on as you go
- Simple stitches work best for fast results
Why This Project Is Great
- Perfect for beginners
- Can be finished in a few hours
- Makes a great handmade gift
- Helps improve crochet skills
Final Thoughts
Crocheting a beautiful hat doesn’t have to be hard or time-consuming. With basic stitches, simple tools, and a little patience, you can create a cozy and stylish hat in just one afternoon. Practice makes it even easier, and soon you’ll be making hats in different colors and styles!
If you want, I can also:
- Simplify this for kids
- Turn it into a school project
- Add pictures descriptions
- Write it in a more professional or blog style
Watch tutorial: