 by
by Absolutely! Let’s go step by step to create a handbag with a bow pattern using crochet. I’ll give you a detailed guide, including materials, stitches, techniques, and tips, like a masterclass.
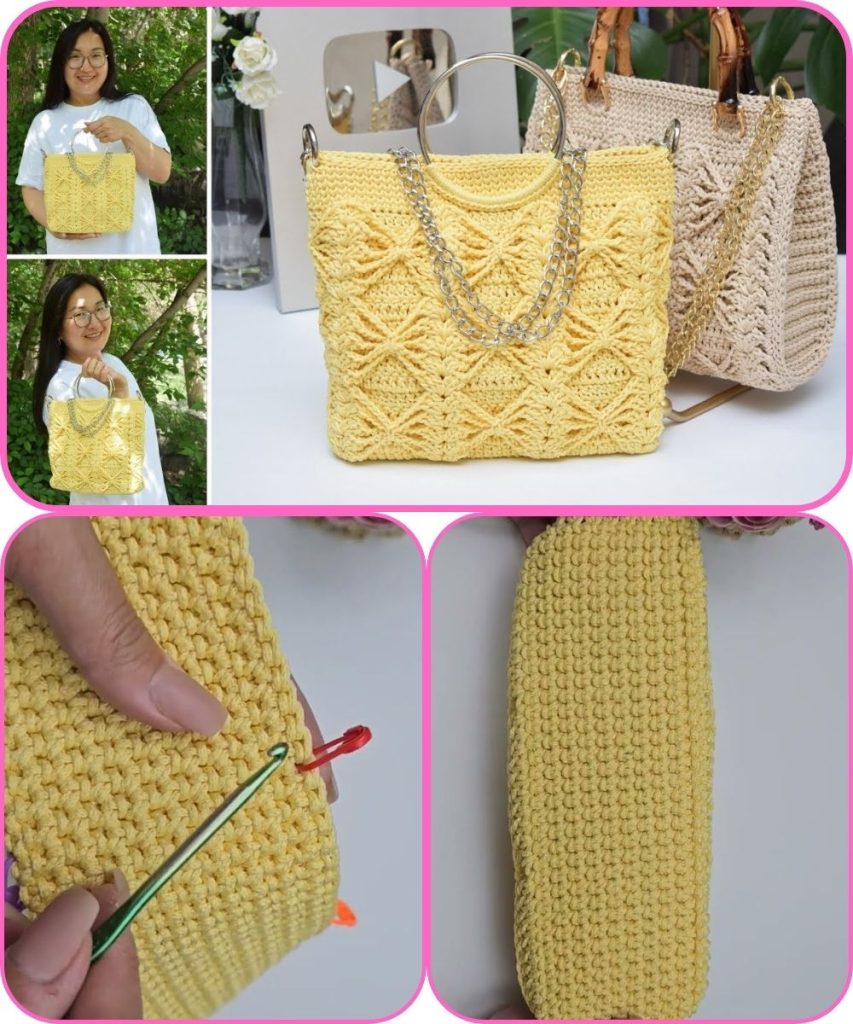
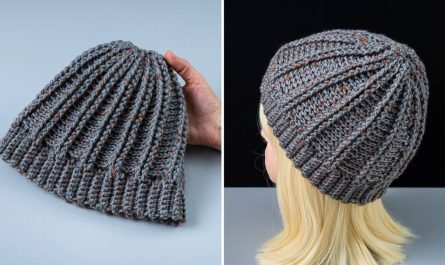
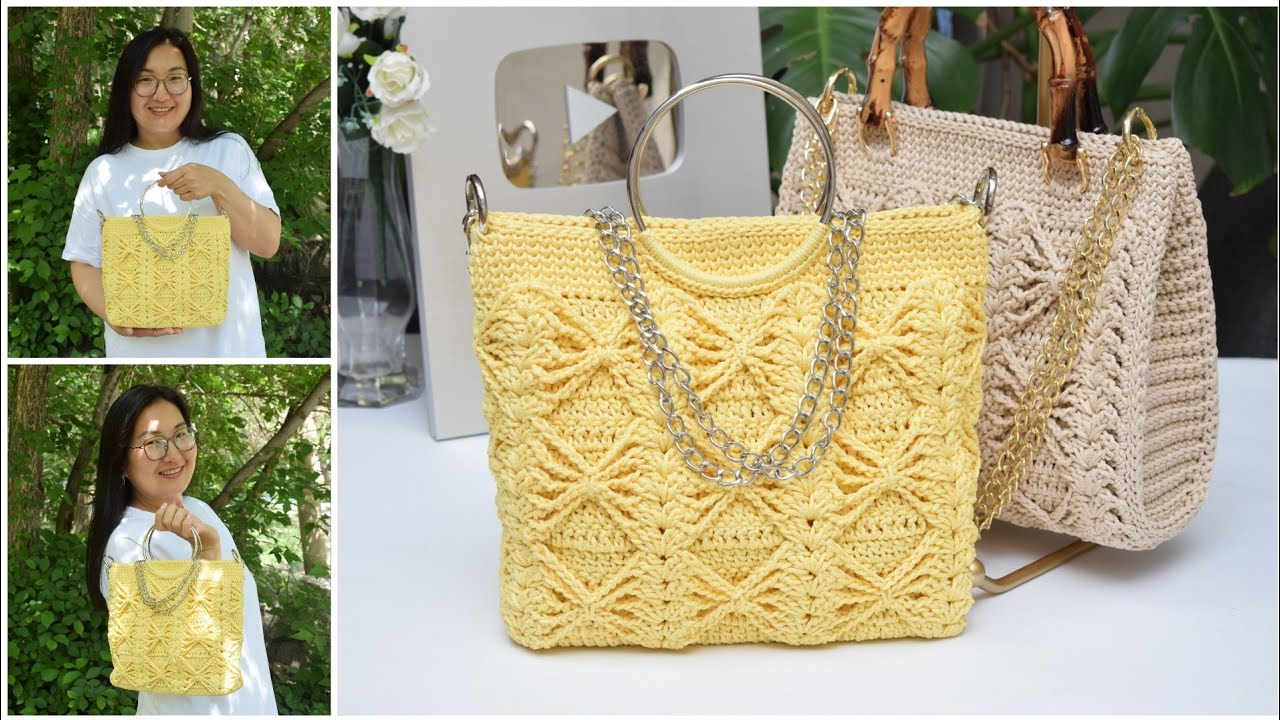
Crochet Masterclass: Handbag with Bow Pattern
Materials Needed
- Yarn: Medium weight cotton or acrylic yarn (approx. 300–400g). You can choose a solid color or two-tone for contrast.
- Hook: Size suitable for your yarn (usually 4.0–5.0 mm for medium yarn).
- Other materials:
- Yarn needle for weaving ends
- Scissors
- Stitch markers
- Lining fabric (optional, for sturdiness)
- Magnetic snap or button (optional)
Stitches You Need to Know
- Chain (ch)
- Single Crochet (sc)
- Half Double Crochet (hdc)
- Double Crochet (dc)
- Slip Stitch (sl st)
- Increase: 2 stitches in one stitch
- Decrease: Combine 2 stitches into one
Tip: For the bow, we will use basic stitches but focus on shaping.
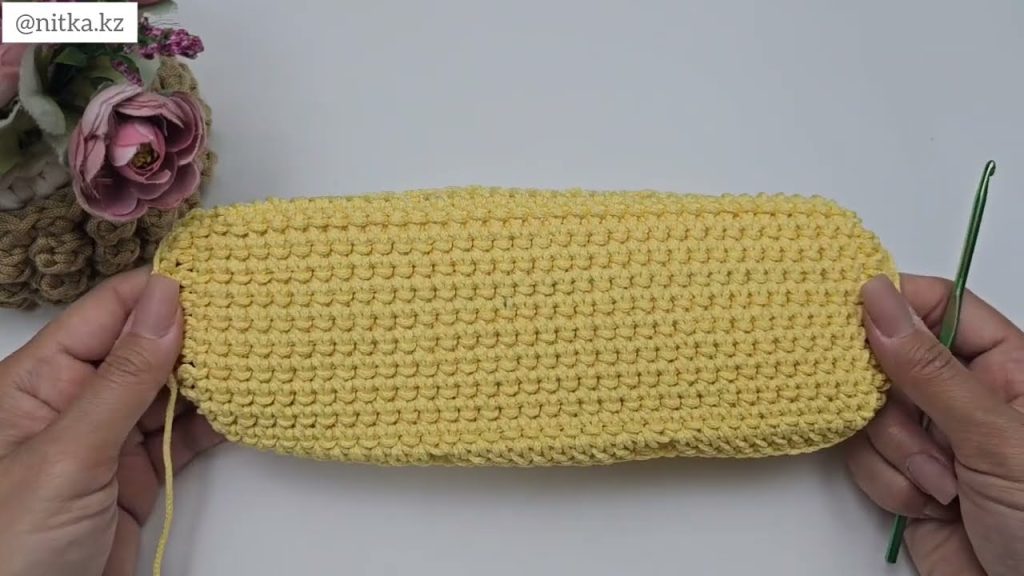
Step 1: Base of the Handbag
- Chain the foundation – Make a chain long enough for the width of your bag (e.g., 35–40 chains).
- First row: Single crochet (sc) in the second chain from the hook, then sc across.
- Subsequent rows: Continue in sc until your base reaches the desired depth (about 10–12 rows).
- Optional: For a sturdier base, you can crochet in a rectangle shape using two layers and sew together.
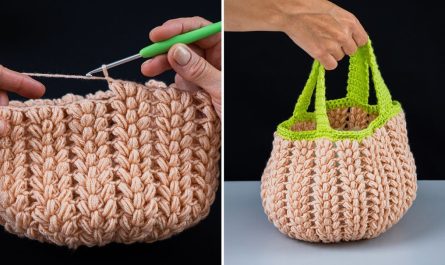
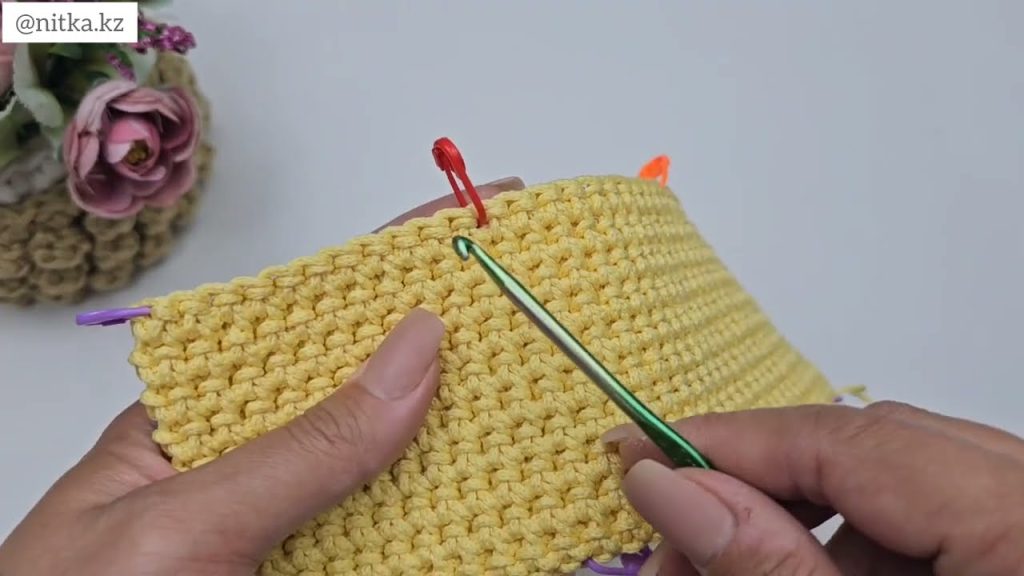
Step 2: Building the Body
- Start the sides: Once the base is ready, start crocheting around the edge in continuous rounds (or join with sl st if you prefer rounds).
- Pattern choice: For a textured bow look, try alternating sc and dc rows. For example:
- Round 1–2: sc
- Round 3–4: dc
- Repeat as needed to get your bag height (15–20 cm recommended).
- Optional pattern: You can use shell stitches or bobble stitches for a fancy texture.
Step 3: Making the Bow
- Crochet a rectangle for the bow – Approximately 15 cm wide and 7–8 cm tall.
- Row 1: Ch 16, sc across
- Row 2–8: sc across, turning at the end of each row
- Form the bow shape – Fold the rectangle in the middle and wrap a small strip of yarn around the center tightly.
- Attach to bag – Sew the bow to the front of the bag using yarn and needle.
Step 4: Adding Handles
- Option 1: Crochet Handles
- Chain the desired length for your strap (30–40 cm for hand carry, longer for shoulder).
- Attach with sc to the bag body on each side.
- Option 2: Fabric/Leather Handles – Sew onto the bag for a sturdy finish.
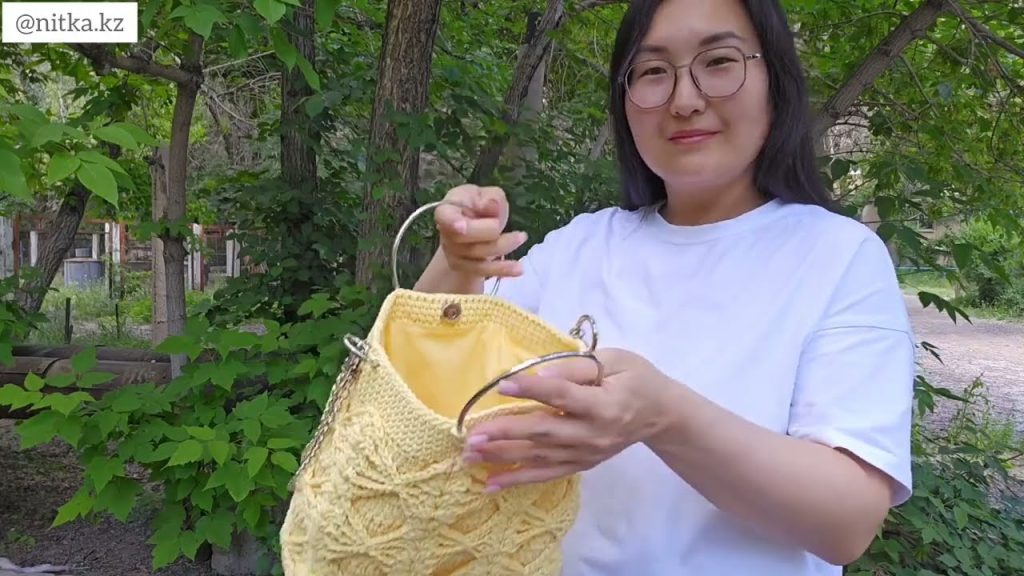
Step 5: Finishing Touches
- Optional lining: Sew a fabric lining to prevent stretching and add durability.
- Closure: Add a magnetic snap or button.
- Weaving ends: Use a yarn needle to hide all loose ends inside the bag.
- Optional decoration: Add beads or small crocheted flowers along with the bow.
Tips for a Professional Finish
- Keep tension even, especially for the bow, so it looks crisp.
- Blocking the bag and bow can help it keep its shape.
- Choose a yarn with some structure to avoid a floppy handbag.
If you want, I can also make a step-by-step charted diagram with visuals showing exactly how to crochet the bow handbag. That would make it feel like a real crochet masterclass.
Watch tutorial: