 by
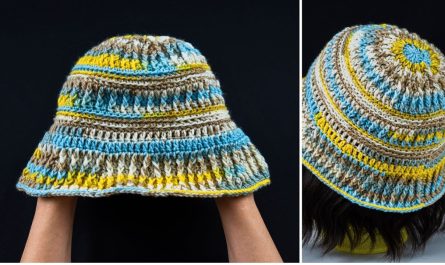
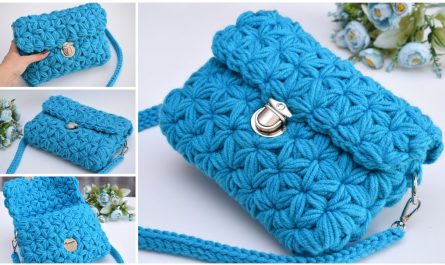
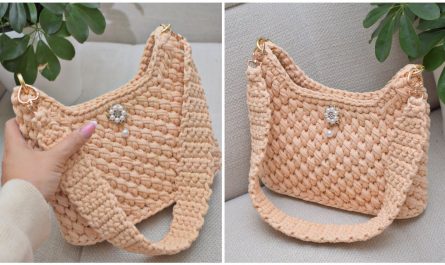
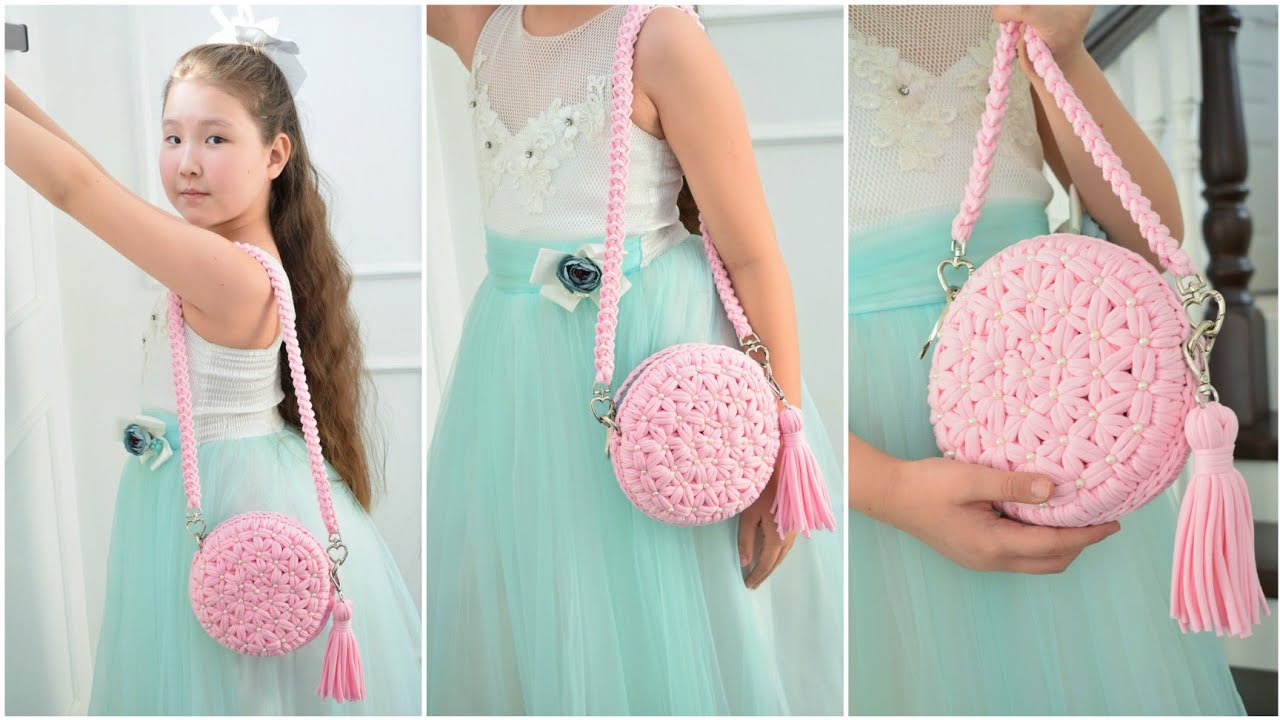
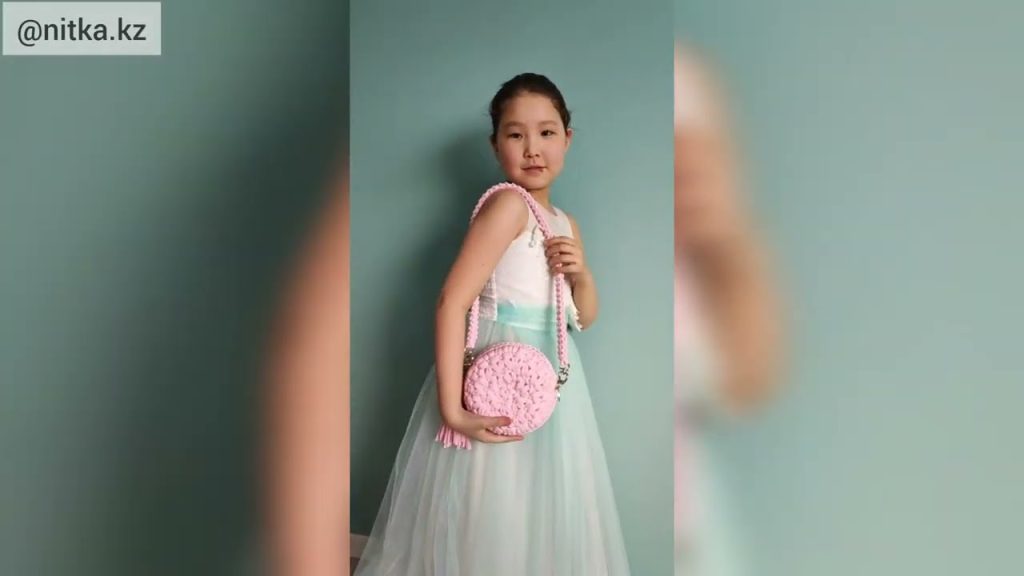
by Here’s a clear, detailed, beginner-friendly guide to making a round crocheted handbag with a floral pattern. You can adjust colors and size to match your style 🌸👜
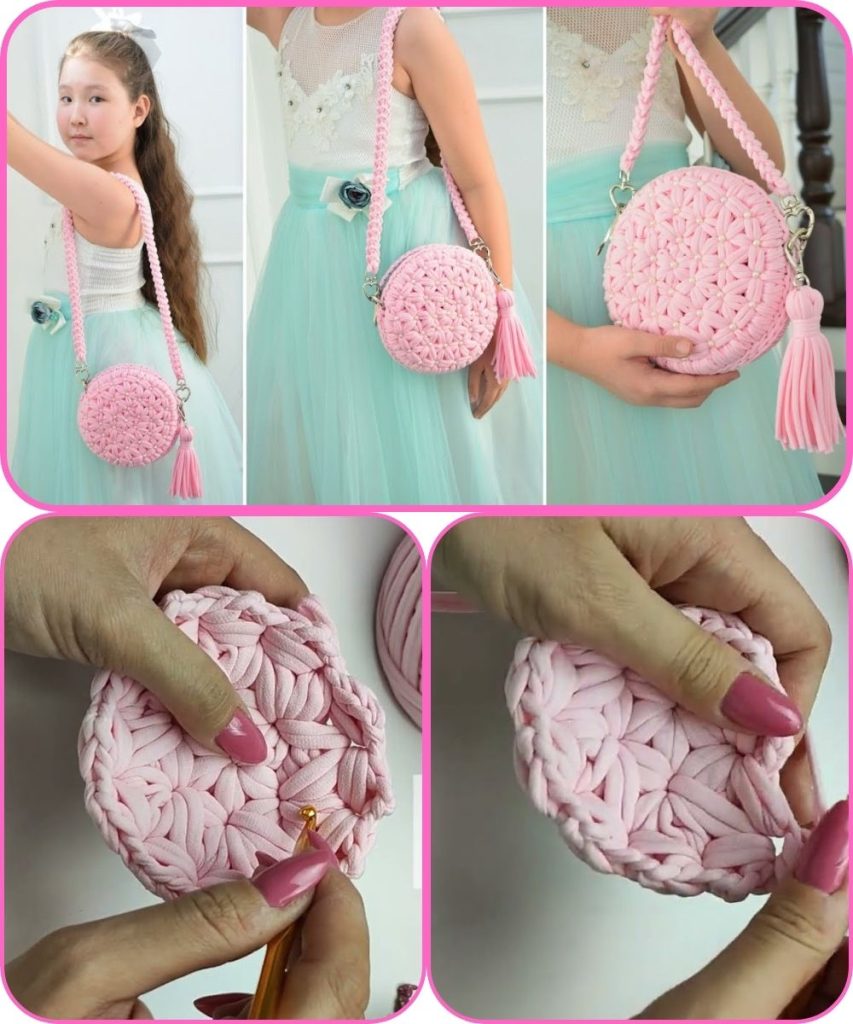
How to Make a Round Crocheted Handbag with a Floral Pattern
1. Materials Needed
- Yarn: Medium-weight cotton or acrylic yarn (2–3 colors recommended: base color + flower color + center color)
- Crochet hook: Size 4–5 mm (choose what matches your yarn label)
- Scissors
- Yarn needle (for sewing and weaving ends)
- Stitch markers (optional)
- Button, zipper, or magnetic clasp (optional)
- Fabric lining (optional but recommended for strength)
2. Basic Crochet Stitches Used
You should know these stitches before starting:
- ch – chain
- sl st – slip stitch
- sc – single crochet
- hdc – half double crochet
- dc – double crochet
- tr – treble crochet
- MR – magic ring
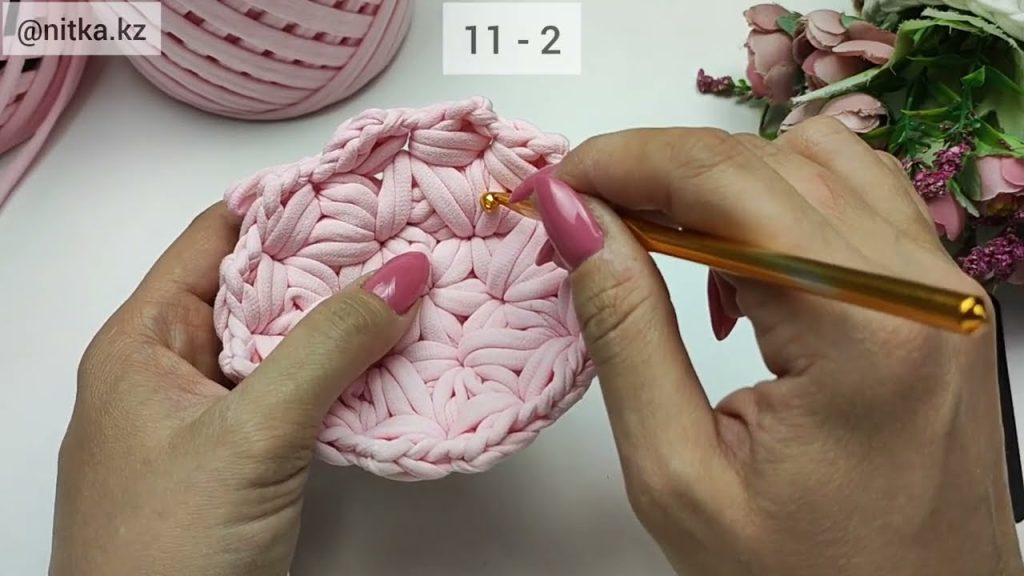
3. Making the Floral Center (Round Motif)
Step 1: Flower Center
- Make a magic ring.
- Work 12 dc into the ring.
- Join with a sl st and fasten off.
- This forms the center of the flower.
Step 2: Flower Petals
- Attach a new color.
- In the same stitch, work:
(sl st, ch 2, 2 dc, ch 2, sl st) - Repeat this in each stitch around to create petals.
- Fasten off.
🌸 You now have a floral motif in the center of your bag.
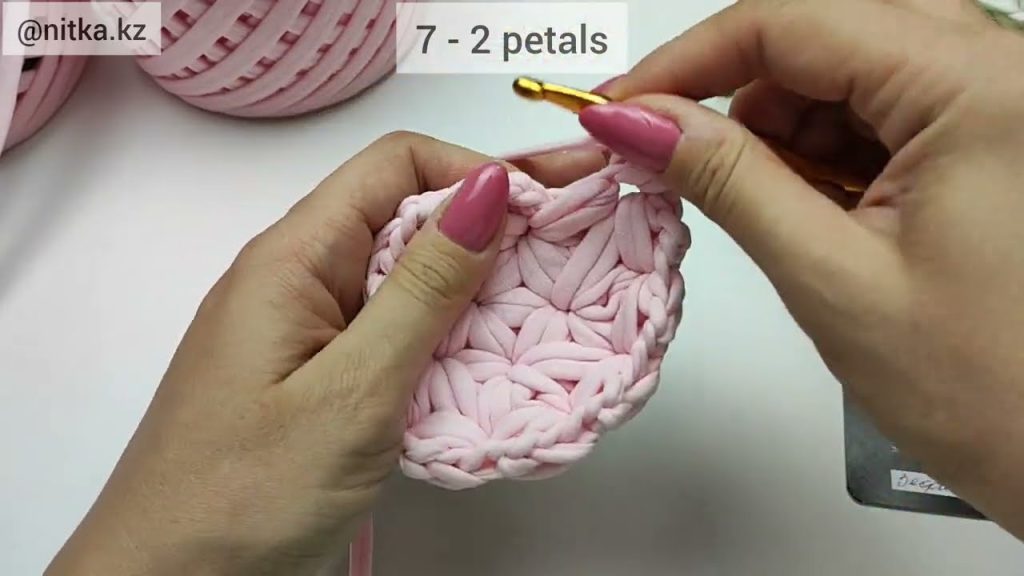
4. Expanding into a Round Bag Base
Step 3: Round Expansion
- Attach your main bag color.
- Crochet around the flower evenly using dc or hdc stitches.
- Increase stitches evenly in each round to keep the circle flat:
- Round 1: 2 stitches in each stitch
- Round 2: 1 stitch, 2 stitches in next
- Round 3: 2 stitches, 2 stitches in next
- Continue until the circle reaches your desired size
(usually 22–26 cm / 9–10 inches in diameter).
💡 Tip: If the circle curls, add more increases. If it waves, reduce increases.
5. Making the Second Side
- Repeat Steps 3–4 to make an identical second round piece for the back of the bag.
- You can keep it plain or add another floral design.
6. Joining the Bag
- Place both circles wrong sides together.
- Join yarn at the edge.
- Crochet around using sc stitches, leaving the top open.
- Fasten off.
7. Making the Strap
Option 1: Crochet Strap
- Attach yarn at the side of the bag.
- Chain to your desired length (usually 90–110 cm).
- Work sc or hdc back along the chain.
- Attach to the other side of the bag.
Option 2: Cord or Leather Strap
- Sew or clip it securely to the sides.
8. Finishing Touches
- Weave in all loose ends.
- Add a button, zipper, or magnetic snap.
- Sew in a fabric lining for durability.
- Add beads, tassels, or embroidery for decoration.
Final Tips
✔ Cotton yarn works best for handbags
✔ Use tight stitches for strength
✔ Choose contrasting colors to highlight the floral pattern
If you want, I can also:
- Simplify this for absolute beginners
- Help you design a specific flower style
- Create a short version for a school project
- Add pictures guidance (step descriptions)
Watch tutorial: