by
by Here is a clear, detailed, beginner-friendly guide on how to crochet a handbag using a herringbone pattern. You can use this as a project write-up, assignment, or personal guide.
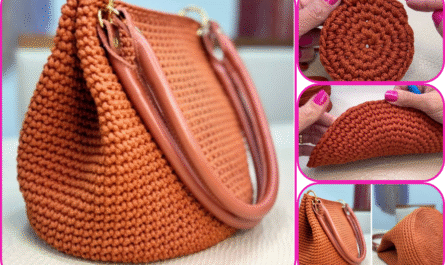
How to Make a Crocheted Handbag with a Herringbone Pattern
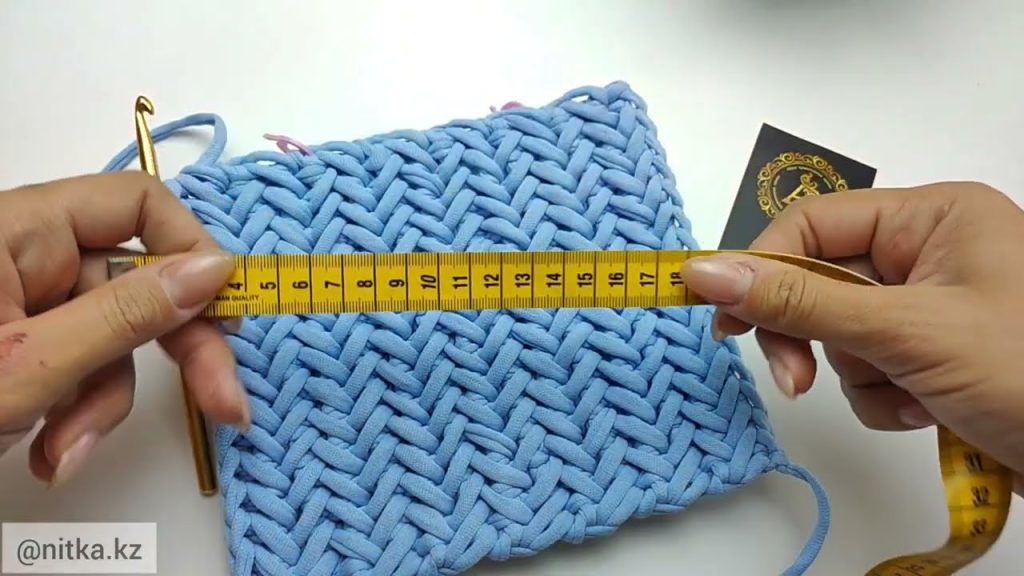
Crocheting a handbag with a herringbone pattern is a rewarding project that combines texture, durability, and style. The herringbone stitch creates a slanted, woven look that is perfect for bags because it is thick and sturdy.
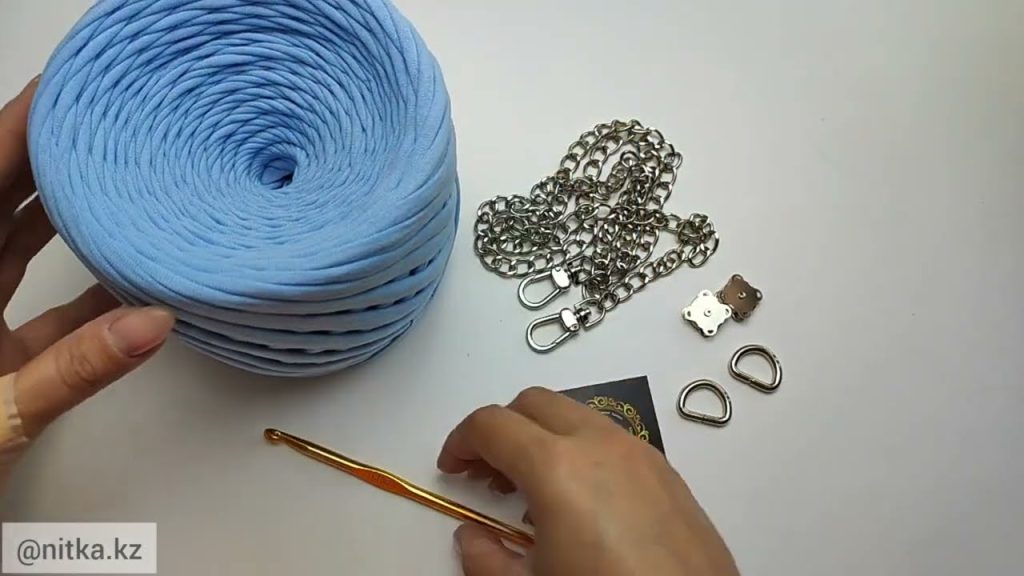
Materials Needed
Before starting, gather the following materials:
- Yarn: Medium-weight (worsted) yarn works best. Cotton yarn is ideal for handbags because it is strong and holds its shape well.
- Crochet Hook: Size 4.5–5.5 mm (check your yarn label for recommendations)
- Scissors
- Yarn Needle: For sewing and weaving in ends
- Stitch Markers (optional)
- Bag Lining Fabric (optional, for extra strength)
- Handles or Straps (optional – can be crocheted or bought)
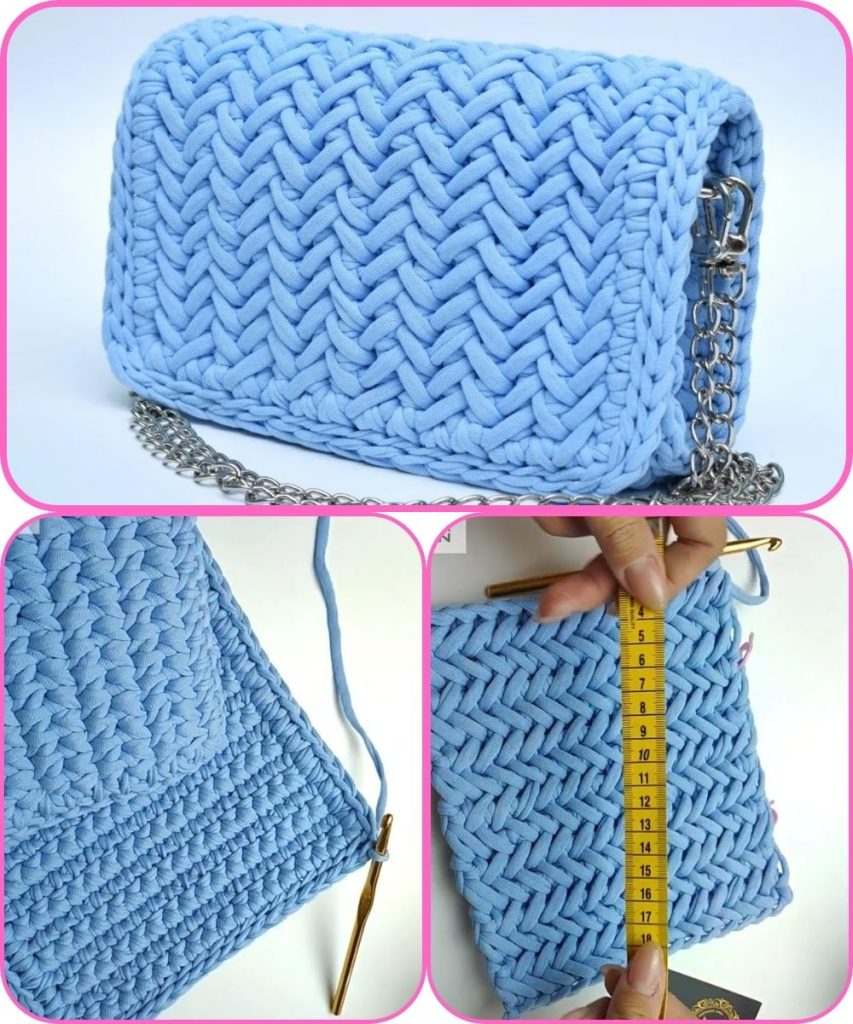
Understanding the Herringbone Crochet Stitch
The herringbone pattern is made using a variation of basic crochet stitches, most commonly the herringbone half double crochet (HBHDC) or herringbone double crochet (HBDC).
Basic Herringbone Half Double Crochet (HBHDC):
- Yarn over.
- Insert hook into the stitch.
- Pull yarn through the stitch and directly through the first loop on the hook.
- Yarn over and pull through the remaining loops.
This technique creates the slanted “V” shape that gives the herringbone effect.
Step-by-Step Instructions
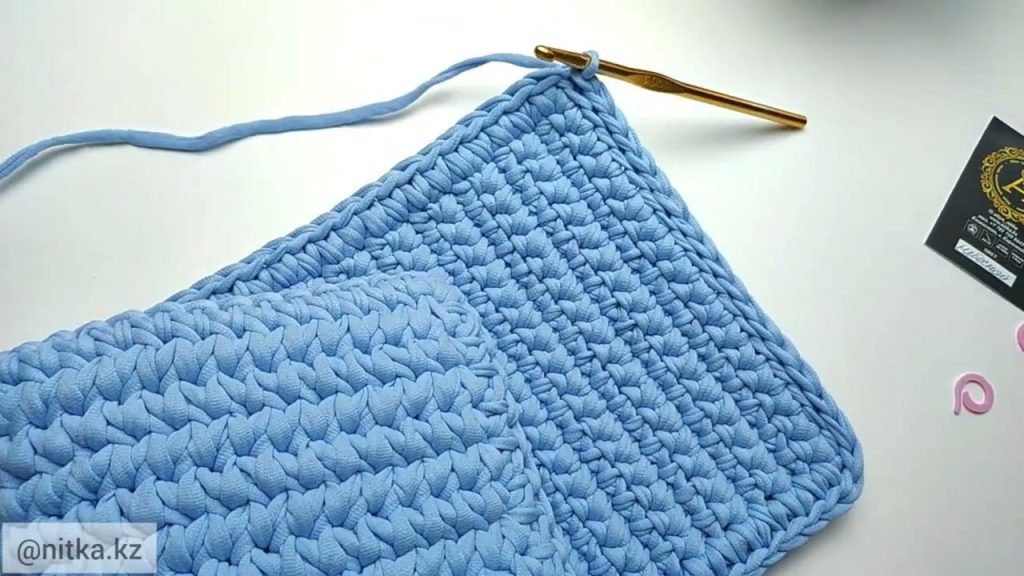
Step 1: Create the Base of the Handbag
- Make a foundation chain the width you want your bag to be.
- Crochet single crochet (SC) or half double crochet (HDC) stitches across the chain.
- Continue working in rows or rounds until the base is thick and firm.
Tip: A solid base helps the bag hold weight.
Step 2: Start the Herringbone Pattern
- Once the base is complete, begin crocheting in the herringbone stitch.
- Work evenly around (for a seamless bag) or in rows (for a flat-panel bag).
- Keep tension consistent to maintain the clean slanted pattern.
Step 3: Build the Body of the Bag
- Continue crocheting in the herringbone pattern until the bag reaches your desired height.
- Count stitches regularly to avoid uneven sides.
- Use stitch markers to mark the beginning of each round if working in the round.
Step 4: Shape the Top Edge
- When the body is complete, switch to single crochet for 1–2 rows to neaten the edge.
- This creates a firm opening and a polished finish.
Step 5: Add Handles or Straps
You have two options:
- Crocheted Handles: Chain to desired length and attach securely to both sides.
- Purchased Handles: Sew or attach them according to the manufacturer’s instructions.
Make sure handles are reinforced since handbags carry weight.
Step 6: Optional Lining
- Cut fabric to match the bag’s size.
- Sew the lining separately.
- Hand-stitch the lining inside the bag for added durability and a professional look.
Finishing Touches
- Weave in all loose yarn ends using a yarn needle.
- Block the bag lightly if needed to improve shape.
- Add decorations such as buttons, tassels, or labels if desired.
Tips for Success
- Choose tight stitches for strength.
- Cotton or blended yarns work best for bags.
- Practice the herringbone stitch on a small swatch before starting the bag.
- Take breaks to keep your tension consistent.
Conclusion
Crocheting a handbag with a herringbone pattern is a practical and stylish project suitable for beginners and experienced crocheters alike. With the right materials, patience, and attention to detail, you can create a durable handmade bag that showcases beautiful texture and craftsmanship.
If you want, I can also:
- Simplify this for beginners
- Turn it into a step-by-step pattern
- Add diagrams or stitch abbreviations
- Rewrite it for a school project or exam answer
Watch tutorial: