 by
by Here is a clear, detailed, and beginner-friendly guide you can use for a blog post, pattern introduction, or learning tutorial.
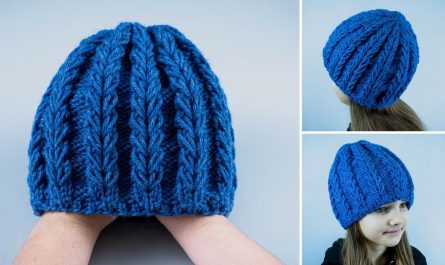
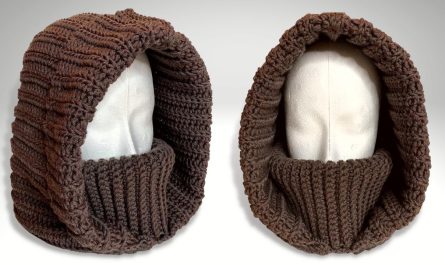
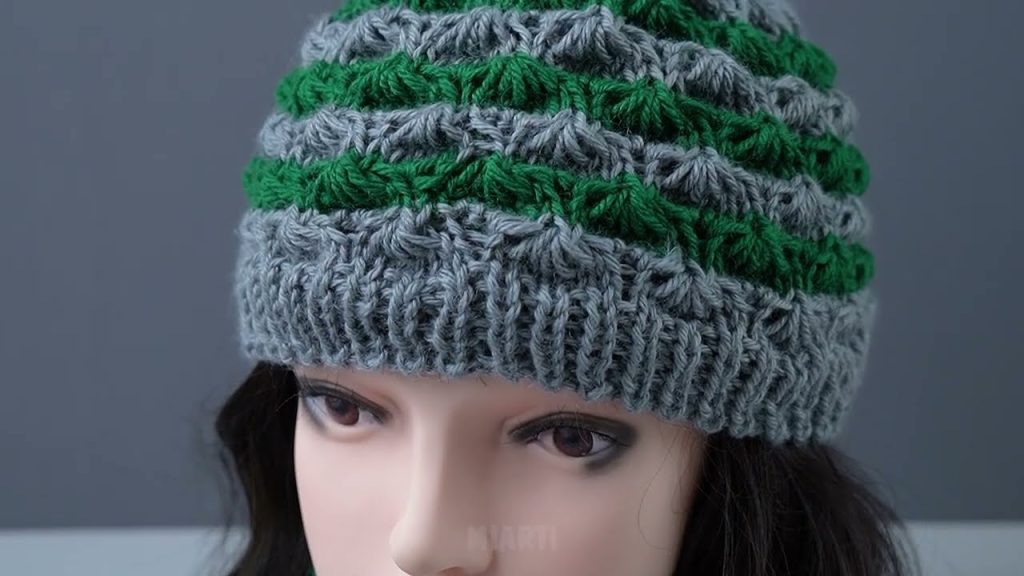
How to Make an Easy Knitted Snood – Even a Beginner Can Handle It!
A knitted snood is one of the simplest and most rewarding projects for beginners. It’s cozy, stylish, and requires only basic knitting skills. A snood (also called an infinity scarf) is knitted in a loop, so there’s no need to worry about shaping or complicated finishing.
If you’re new to knitting, this project is the perfect way to build confidence while creating something practical and beautiful.
Why a Knitted Snood Is Perfect for Beginners
- Uses basic knit and purl stitches
- Simple, repetitive pattern
- No increases or decreases
- No complicated shaping
- Quick to finish
- Looks great even with simple stitches
Materials You’ll Need
Before you begin, gather these supplies:
- Yarn: Medium-weight (worsted) yarn
- Wool or wool blends for warmth
- Acrylic for easy care
- Chunky yarn for faster results
- Knitting Needles: Size 5–6 mm (check yarn label)
- Straight needles or circular needles
- Scissors
- Yarn Needle (for sewing and weaving in ends)
- Stitch Marker (optional)
Basic Knitting Skills Used
This project is ideal for beginners and uses only simple techniques:
- Cast on
- Knit stitch (k)
- Purl stitch (p)
- Bind off
If you can knit and purl, you can make this snood!
Step-by-Step Instructions
Step 1: Decide the Snood Size
A standard adult snood size is:
- Width: 20–30 cm (8–12 inches)
- Length (around the neck): 120–150 cm (47–60 inches)
You can easily adjust these measurements for a looser or snugger fit.
Step 2: Cast On Stitches
- Cast on 30–40 stitches for a medium-width snood
(Adjust based on yarn thickness and needle size) - Use a simple cast-on method like the long-tail cast-on
👉 Tip: Keep your cast-on edge loose so the snood sits comfortably.
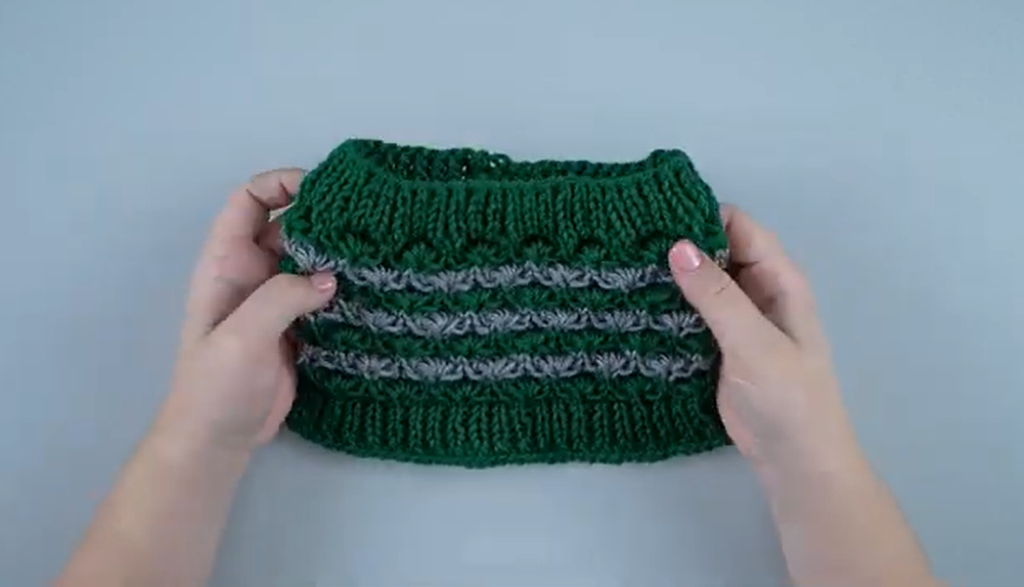
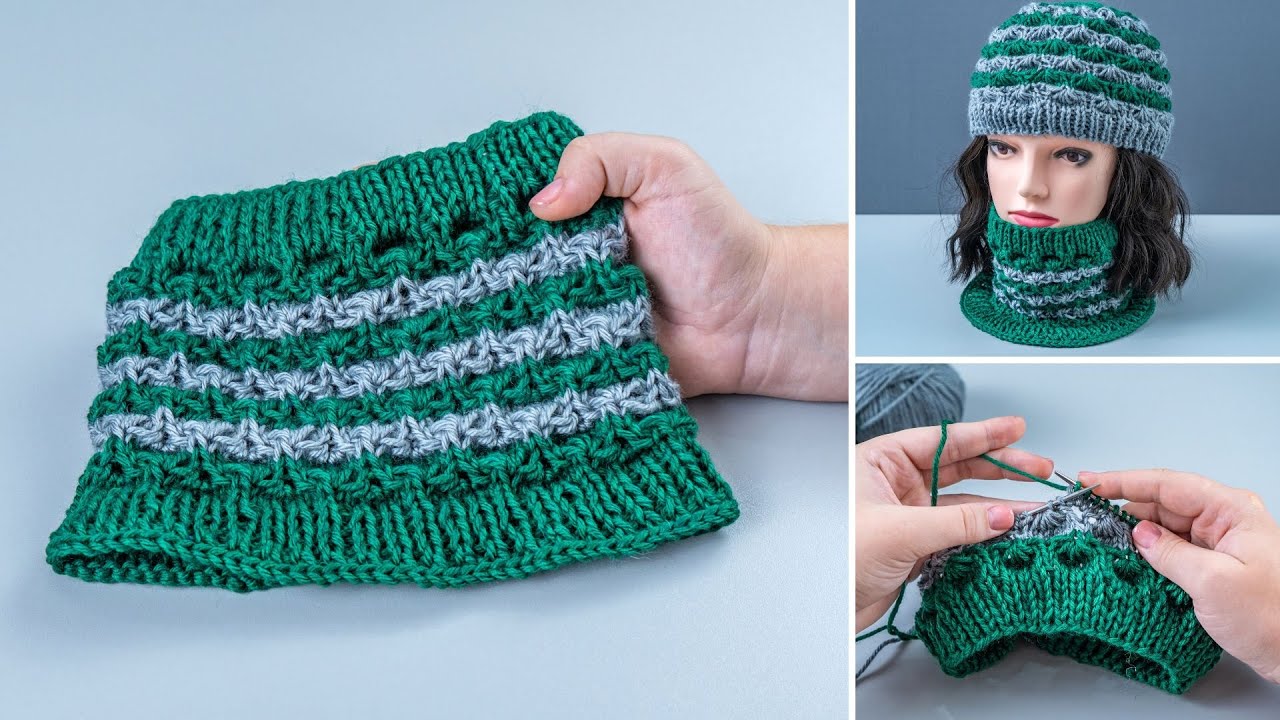
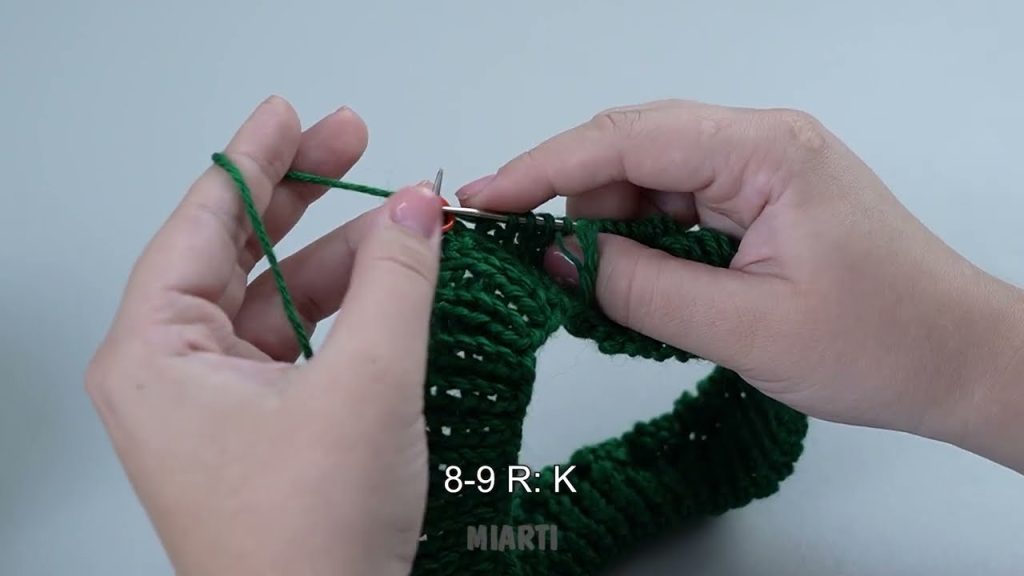
Step 3: Knit the Snood Body
Choose one of these beginner-friendly stitch patterns:
Option 1: Garter Stitch (Easiest)
- Knit every row
Option 2: Stockinette Stitch
- Row 1: Knit
- Row 2: Purl
- Repeat
Option 3: Rib Stitch (Stretchy & Stylish)
- Knit 2, purl 2 across each row
Continue knitting until your piece reaches the desired length.
Step 4: Bind Off
- Bind off loosely to keep the edge stretchy
- Cut yarn, leaving a long tail for sewing
Step 5: Join the Ends
- Lay the piece flat with right sides facing
- Sew the short ends together using a yarn needle
- Make sure the join is neat and secure
👉 Tip: Twist once before sewing if you want a modern twisted snood style.

Step 6: Finish Off
- Weave in all loose ends
- Gently stretch and shape the snood
- Your knitted snood is ready to wear!
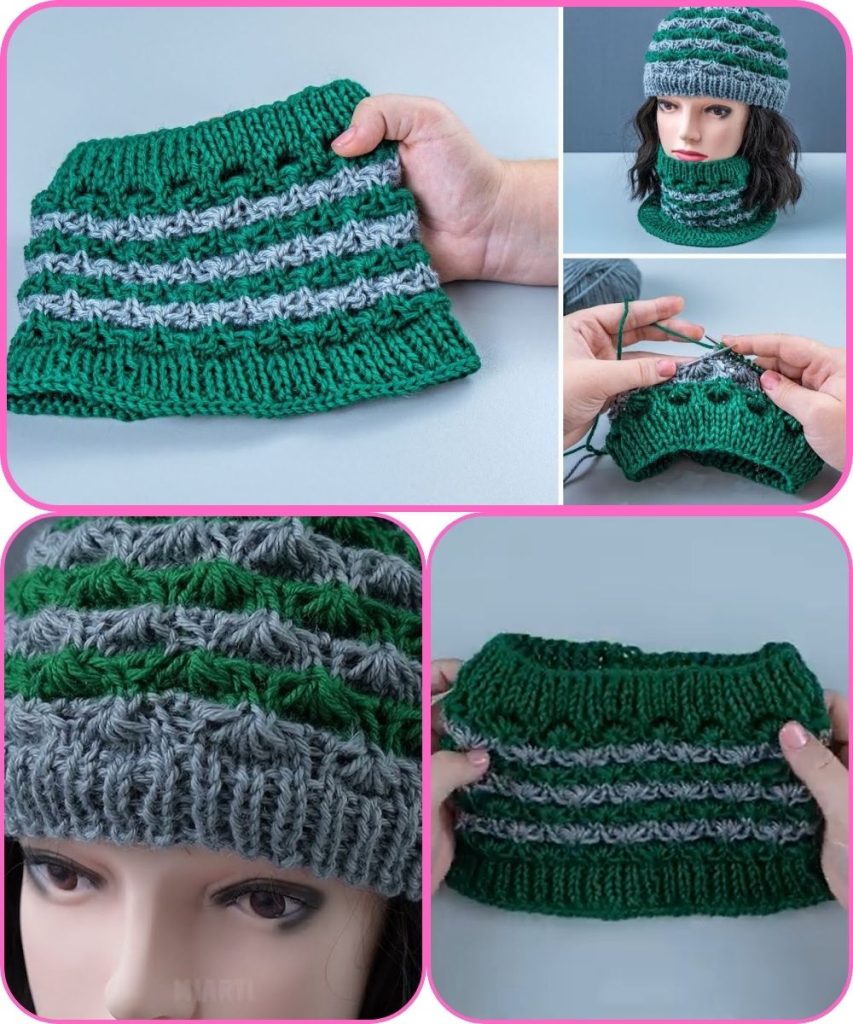
Easy Customization Ideas
- Use chunky yarn for a cozy winter look
- Try two colors for stripes
- Add texture with ribbing or seed stitch
- Make it extra long for a double wrap
- Knit it in the round using circular needles (optional upgrade)
Beginner Tips for Best Results
- Practice tension before starting
- Use smooth yarn to see stitches clearly
- Count stitches regularly
- Don’t worry about small mistakes—most won’t be noticeable
Final Thoughts
An easy knitted snood is a perfect beginner project that combines simplicity with style. With just basic stitches and a little time, you can create a warm, fashionable accessory you’ll be proud to wear or gift.
Once you finish your first snood, you’ll likely want to make more in different colors and textures!
If you’d like, I can also:
- Write a super-simple one-page pattern
- Create a chunky or child-size version
- Convert this into a PDF or printable format
- Show how to knit it in the round
Watch tutorial: