 by
by Here is a clear, detailed, beginner-friendly guide on How to Make a Knitted Hat with a Simple Stitch Pattern. You can use this for a school project, blog post, or personal learning.
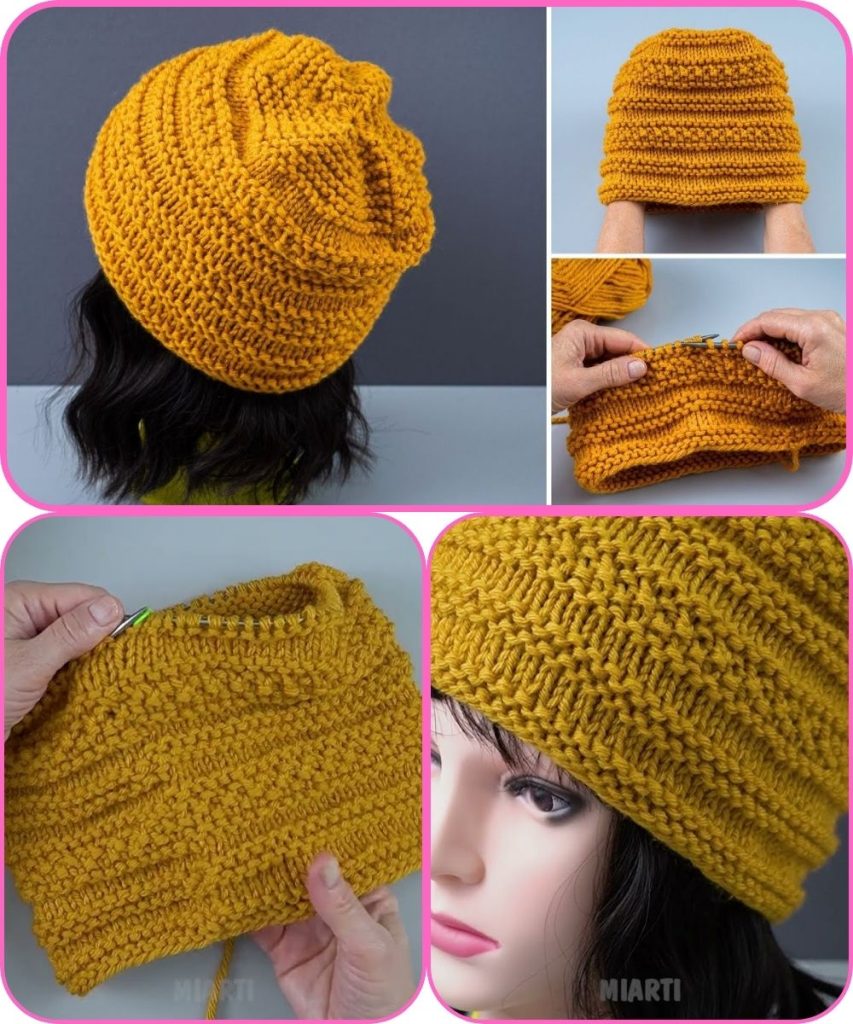
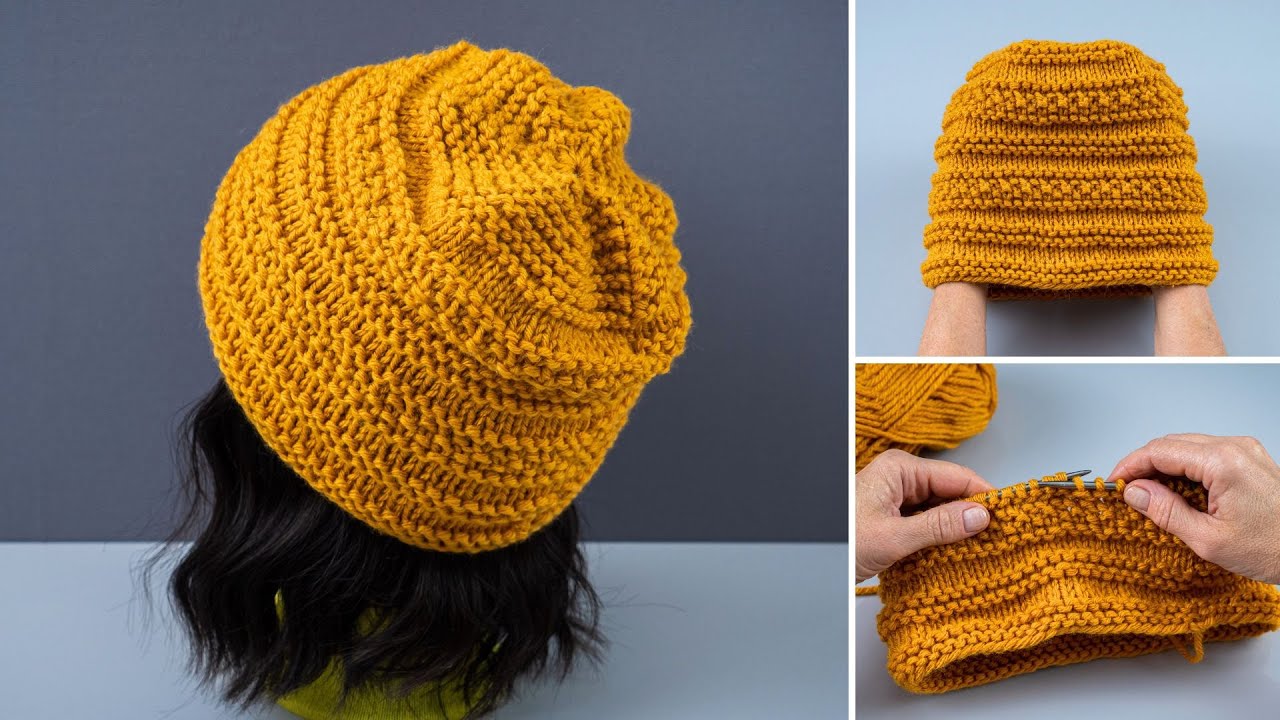
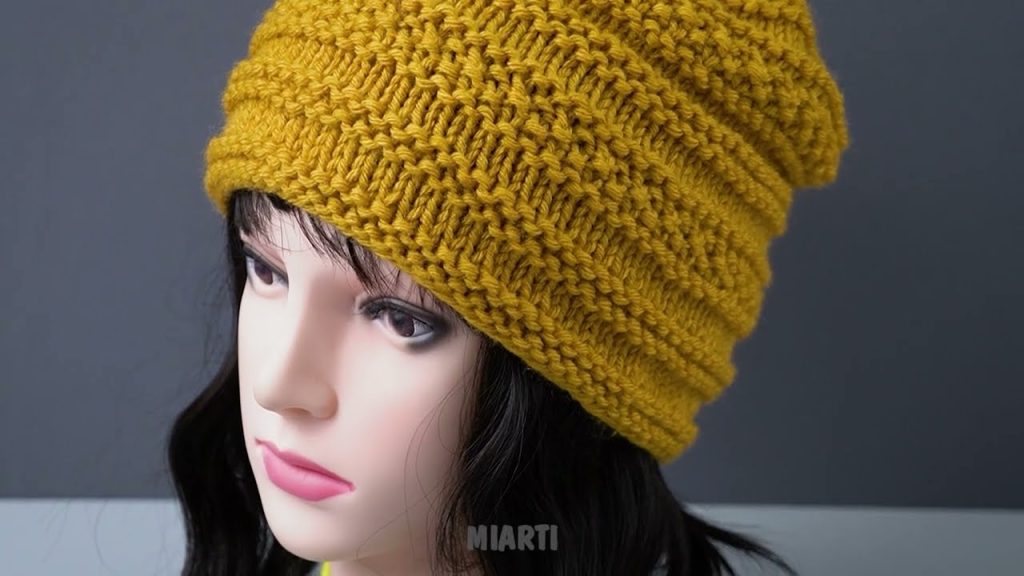
How to Make a Knitted Hat with a Simple Stitch Pattern
Knitting a hat is a great project for beginners because it is practical, quick to finish, and helps build confidence with basic knitting skills. This guide explains how to make a knitted hat using a simple stitch pattern that looks neat and stretchy.
Materials Needed
To start, gather the following materials:
- Yarn: Medium-weight (worsted) yarn is best for beginners
- Knitting needles: Size 5–6 mm (US 8–10), circular needles or straight needles
- Stitch marker (optional, for circular knitting)
- Scissors
- Yarn needle (for weaving in ends)
Basic Skills Required
Before starting the hat, you should know how to:
- Cast on stitches
- Knit stitch
- Purl stitch
- Bind off stitches
If you know these basics, you are ready to begin.
Step 1: Cast On Stitches
Cast on 80–90 stitches (for an average adult size) using your preferred cast-on method.
If you are knitting in the round, place a stitch marker at the beginning of the round and join carefully without twisting the stitches.
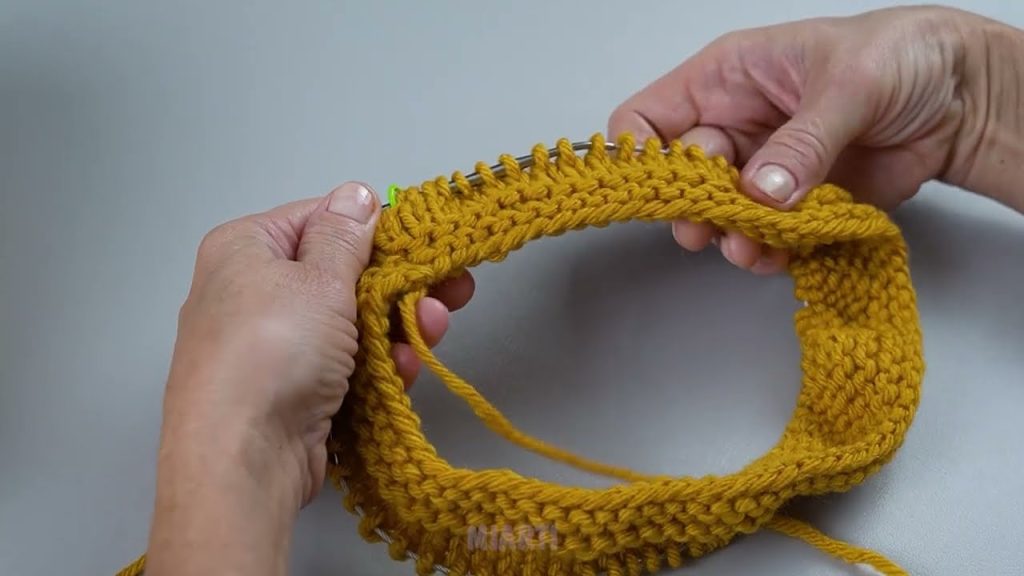
Step 2: Knit the Brim (Rib Stitch)
The brim helps the hat stay snug on the head.
Use a 1×1 rib stitch:
- Knit 1 stitch
- Purl 1 stitch
- Repeat this pattern all the way around
Continue this rib stitch for about 5–7 cm (2–3 inches).
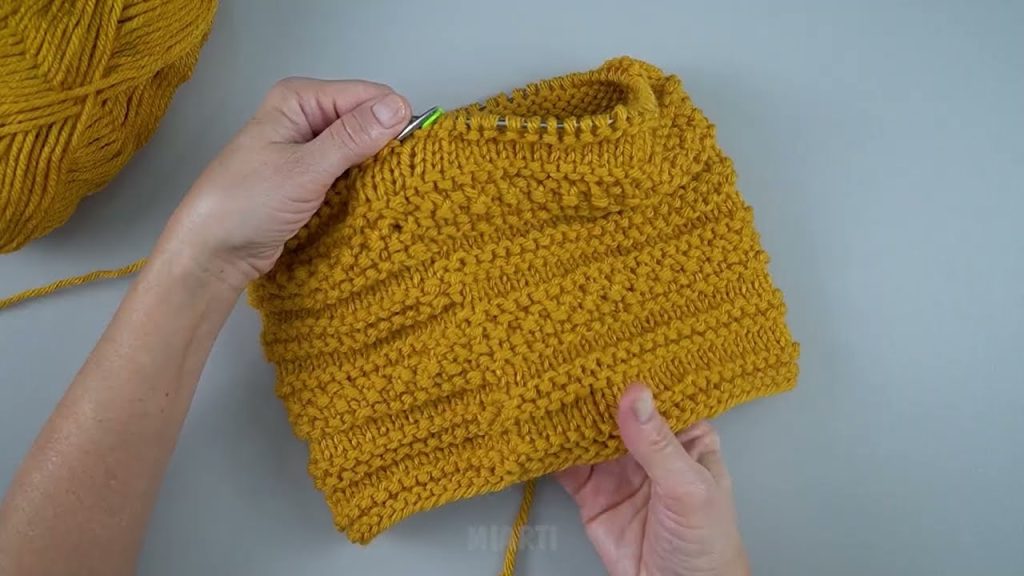
Step 3: Knit the Body with a Simple Stitch Pattern
For the main part of the hat, switch to a simple stitch pattern such as garter stitch in the round or stockinette stitch:
- Stockinette stitch (in the round): Knit every stitch
- Garter stitch (flat): Knit every row
Continue knitting until the hat measures about 18–20 cm (7–8 inches) from the cast-on edge.
Step 4: Decrease for the Top of the Hat
To shape the top of the hat, you will gradually decrease stitches:
- Knit 6 stitches, knit 2 together
- Repeat this pattern around
- On the next round, knit all stitches
- Keep decreasing every other round until only 8–10 stitches remain
Step 5: Finish the Hat
Cut the yarn, leaving a long tail. Thread the tail through a yarn needle and pull it through the remaining stitches. Pull tight to close the top of the hat and secure the yarn.
Weave in all loose ends neatly on the inside.
Final Touches
You can personalize your hat by:
- Adding a pom-pom
- Changing yarn colors
- Using a different simple stitch pattern
Conclusion
Making a knitted hat with a simple stitch pattern is a fun and rewarding project. It helps beginners practice basic knitting techniques while creating something useful and stylish. With just a little patience and practice, you can make a cozy hat for yourself or as a gift.
If you want, I can:
- Simplify this even more
- Rewrite it for a school assignment
- Add pictures descriptions
- Adjust it for kids or beginners only
Watch tutorial: